
Installing an RV Skylight & Inner Dome
This upgrade has been a long time coming, y’all! THE SKYLIGHTS!
Our skylights had been replaced by the previous owners and the inner lining was removed as well. This is something we overlooked when we bought Rhiannon.
Unfortunately, the damage this caused was worse than we anticipated. Not only was moisture moving up into the roof because the inner dome was not there. On top of this oversight, the screws attaching the outer dome were not sealed properly. Rookie mistake guys! Rookie mistake.
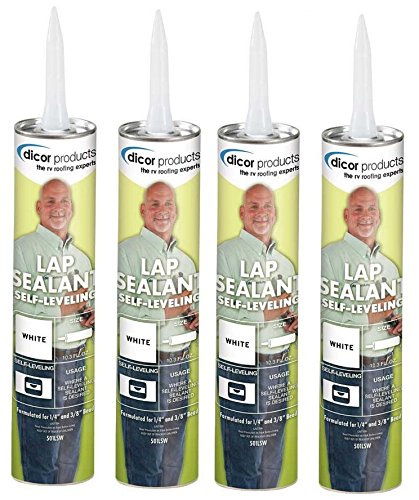
So, four tubes of lap sealant and a bit of butyl tape later, and we’re back in business. Almost….Nothing is ever that easy, is it? The inner dome we purchased was slightly too small for the cutout in our ceiling. Of course. Luckily, we’ve gotten pretty good at problem solving these kinds of issues. Or convincing ourselves we are pretty good at problem solving these issues!
Without further ado, here is exactly how we replaced our skylights and inner domes.

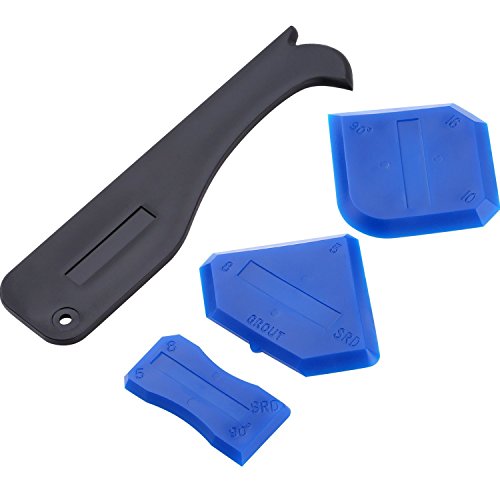
Supplies Needed
Below is everything we purchased to get this job done! Of course, you’ll also need a drill, caulk gun, and potentially some extra items if things go south…for instance, we had to purchase some MDF boards to build a frame for the inner lining to attach to…more on that later. We also put a bit of Damp Rid in between the inner and outer dome to keep things nice and dry.
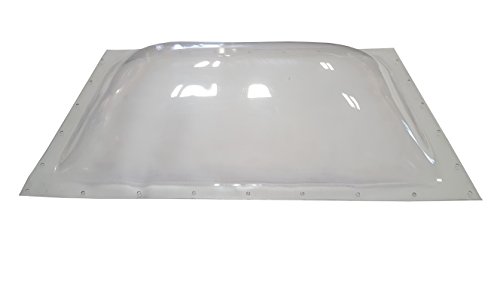
Be sure to measure carefully! Our skylight is 14”x22” (dome dimensions) and the flange (outer edge) is 17”x25”. If you’re only replacing the inner or outer portion, make sure the dome heights will match up.

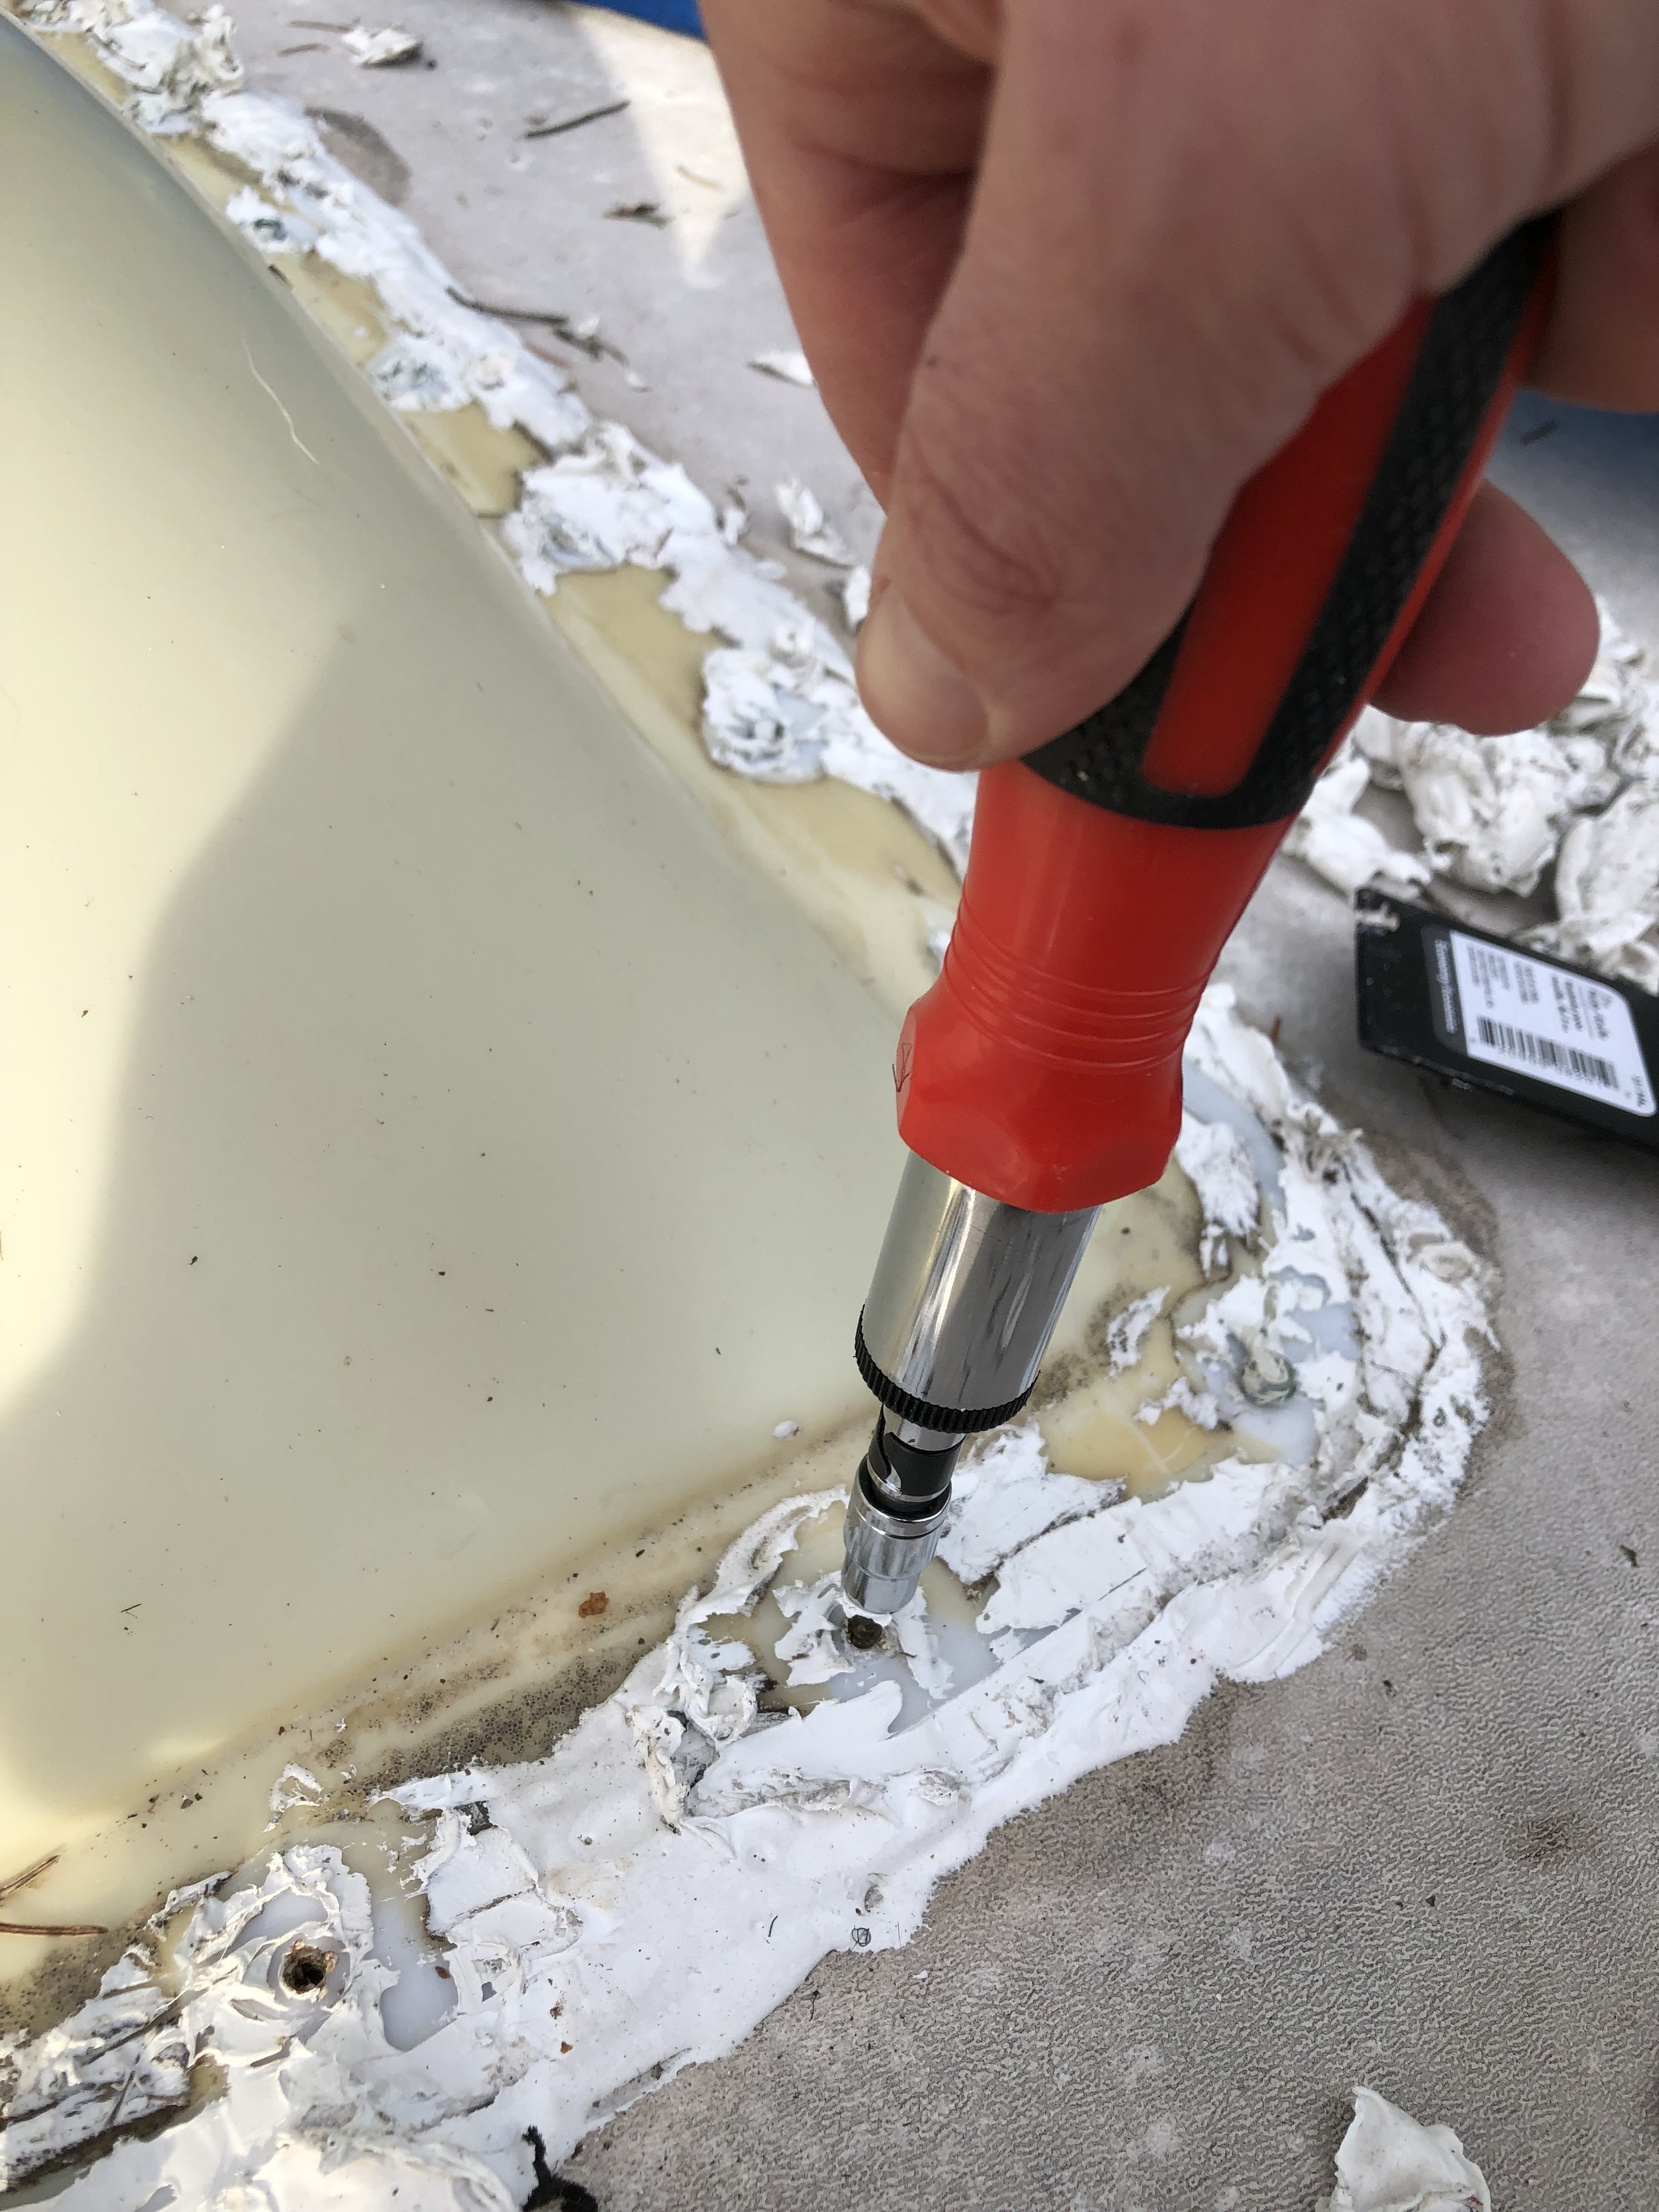
Removing the Old Skylight
First, we removed the old lap sealant covering the screws with a plastic scraper (metal can tear a rubber roof… but we aren’t one for following rules). Once we could get to the screws, they came right out. Almost too easy…this is when we realized they had not been sealed allowing moisture to get under the skylight and damage our roof membrane.
Pulling the sealant up around the skylight started to pull up the rubber roof material (not because of the metal scraper, either), so we just left a lot of it. The skylight didn’t lift up without a fight. We used the scraper and a lot of muscle to detach it from the sealant/roof.
Thankfully, the moisture didn't travel too far under the roof. It’s fairly isolated and we were able to remove the gross insulation (which was just Styrofoam btw) and strengthened it with spray foam insulation.


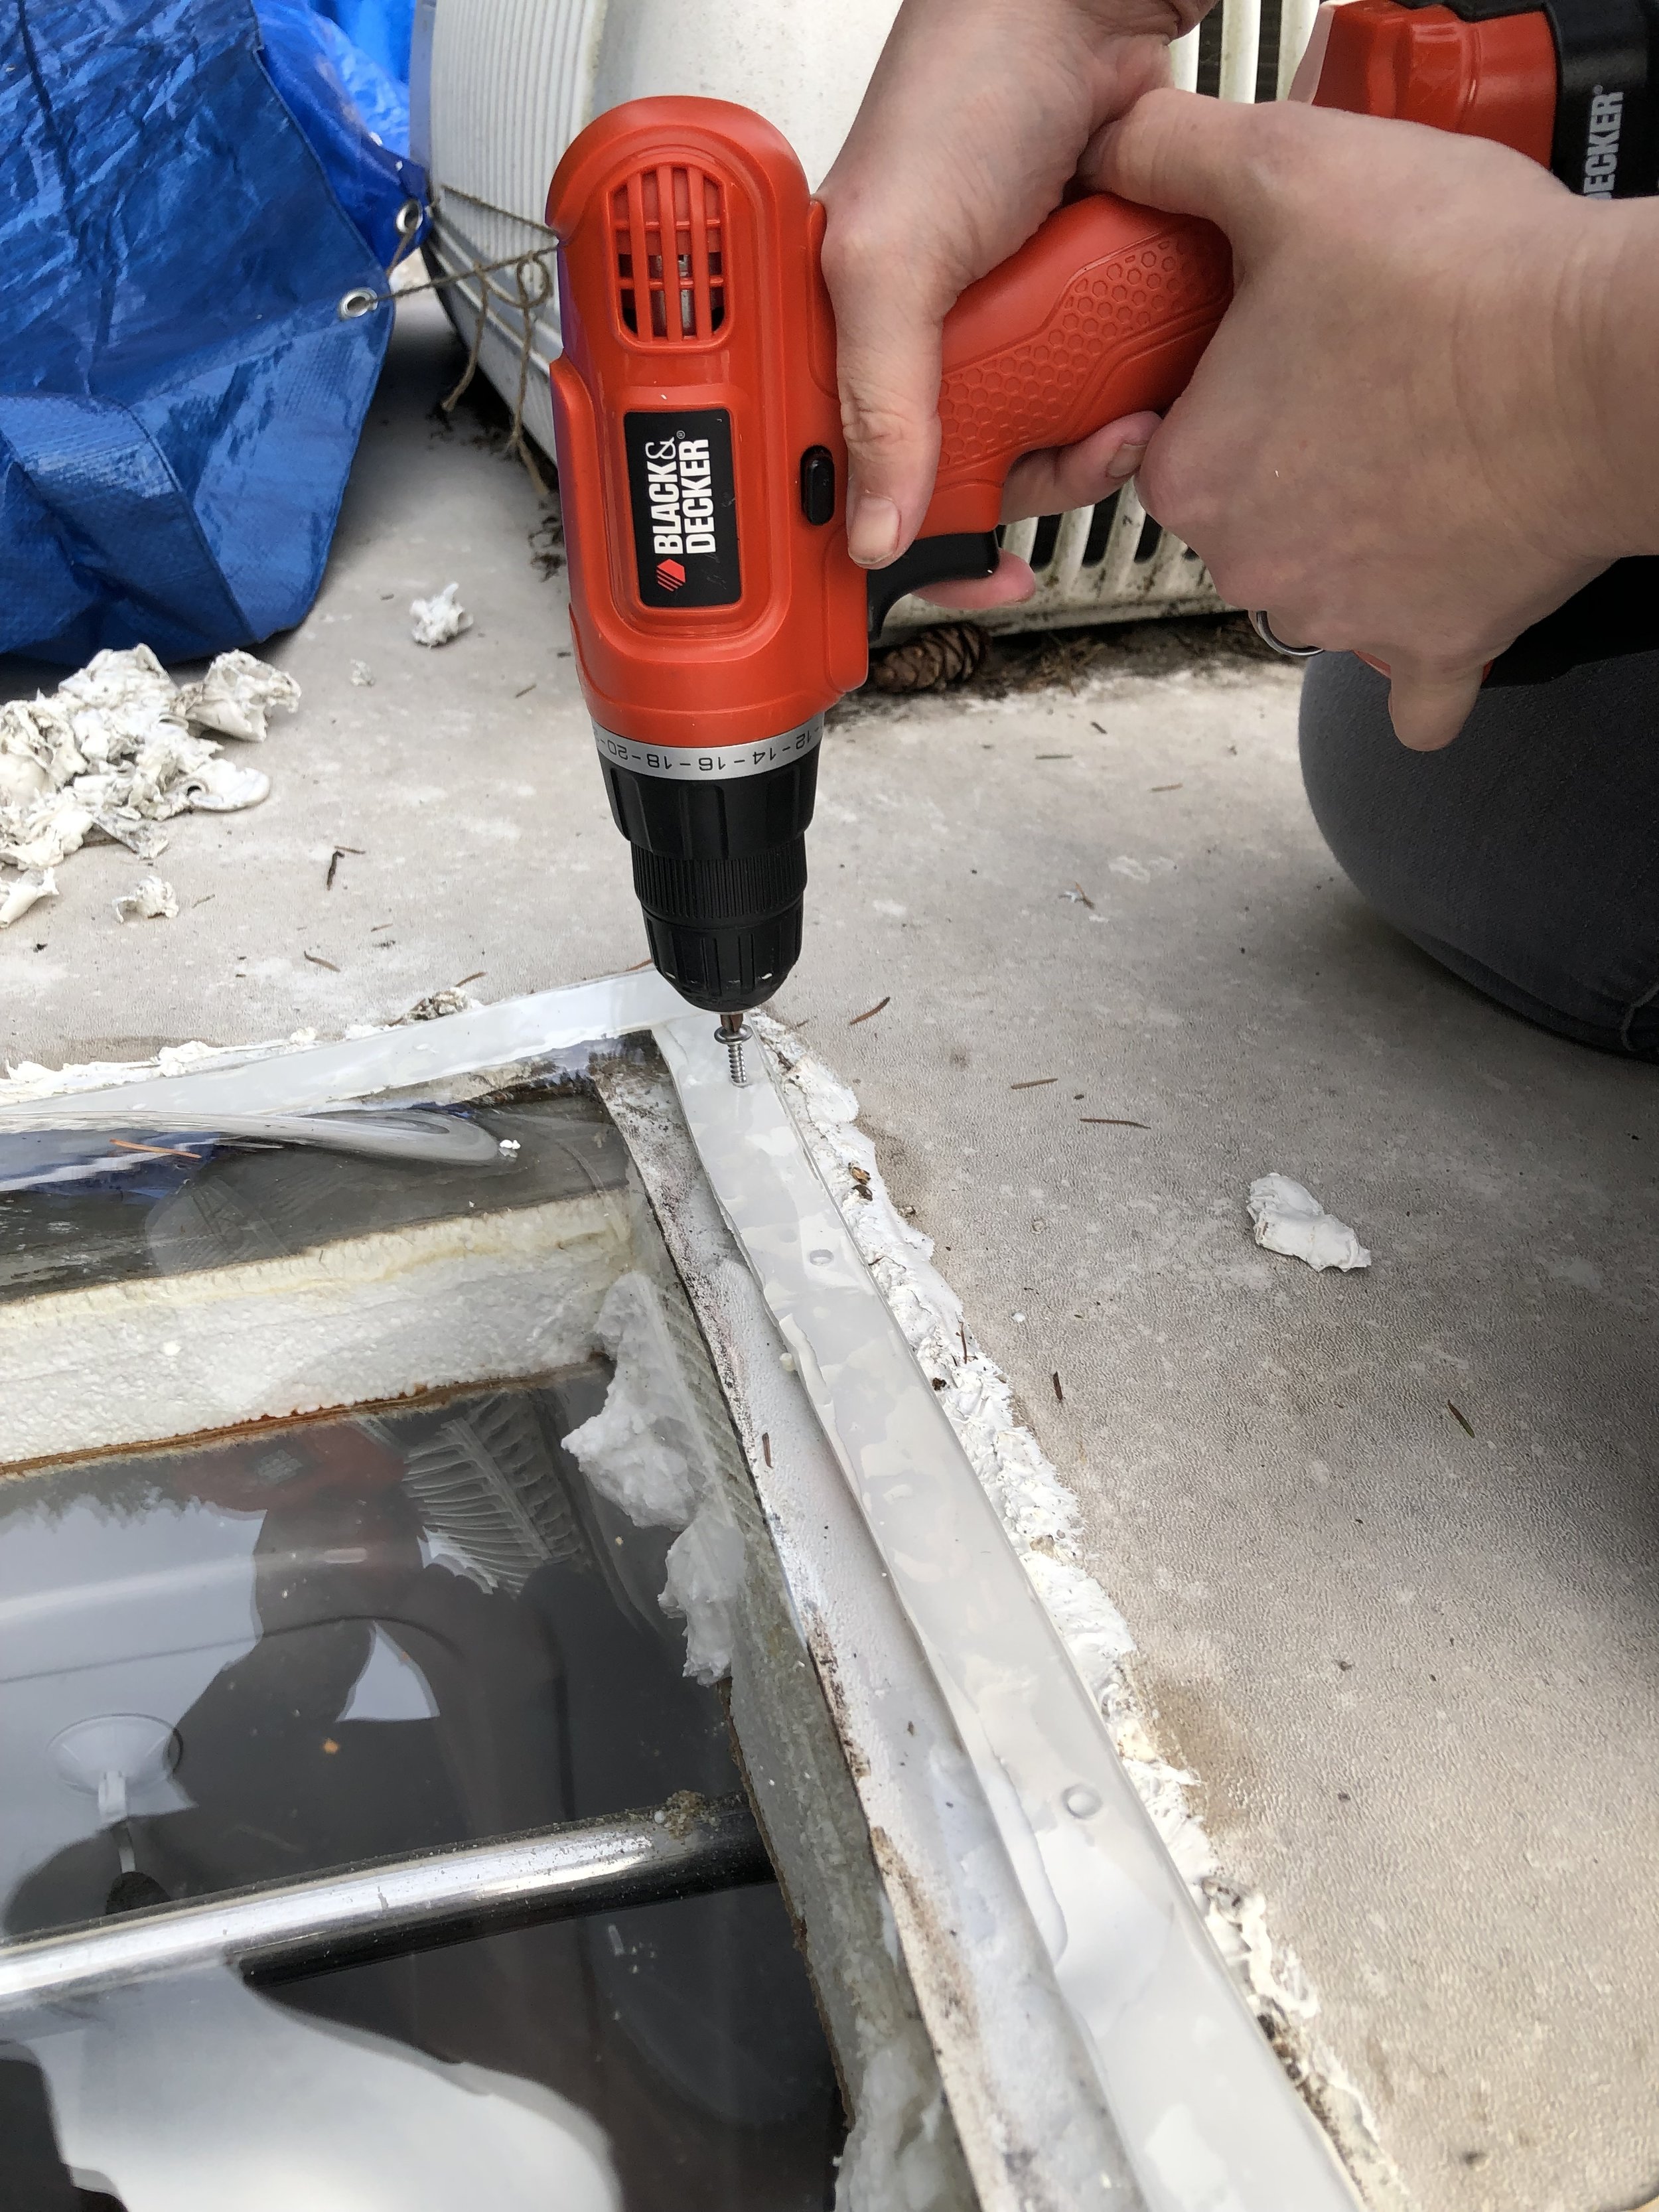
Installing the Skylight
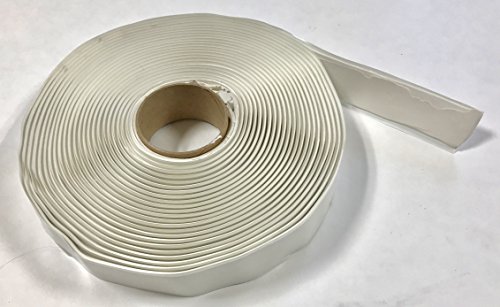
This part wasn’t difficult. We used butyl tape on the base of the skylight (where the screws will go through). This seals the screw from the inside, so water cannot penetrate through the outer lap sealant and get into the roof (again).
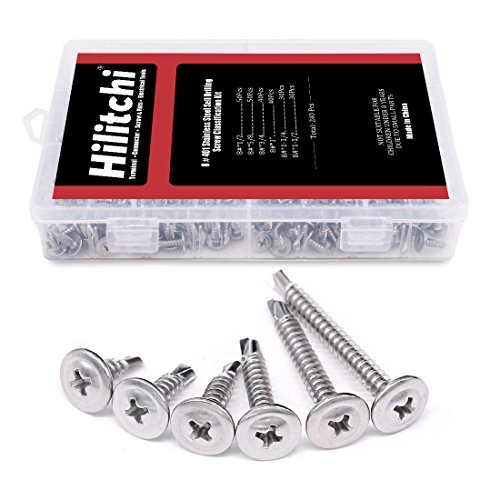
Then we carefully placed the skylight on the roof (make sure it’s facing the correct way- this one had a slight curve to it that needed to be front facing. We used (amazing) self-drilling screws, as the old screw holes didn’t line up with the new ones.
Once it was attached, we used lap sealant…so much lap sealant. This covers the outer edges and the screws. Don’t be shy with this stuff, it lasts for a long time and seals everything so well! I’ve tried a few other brands and ended up with a huge mess! It’s worth it to spend an extra few bucks on Dicor.


Installing the Inner Dome
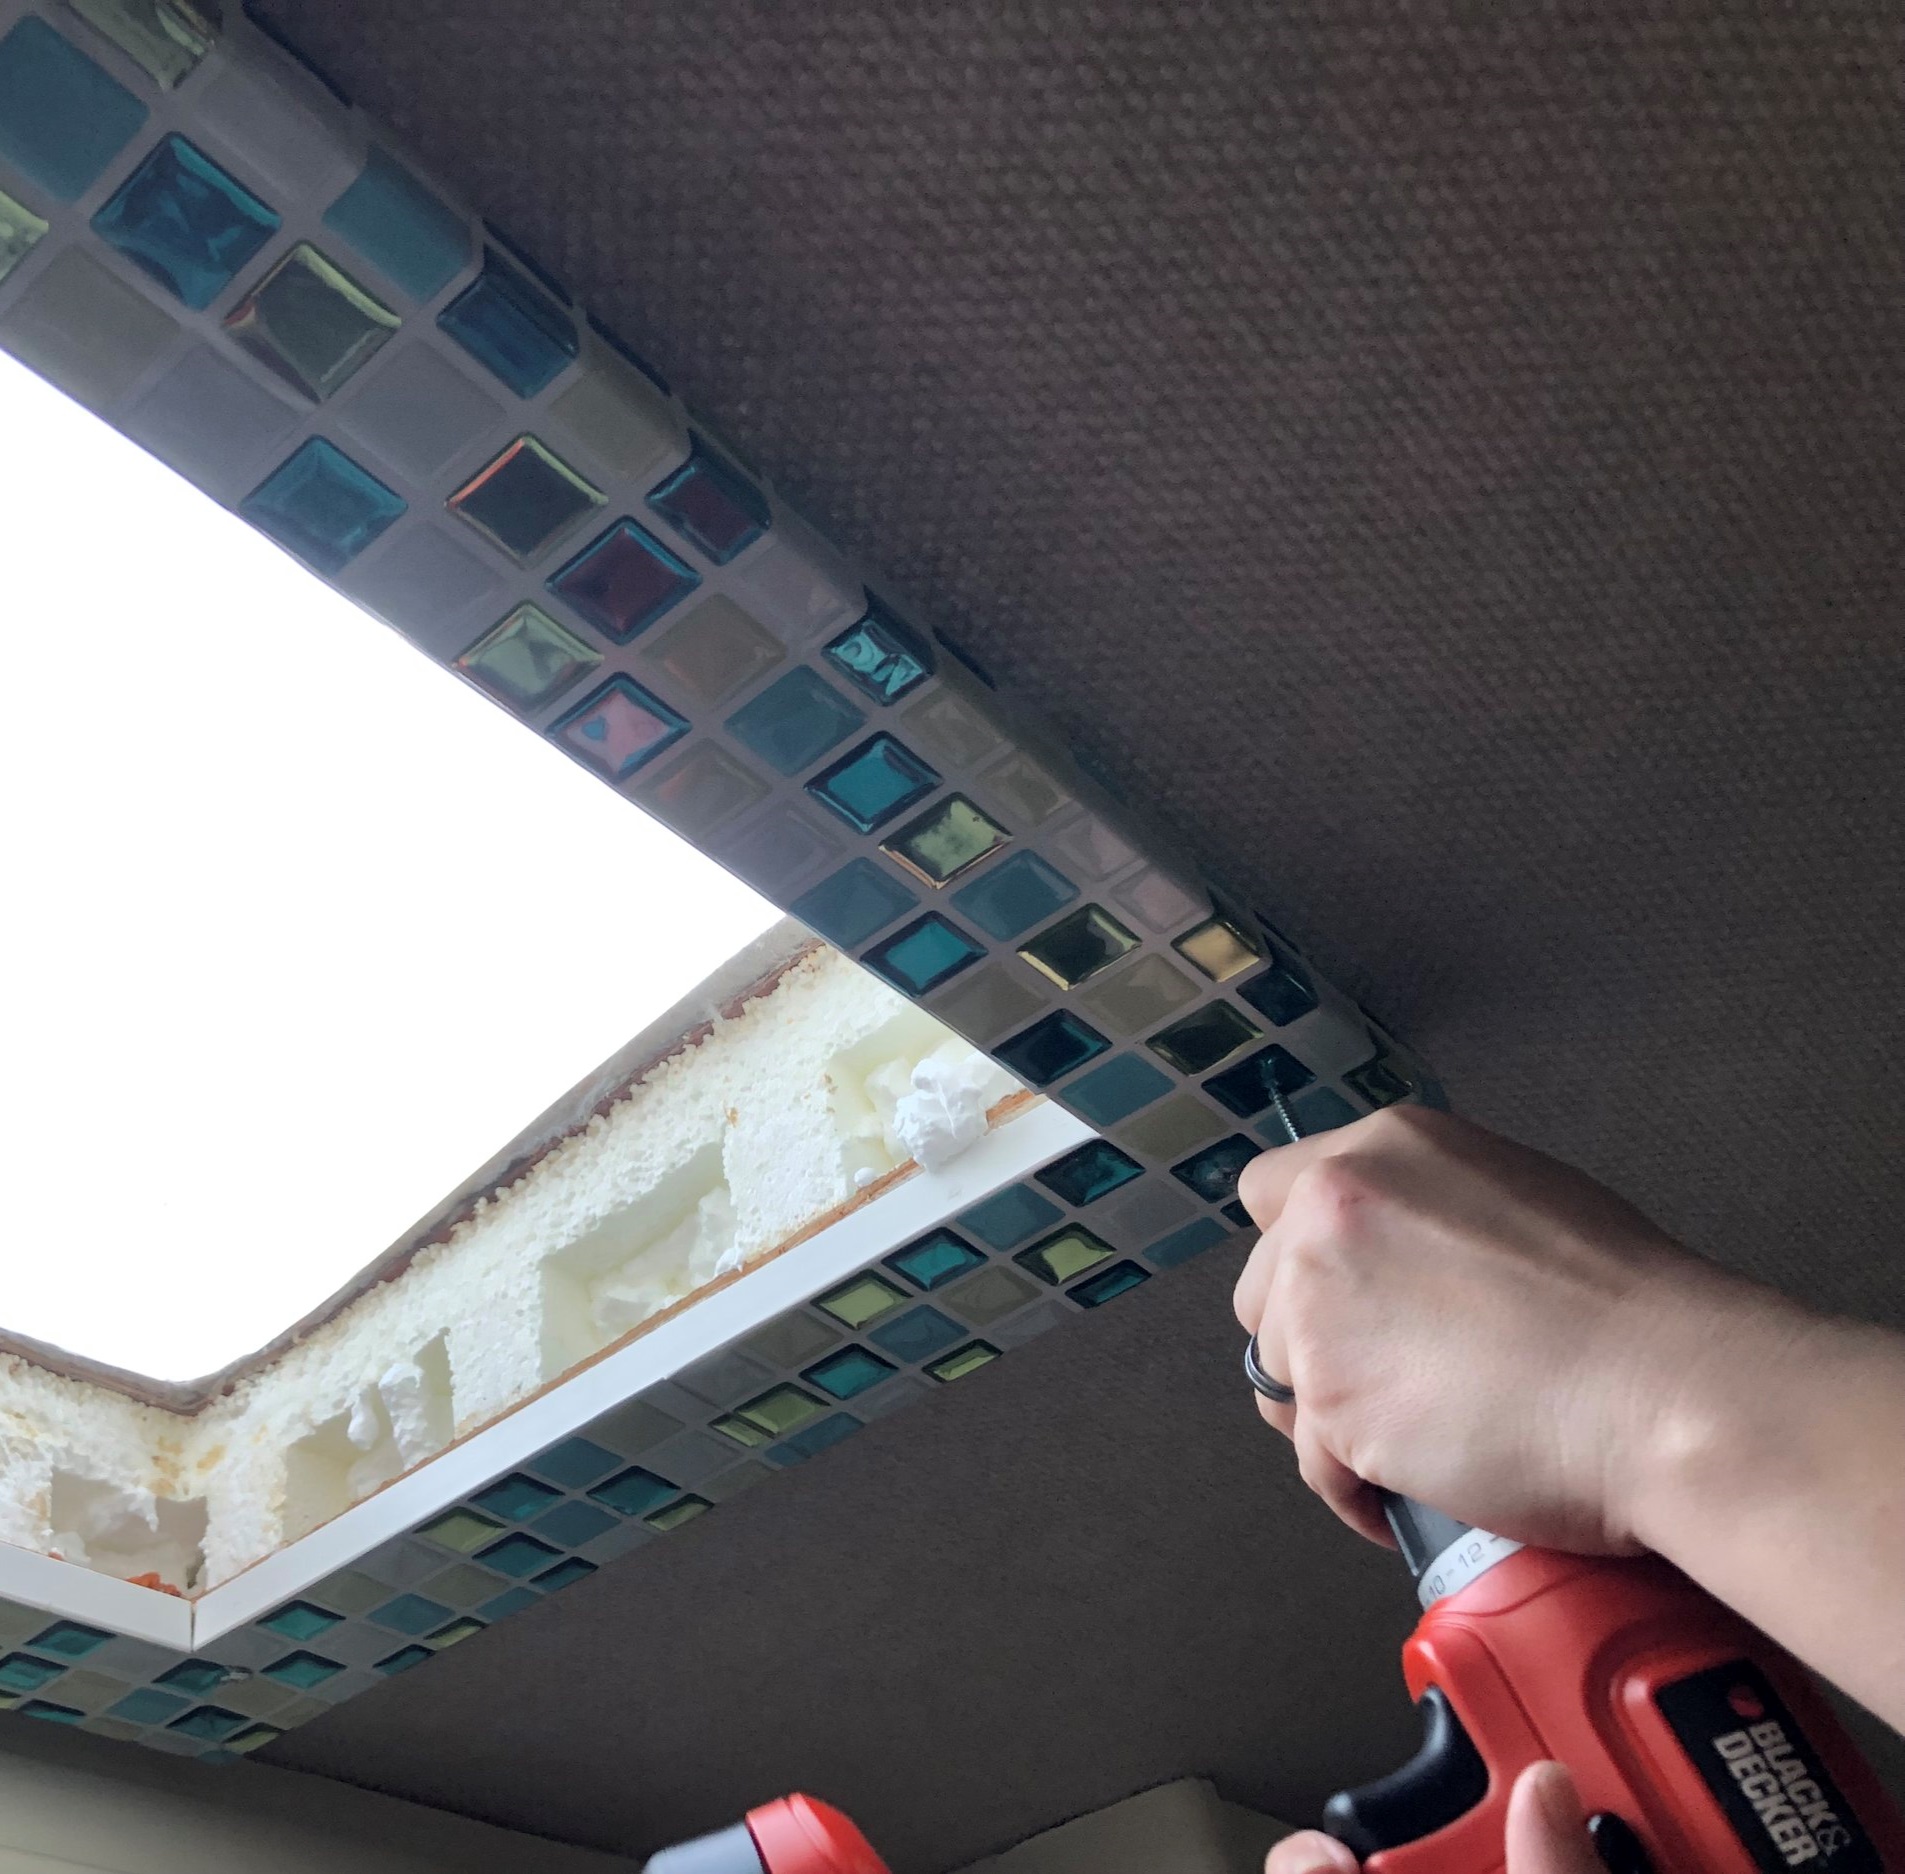
It really seemed like they were going fit, but that would have been far too easy. The inner dome was just half an inch or so too small. We could get half the screws in and it stays up, but moisture can sneak up though the sides and empty screws holes and get trapped between the inner and outer dome reeking havoc on the roof (… all of that is what she said).
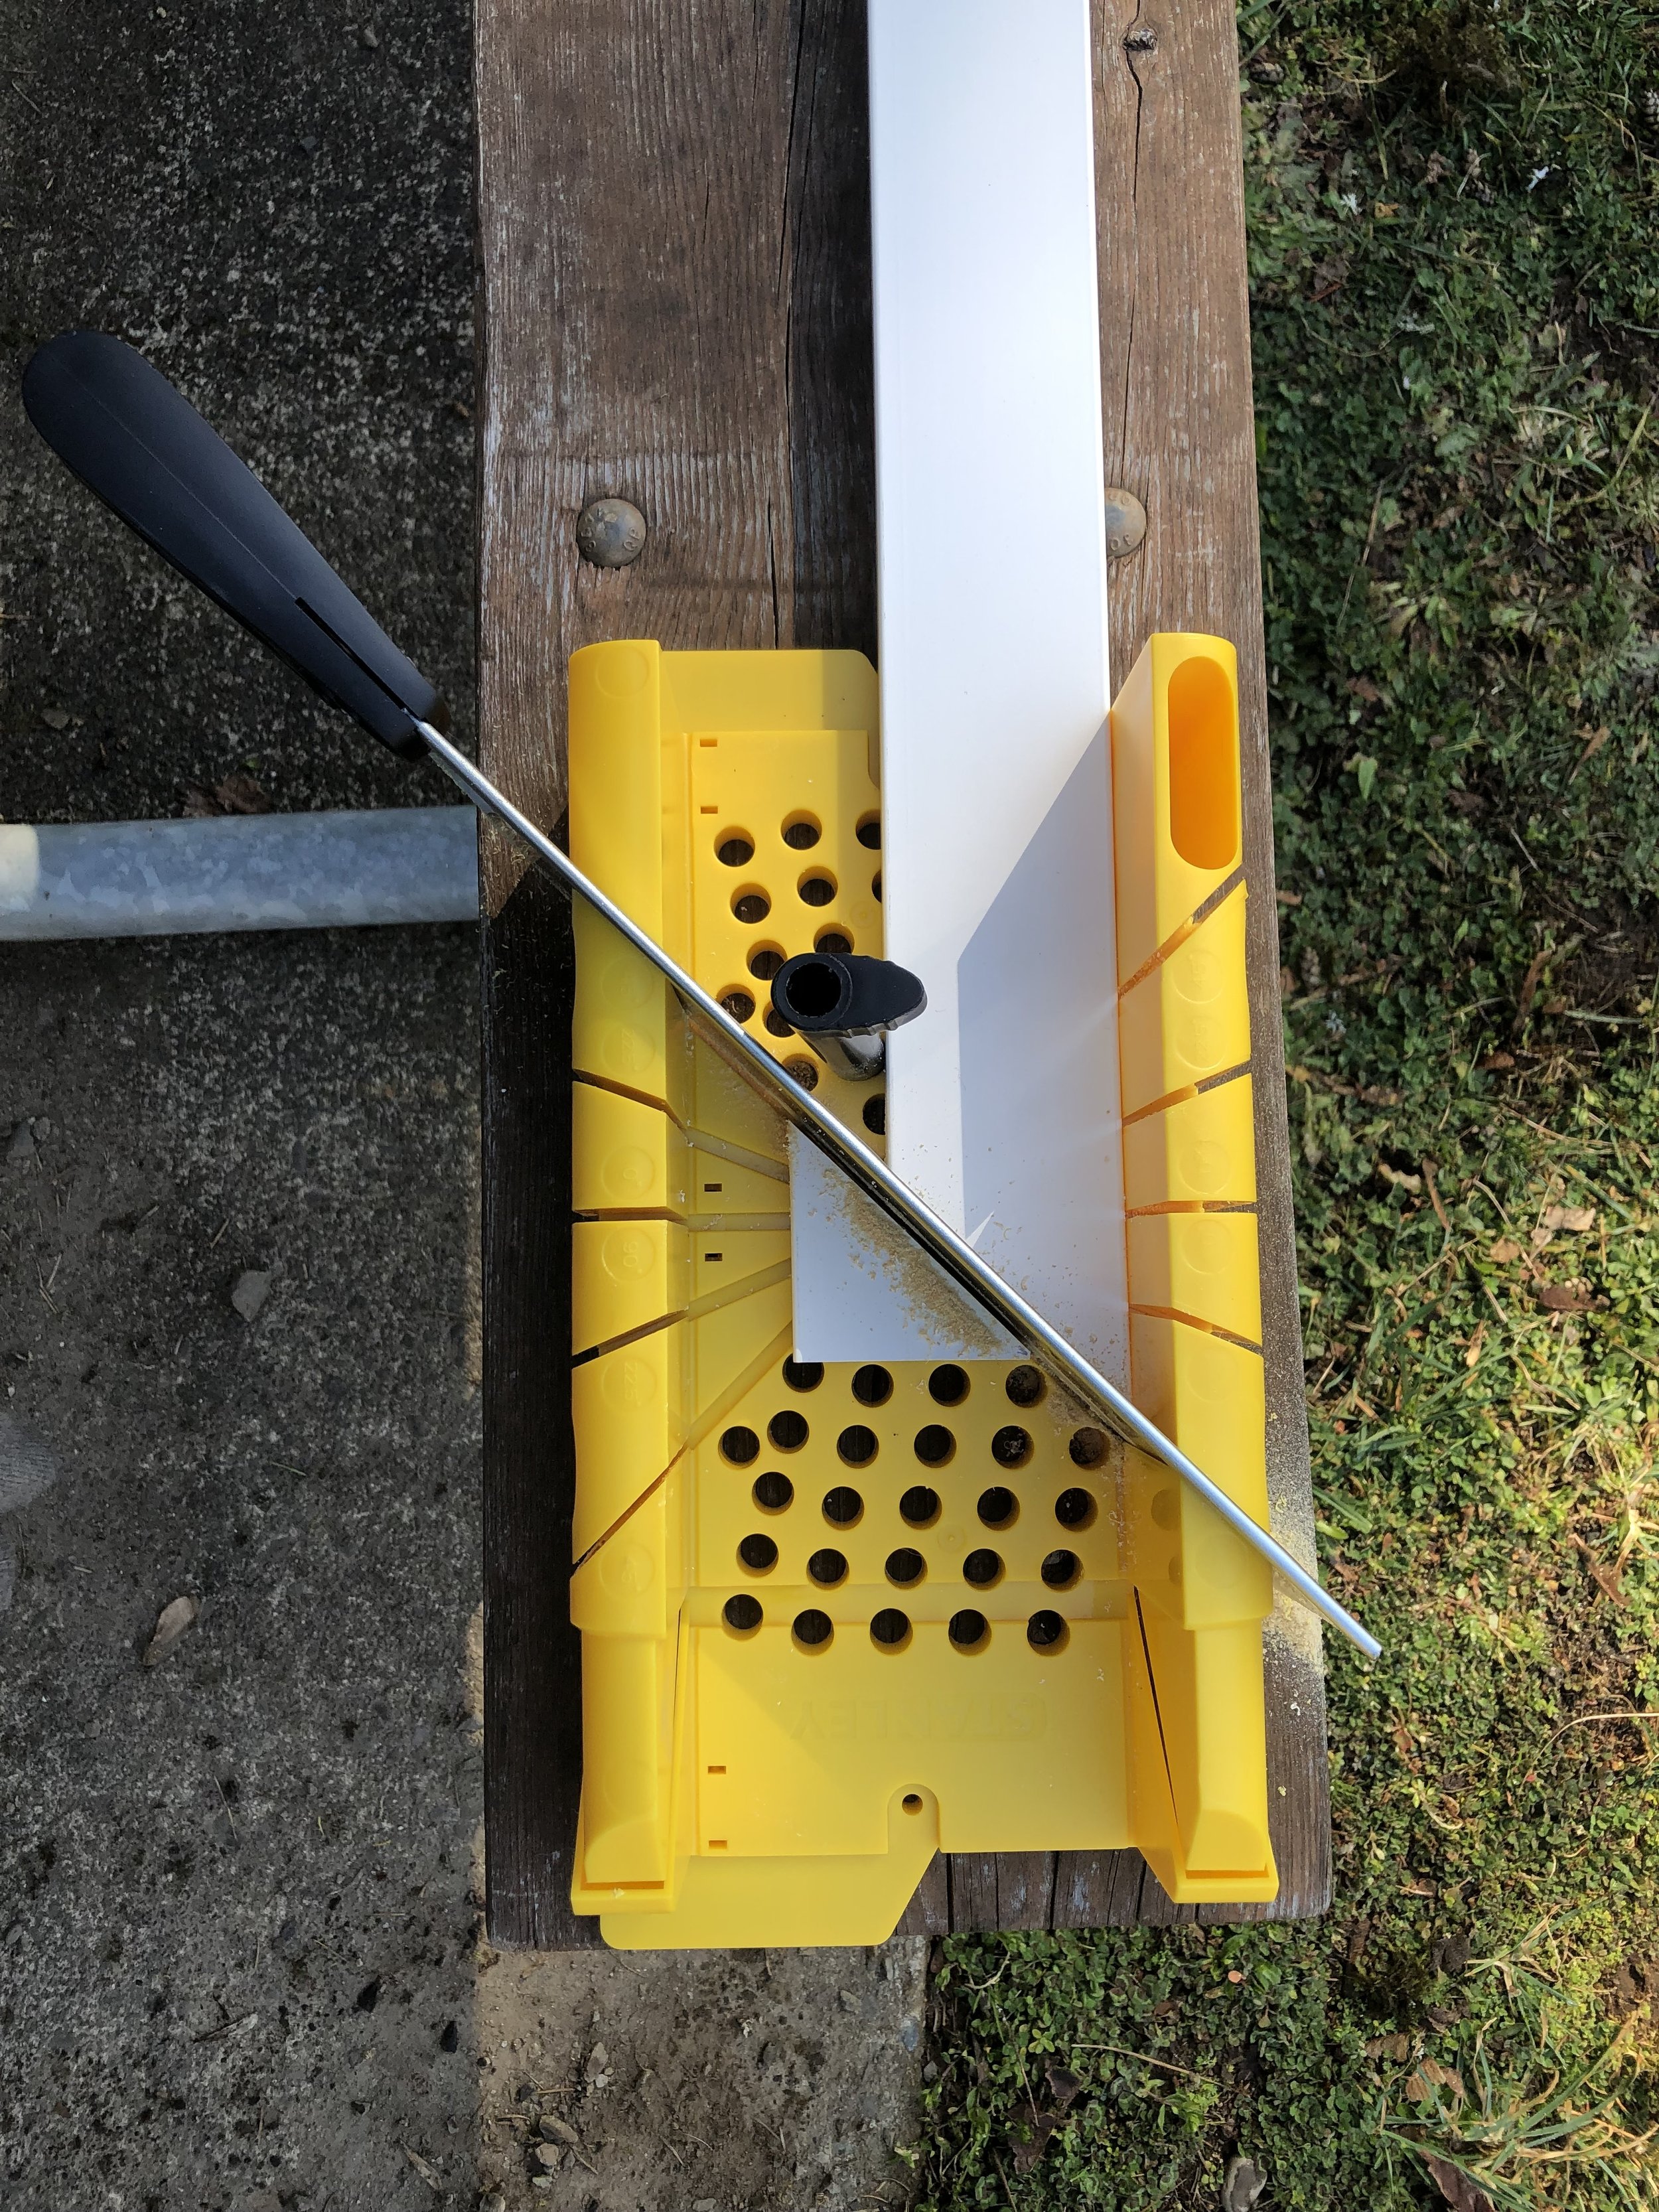
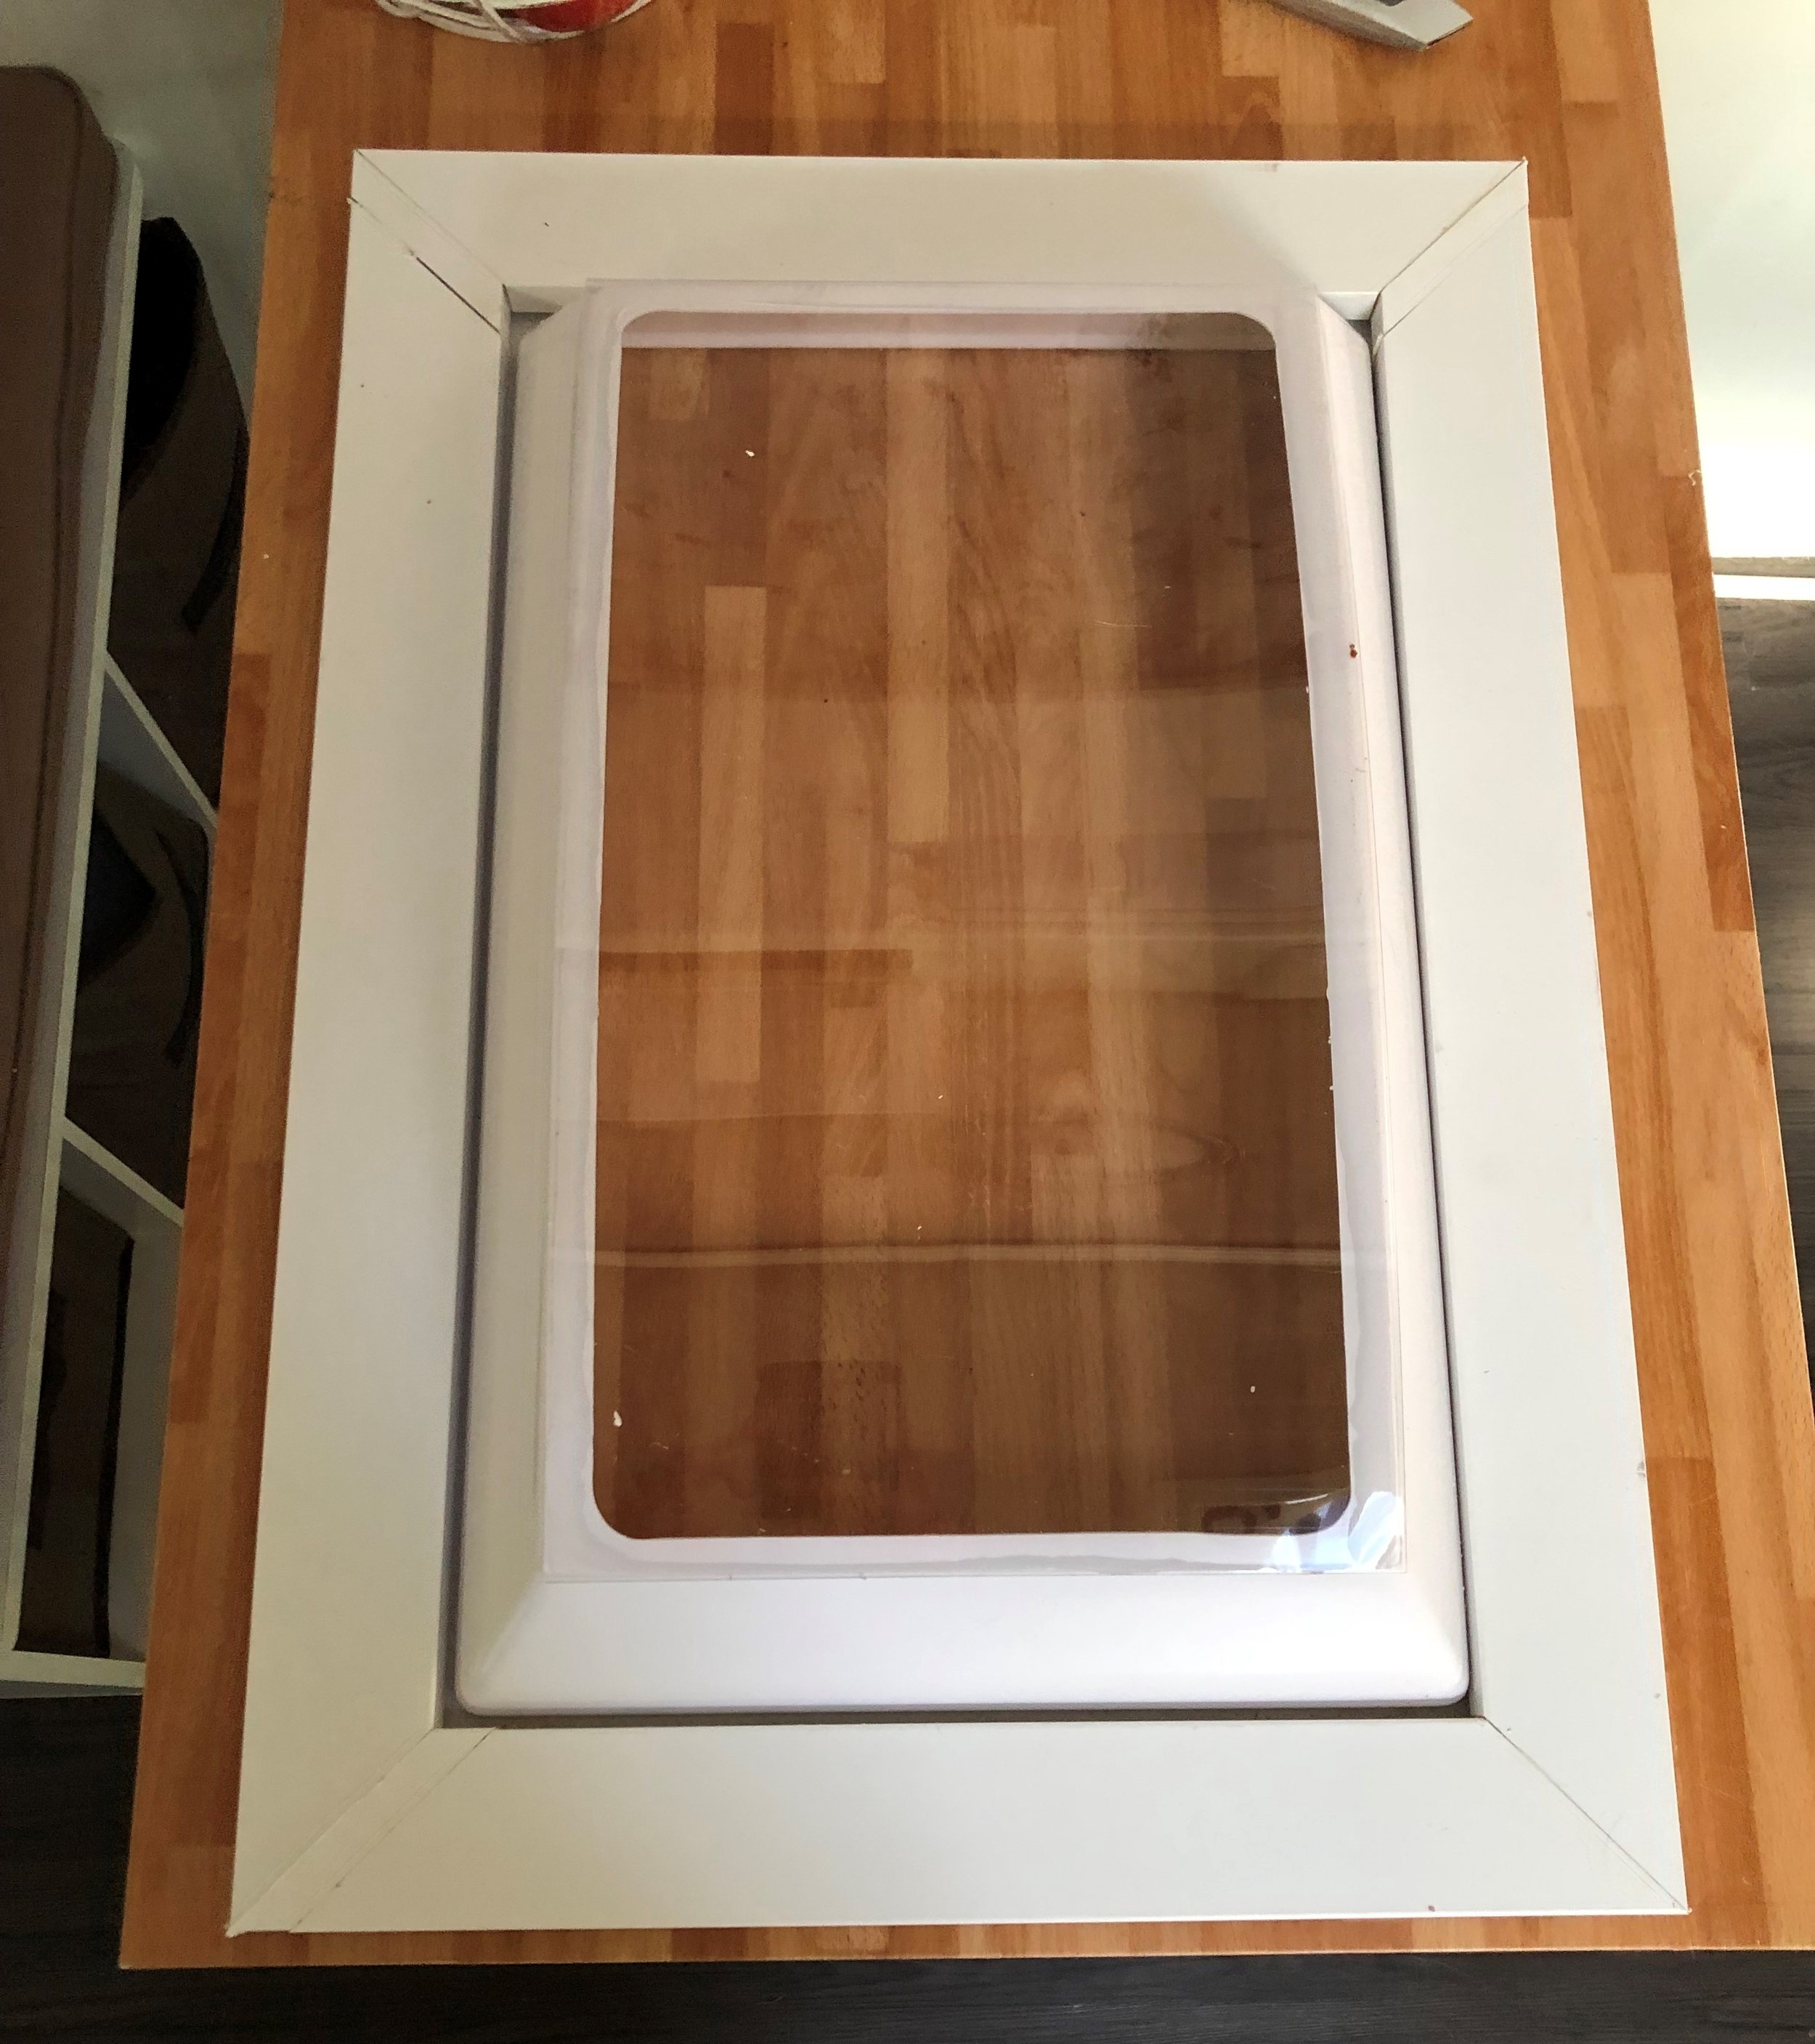
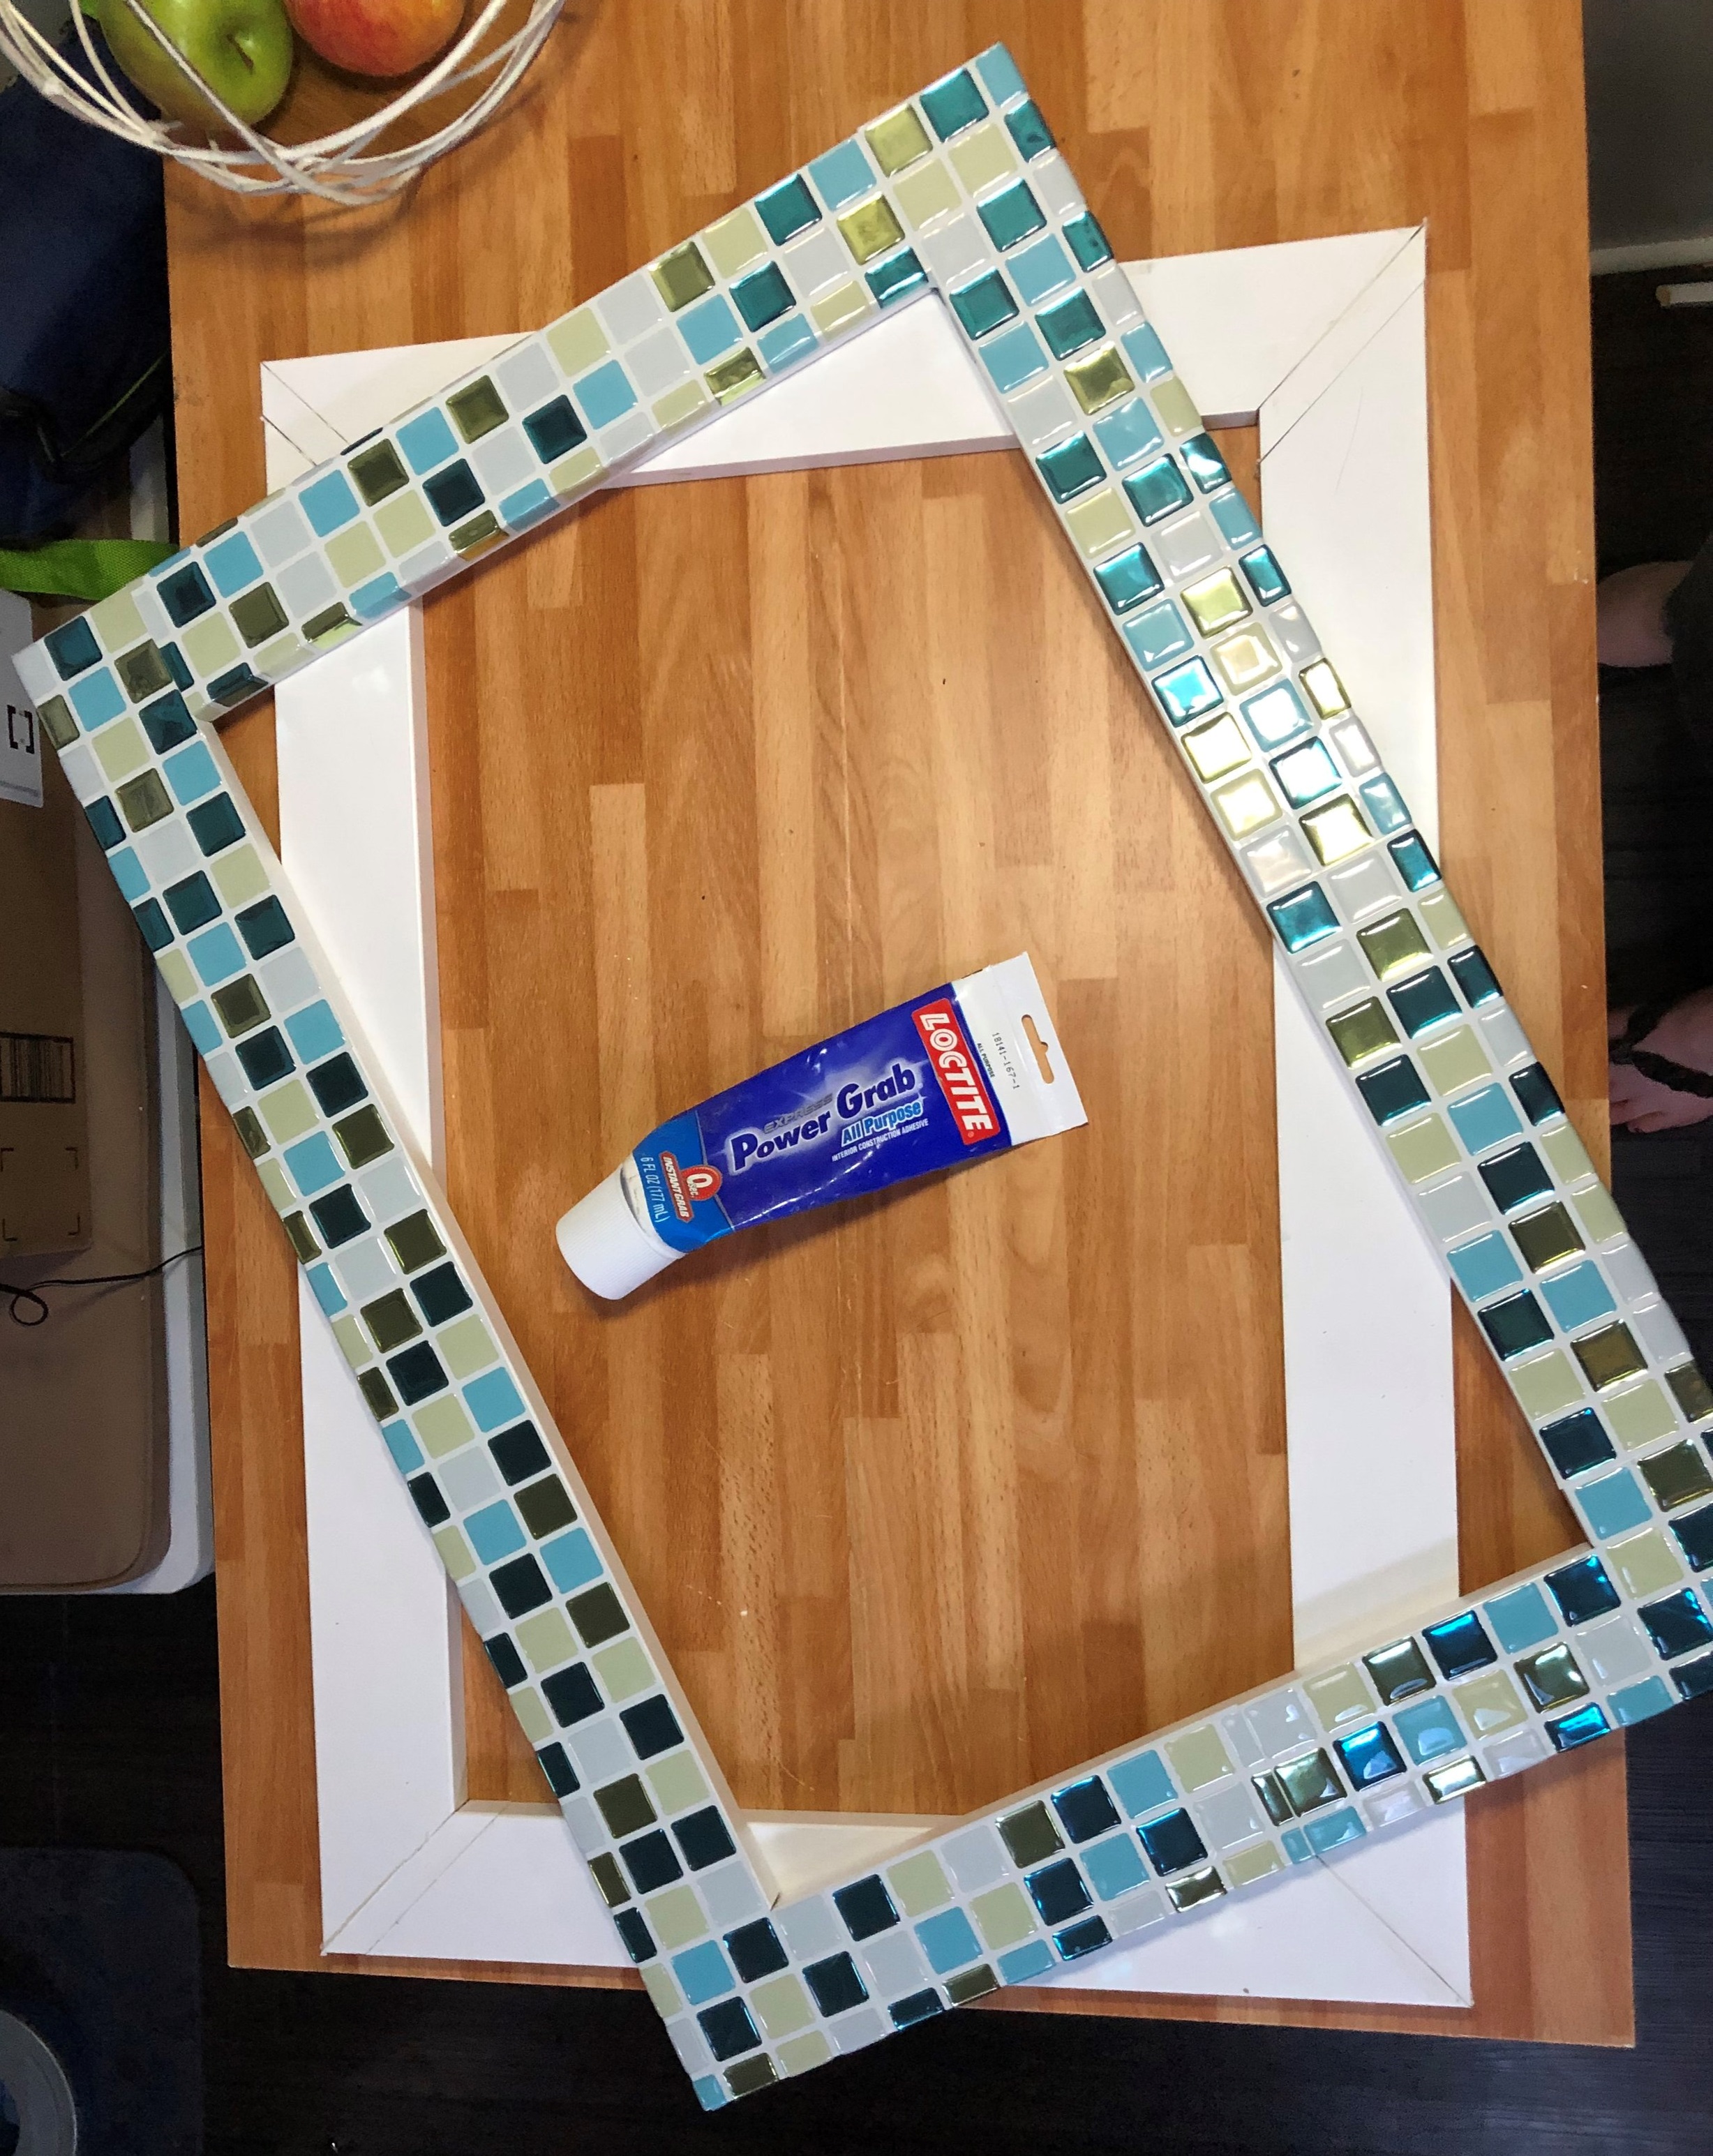
So we came up with, what we think, is a pretty smart solution. We got these MDF boards from Home Depot, which are resistant to moisture. To build a frame that attached to the ceiling. The inner dome will then attach to the frame. Problem solved!
All you need for this is a miter saw (just a manual miter box will do), an MDF board (1”x3”x8’), instant hold glue, and if you want to get fancy some backsplash or contact paper. We happened to have backsplash leftover from our bathroom remodel, so why not?!?
There you go! Two new clear skylights. Here are some before and after shots, because you gotta see what a mess we had before!
Thanks for stopping by!