
Installing a Residential Faucet in an RV
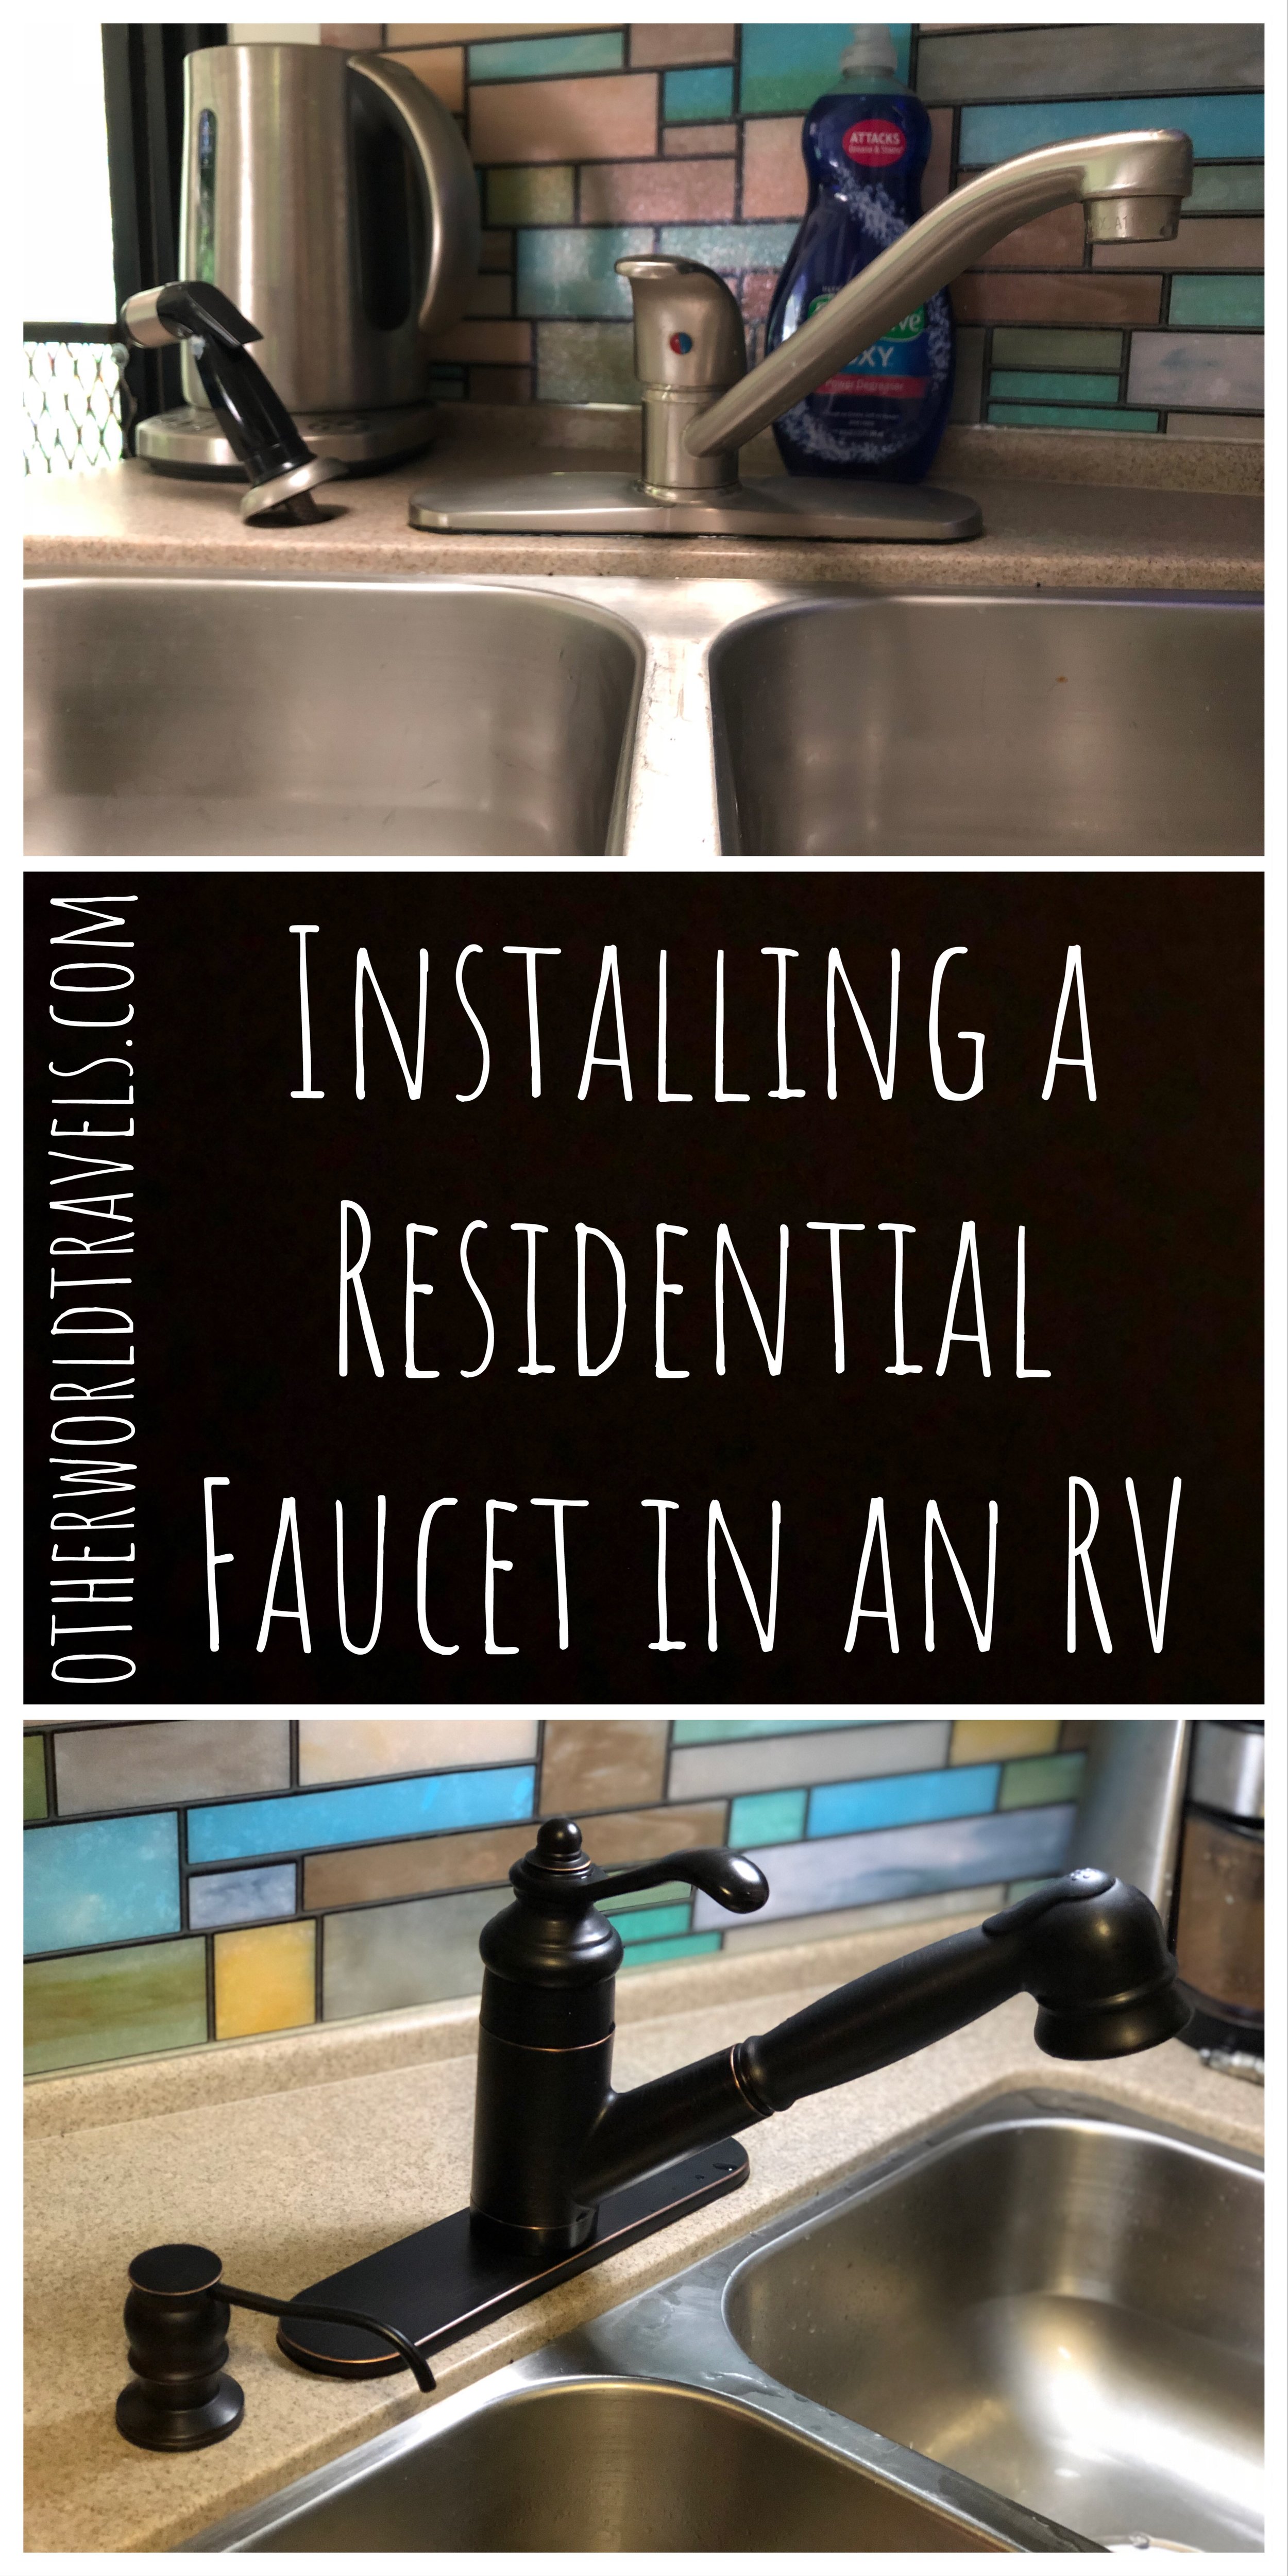
When will we learn that nothing we update in the RV is simple or easy?!?! So is the case of our kitchen faucet installation. Our faucet has had a constant drip since the day we moved in and our sprayer broke some months ago leaving it dangling over the sink.
For these reasons, we've been looking for an RV specific faucet for some time. Then I stumbled on some forums claiming a regular faucet could be installed in an RV no problem (and no RV price markup).
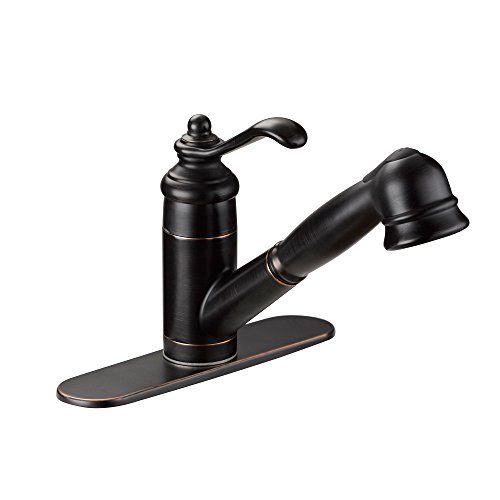
This was of course great news, and opened up a ton of options for our faucet. So we searched and found the perfect one on, you guessed it, Amazon! For $60 it was a no brainer.
Removing the Old Faucet
The installation seemed pretty straight forward, and all of the pipe connections looked as though they'd fit perfectly. So, we turned our water supply off and took the old faucet out with some ease.


Installing the New Faucet
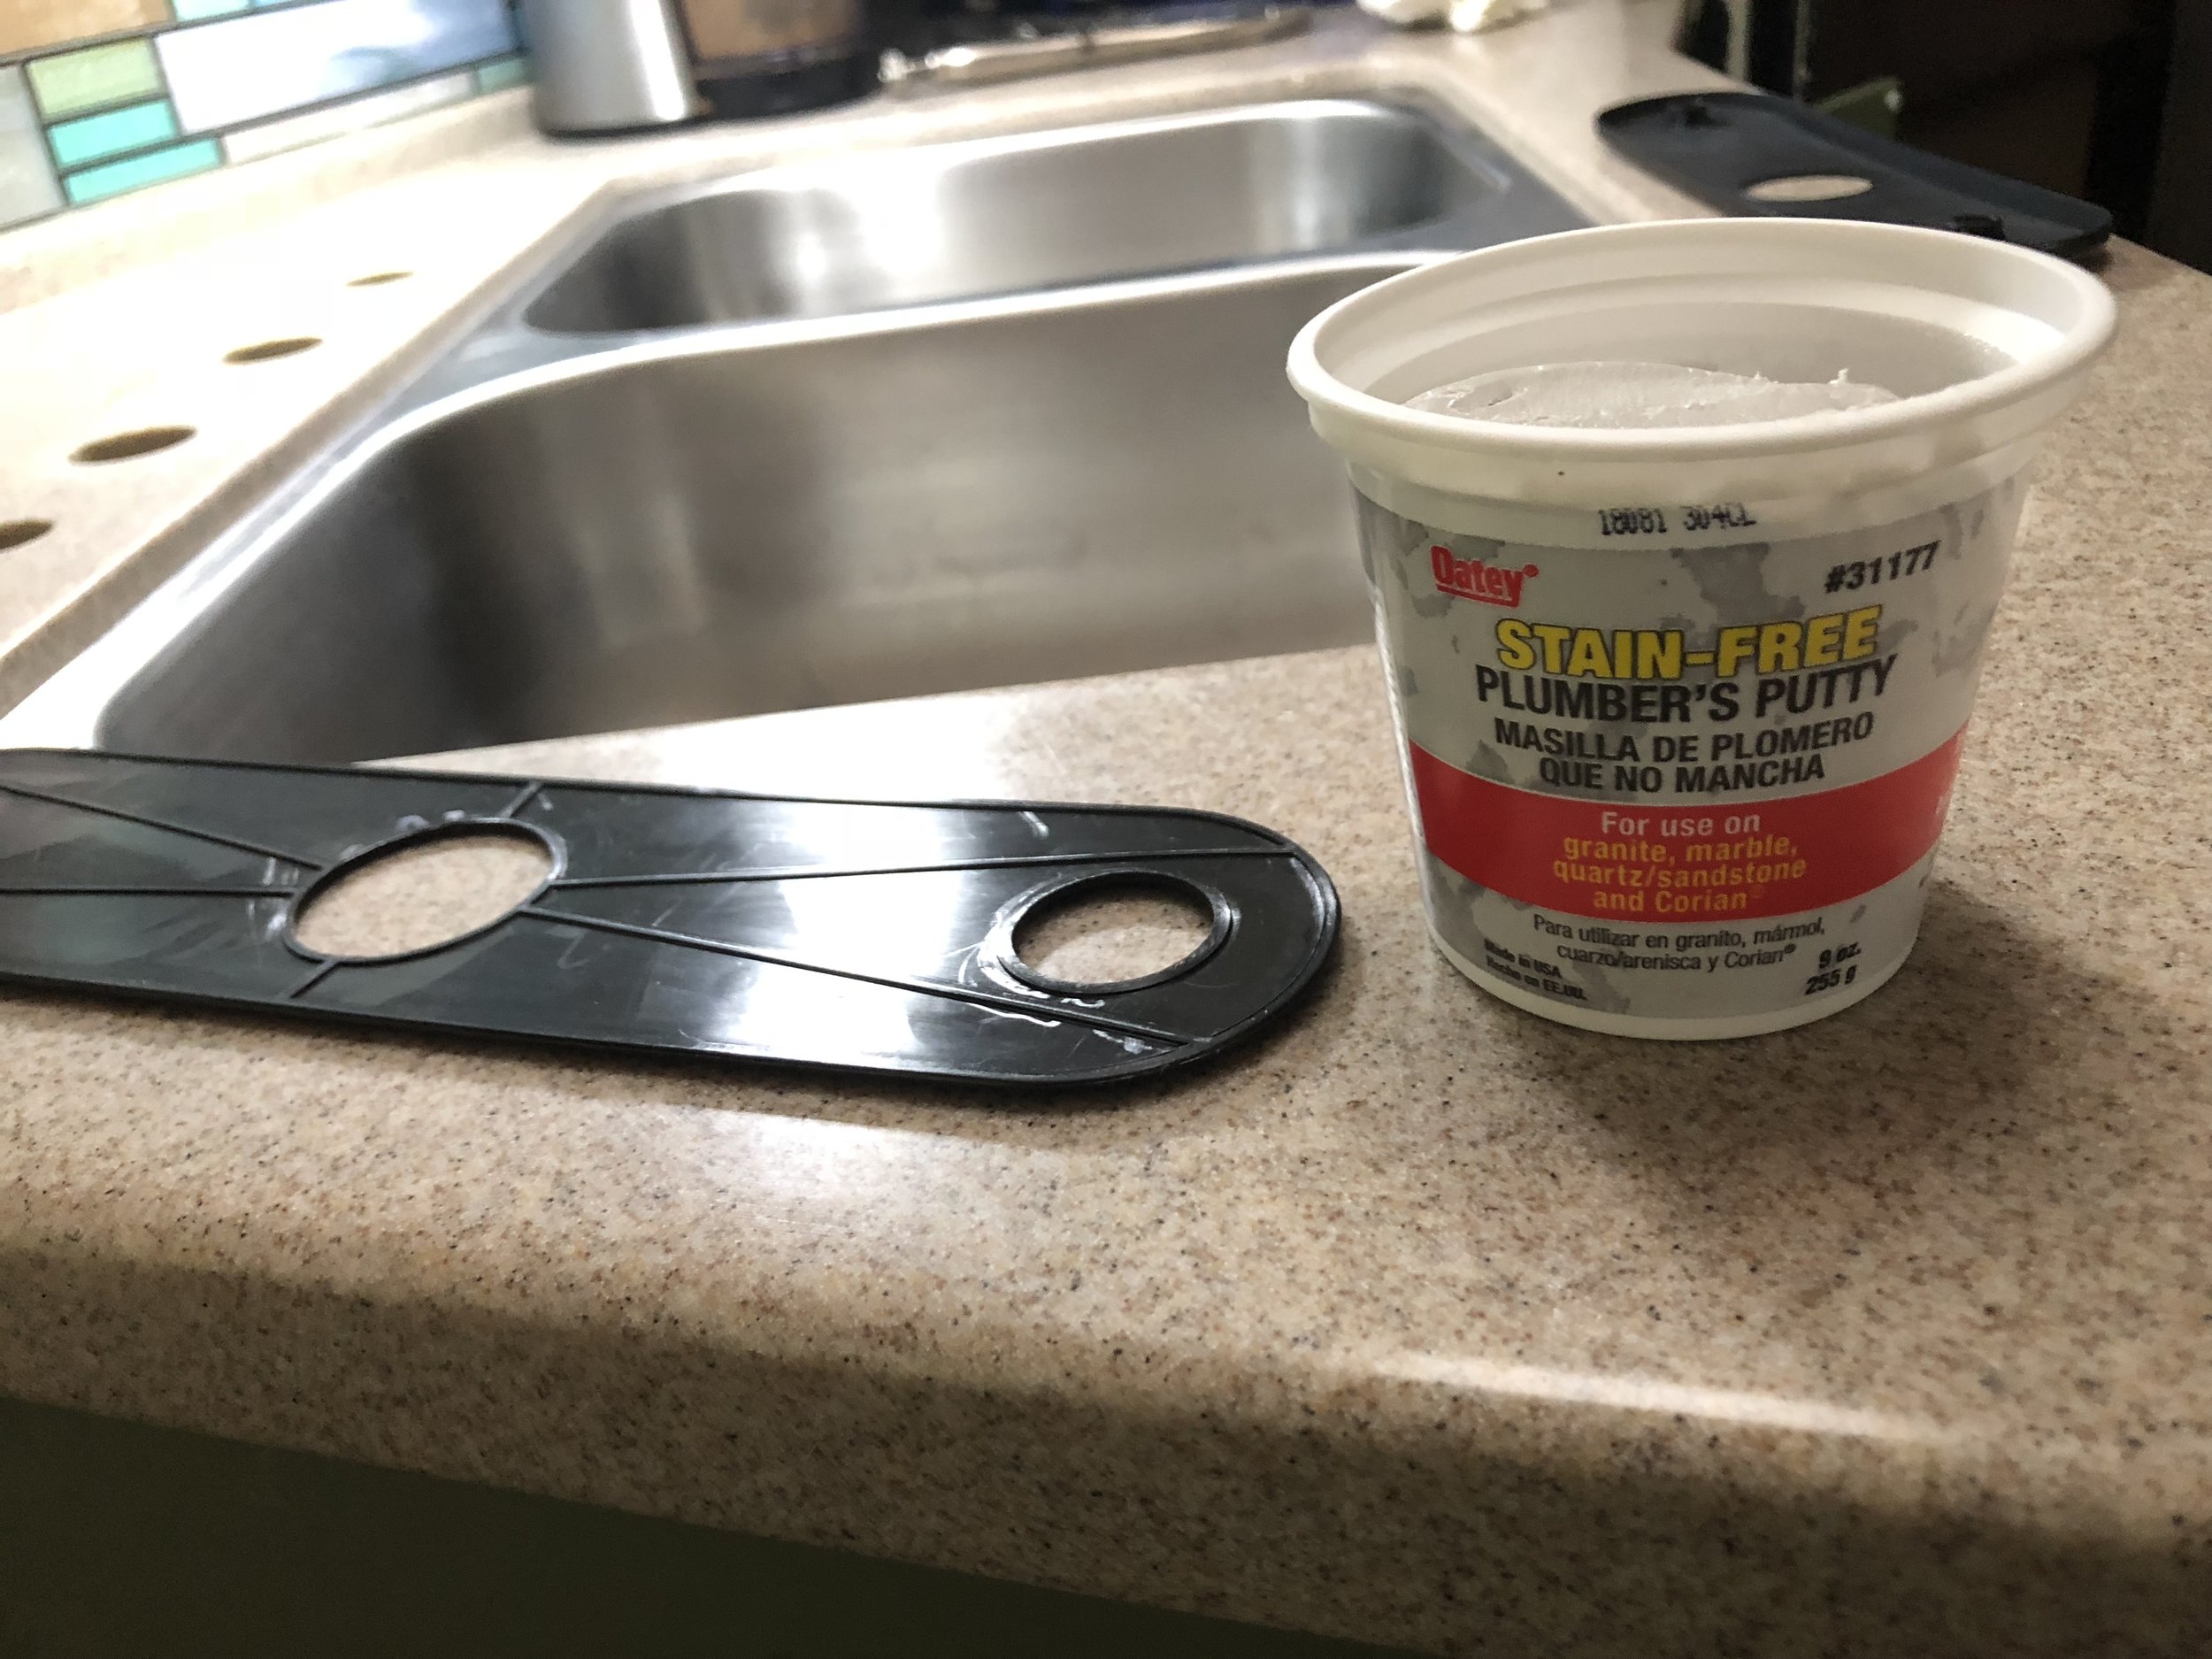
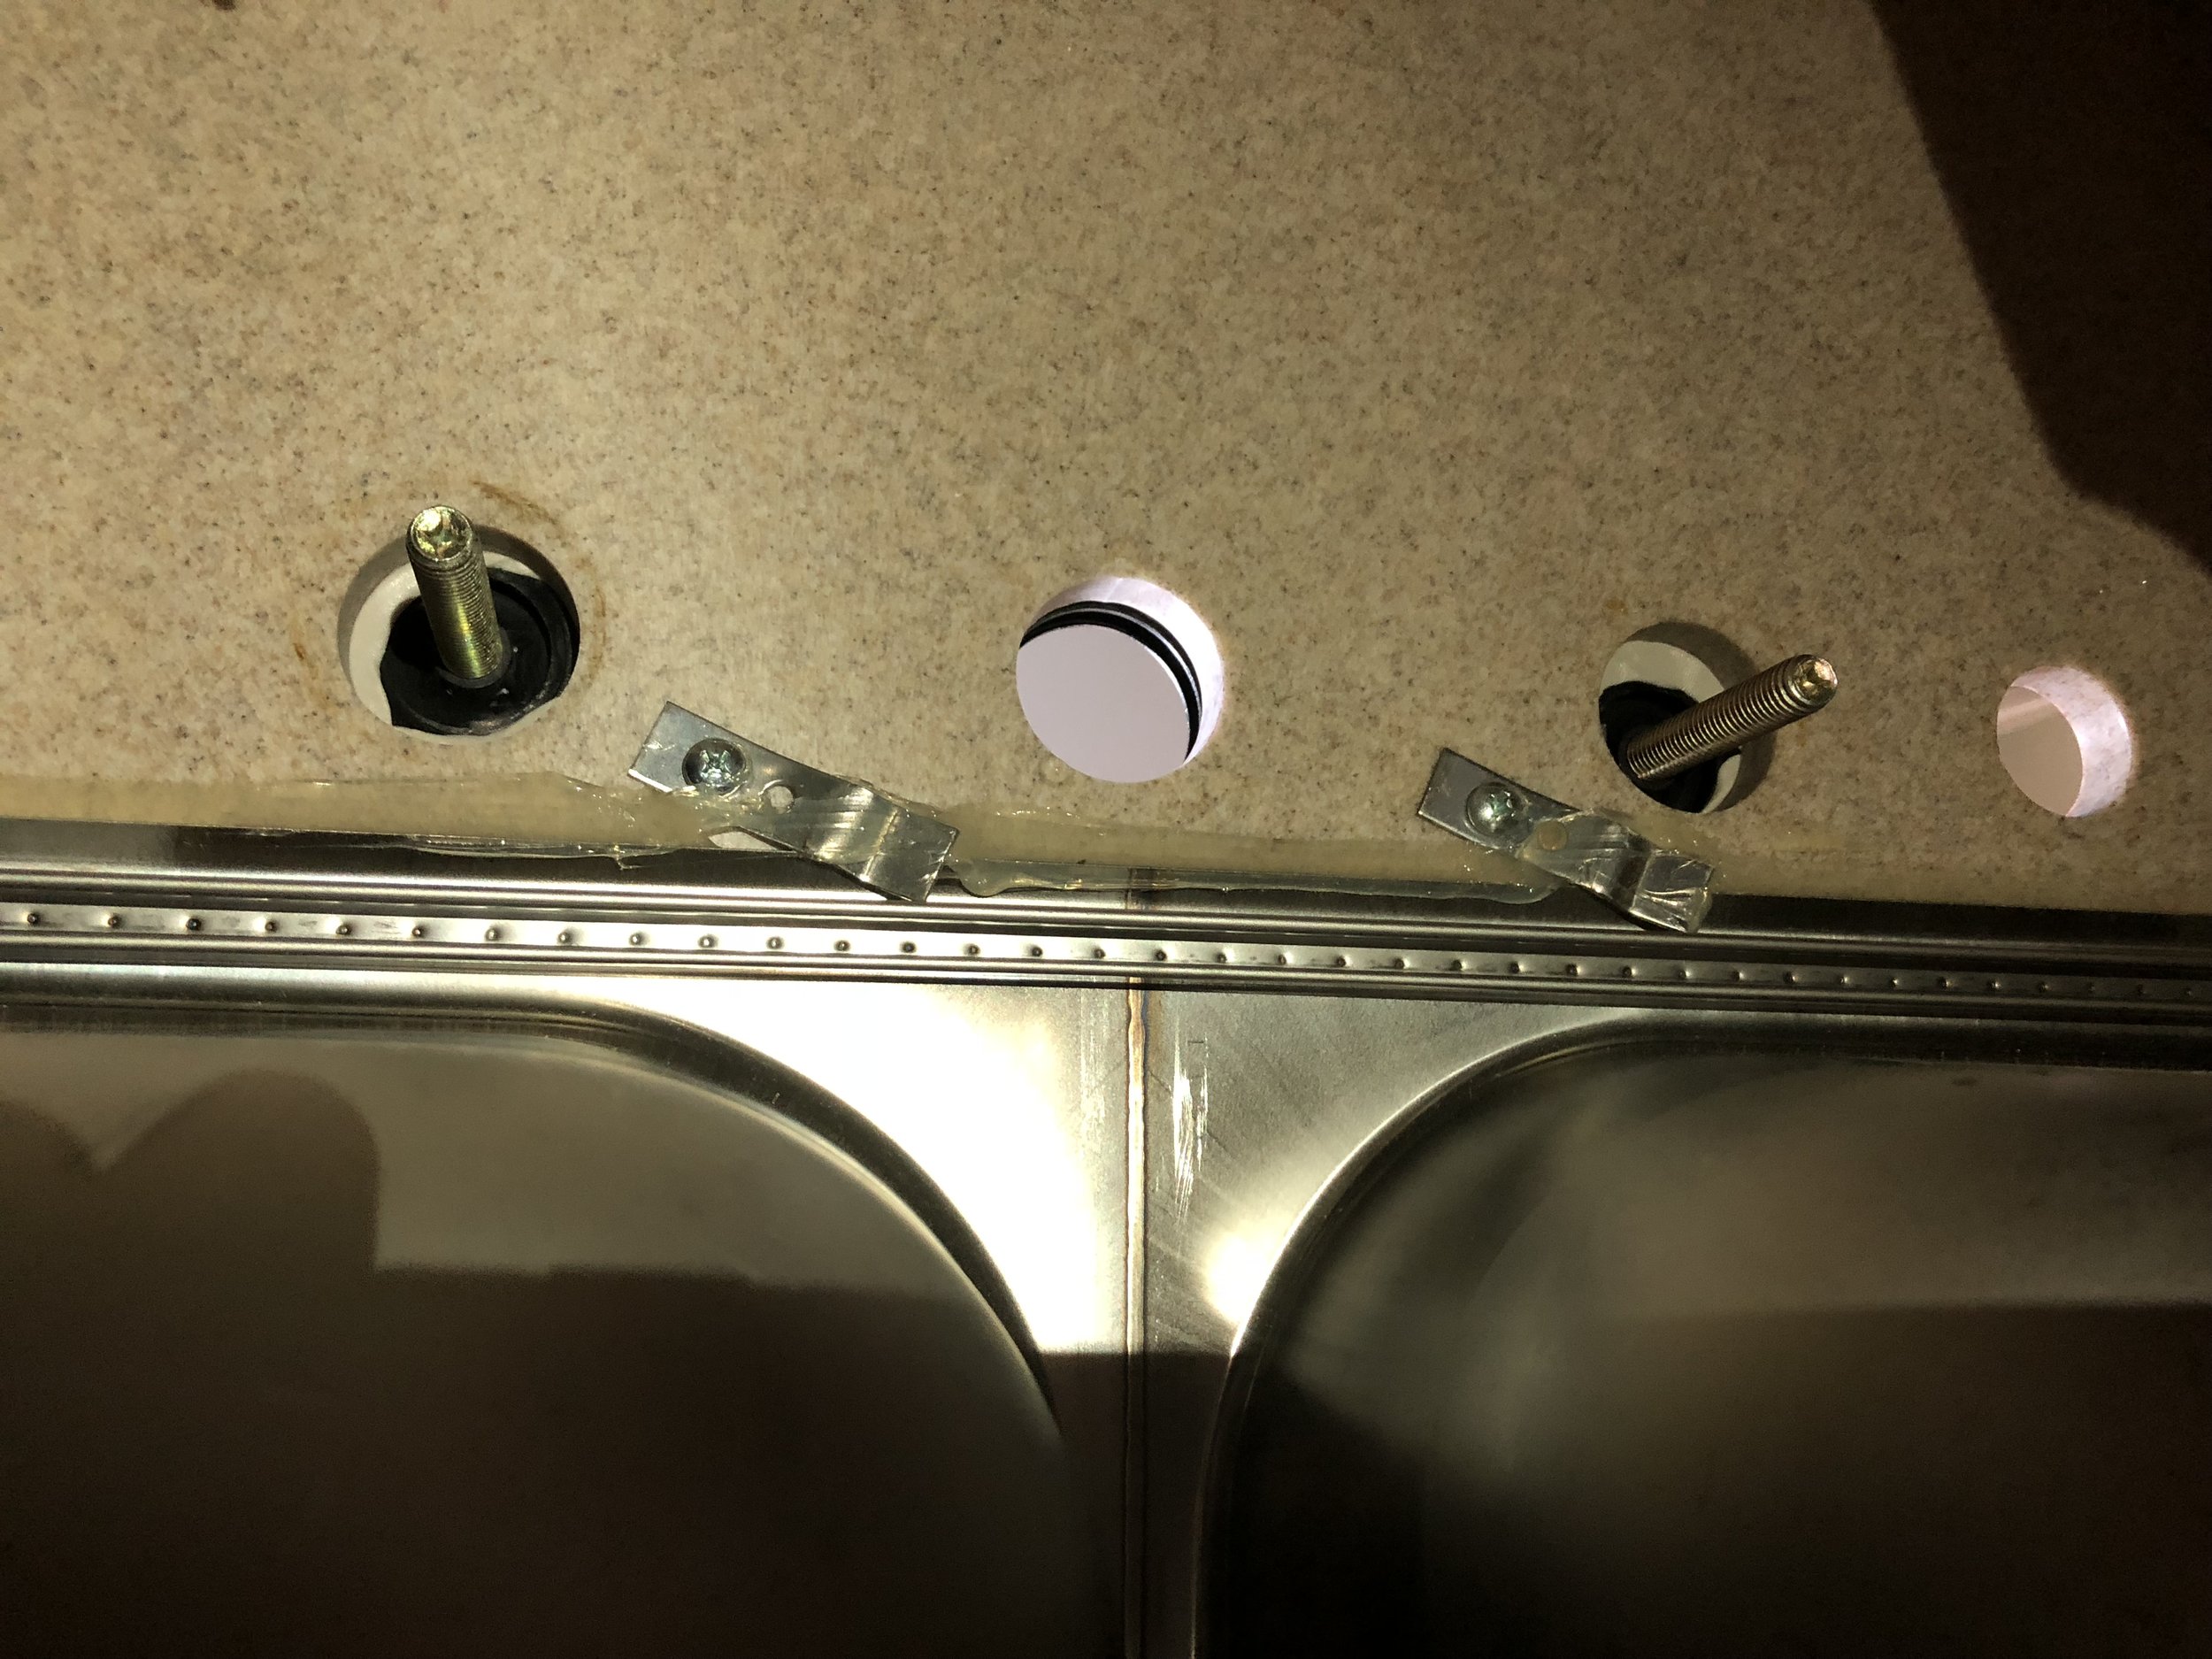
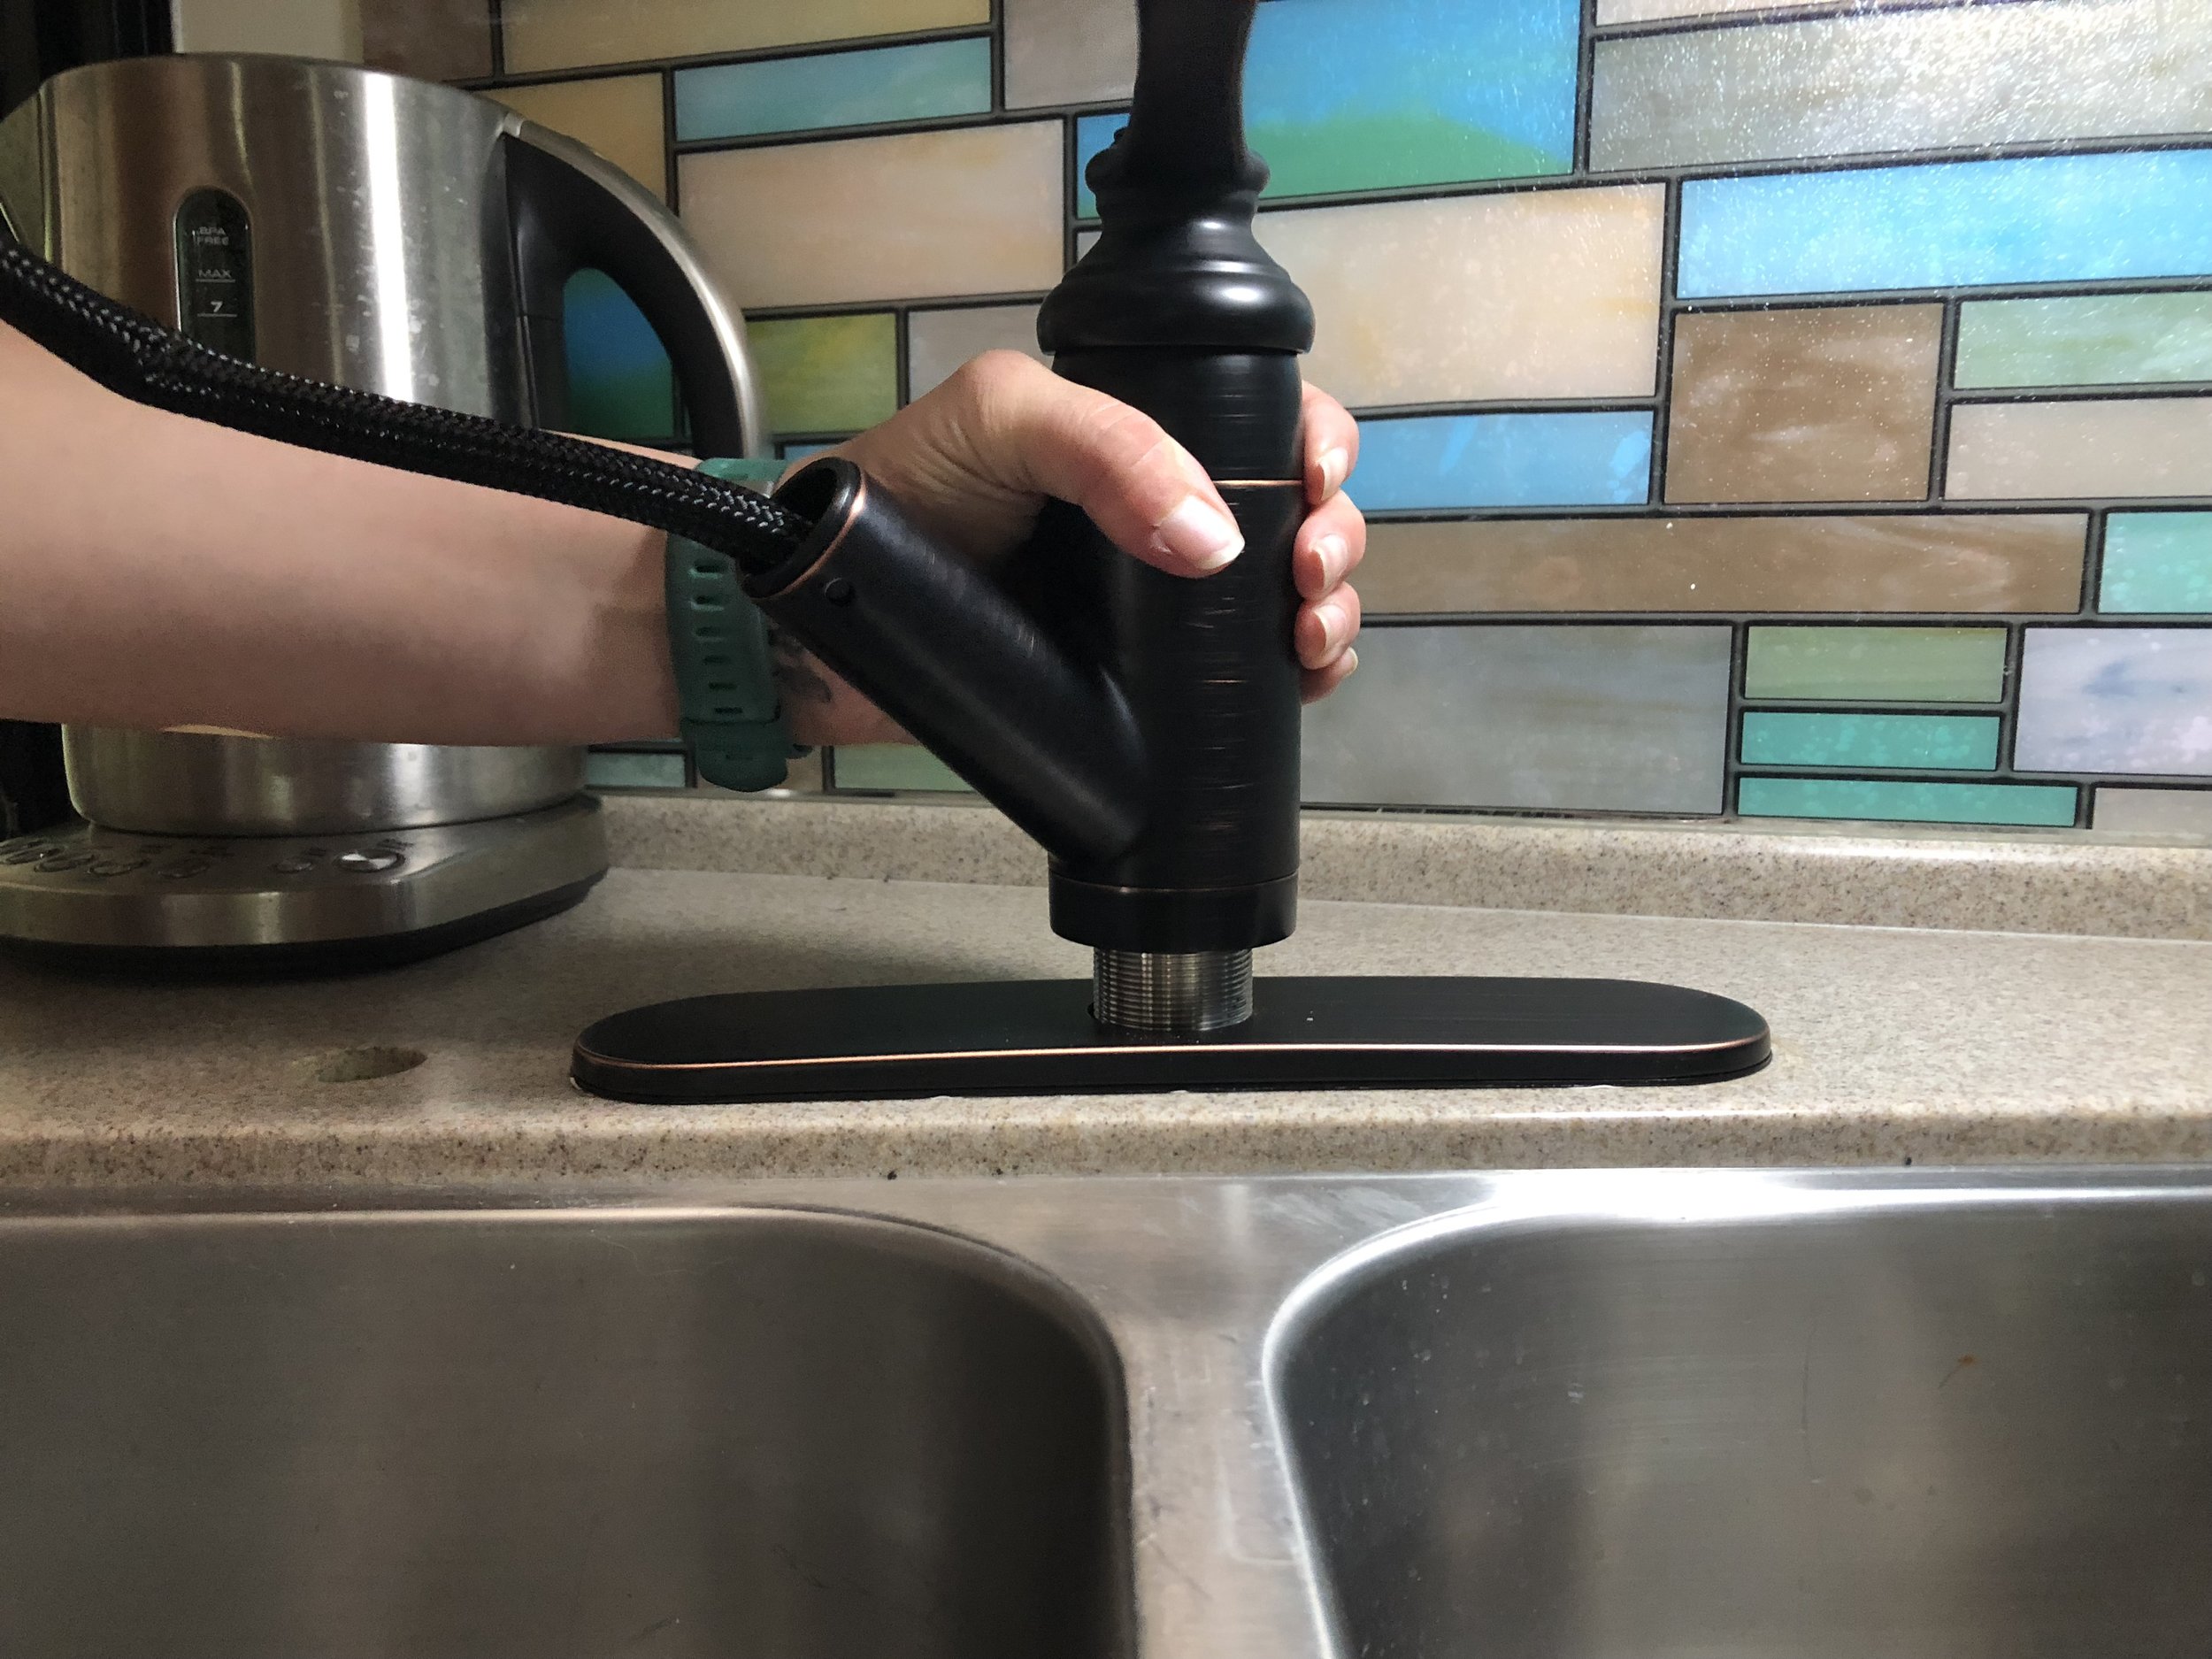
Here comes the tricky part folks! We smooshed some putty on the putty plate and attached it to the sink (so far so good!). When we went to put the faucet through the counter hole, we realized it was slightly to big. Determined to have this task done, we screwed the entire faucet down into the counter. I'm pretty sure it's not supposed to be such a tight fit, but we're past the point of no return.
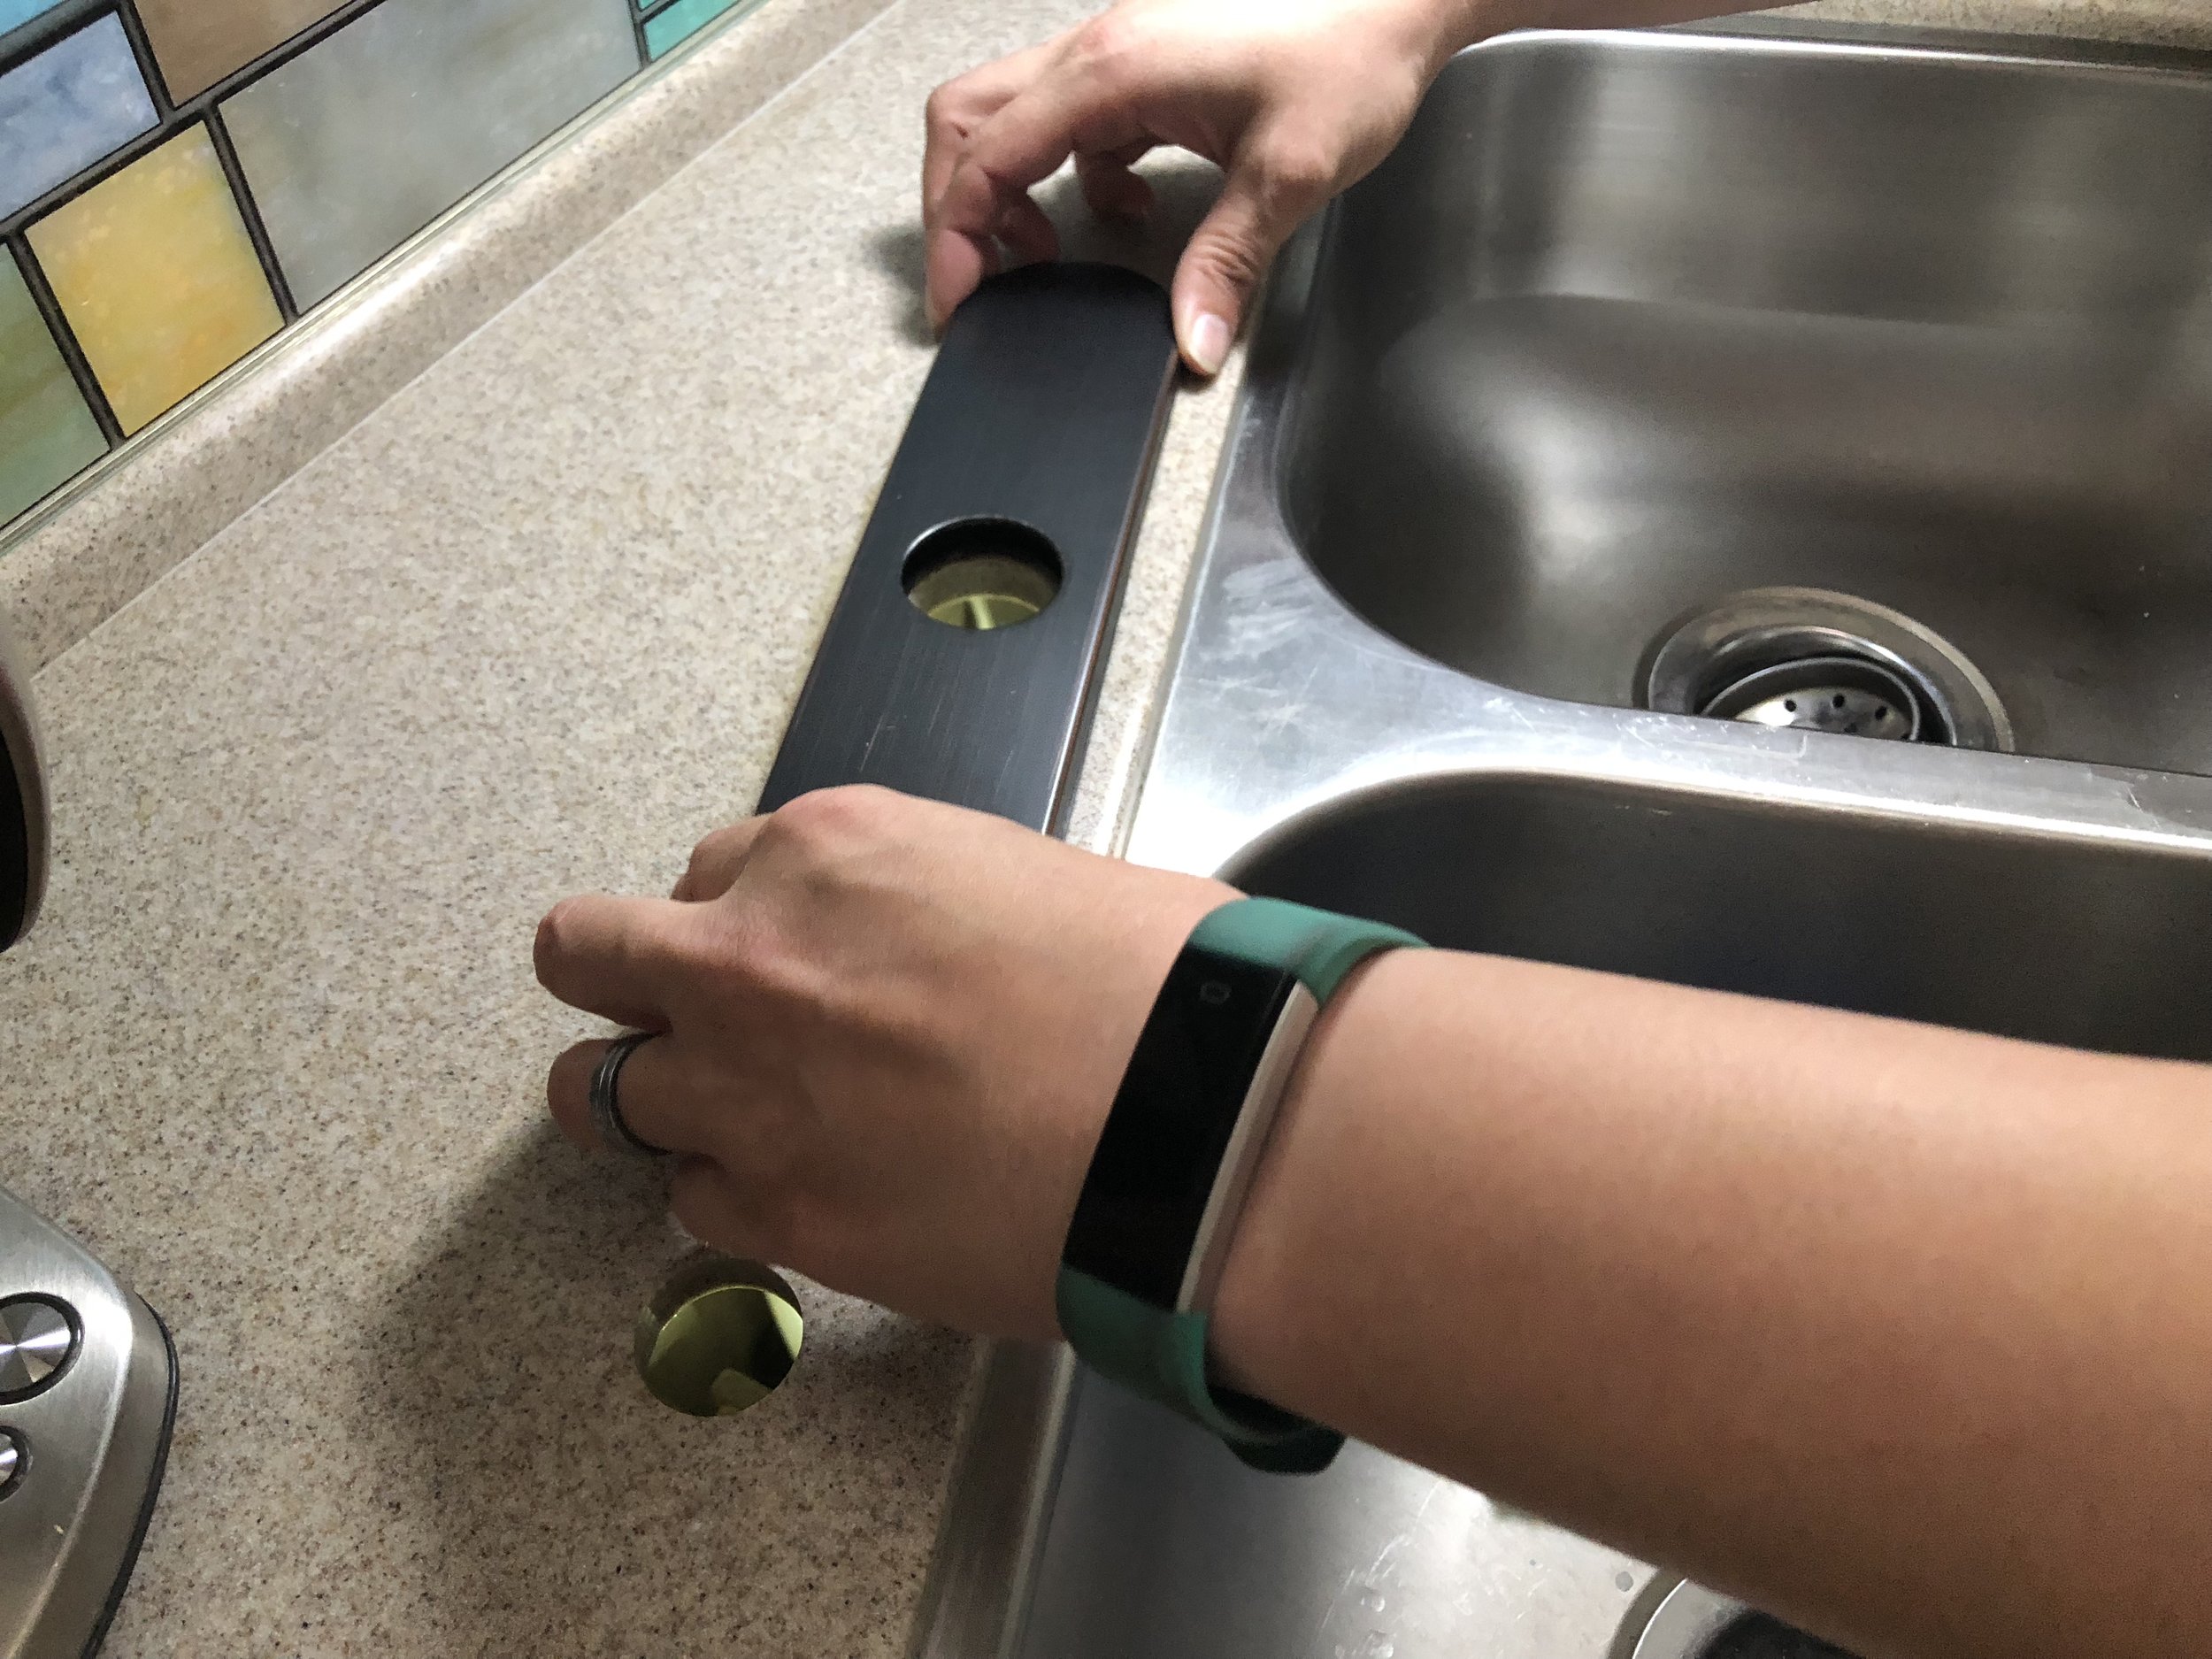
Eager and excited we attach the mounting screws to the putty tray (in the wrong order of course). Now for the moment of truth! Attaching the water supply (yes, we did forget to attach the mounting washer and seat nut).
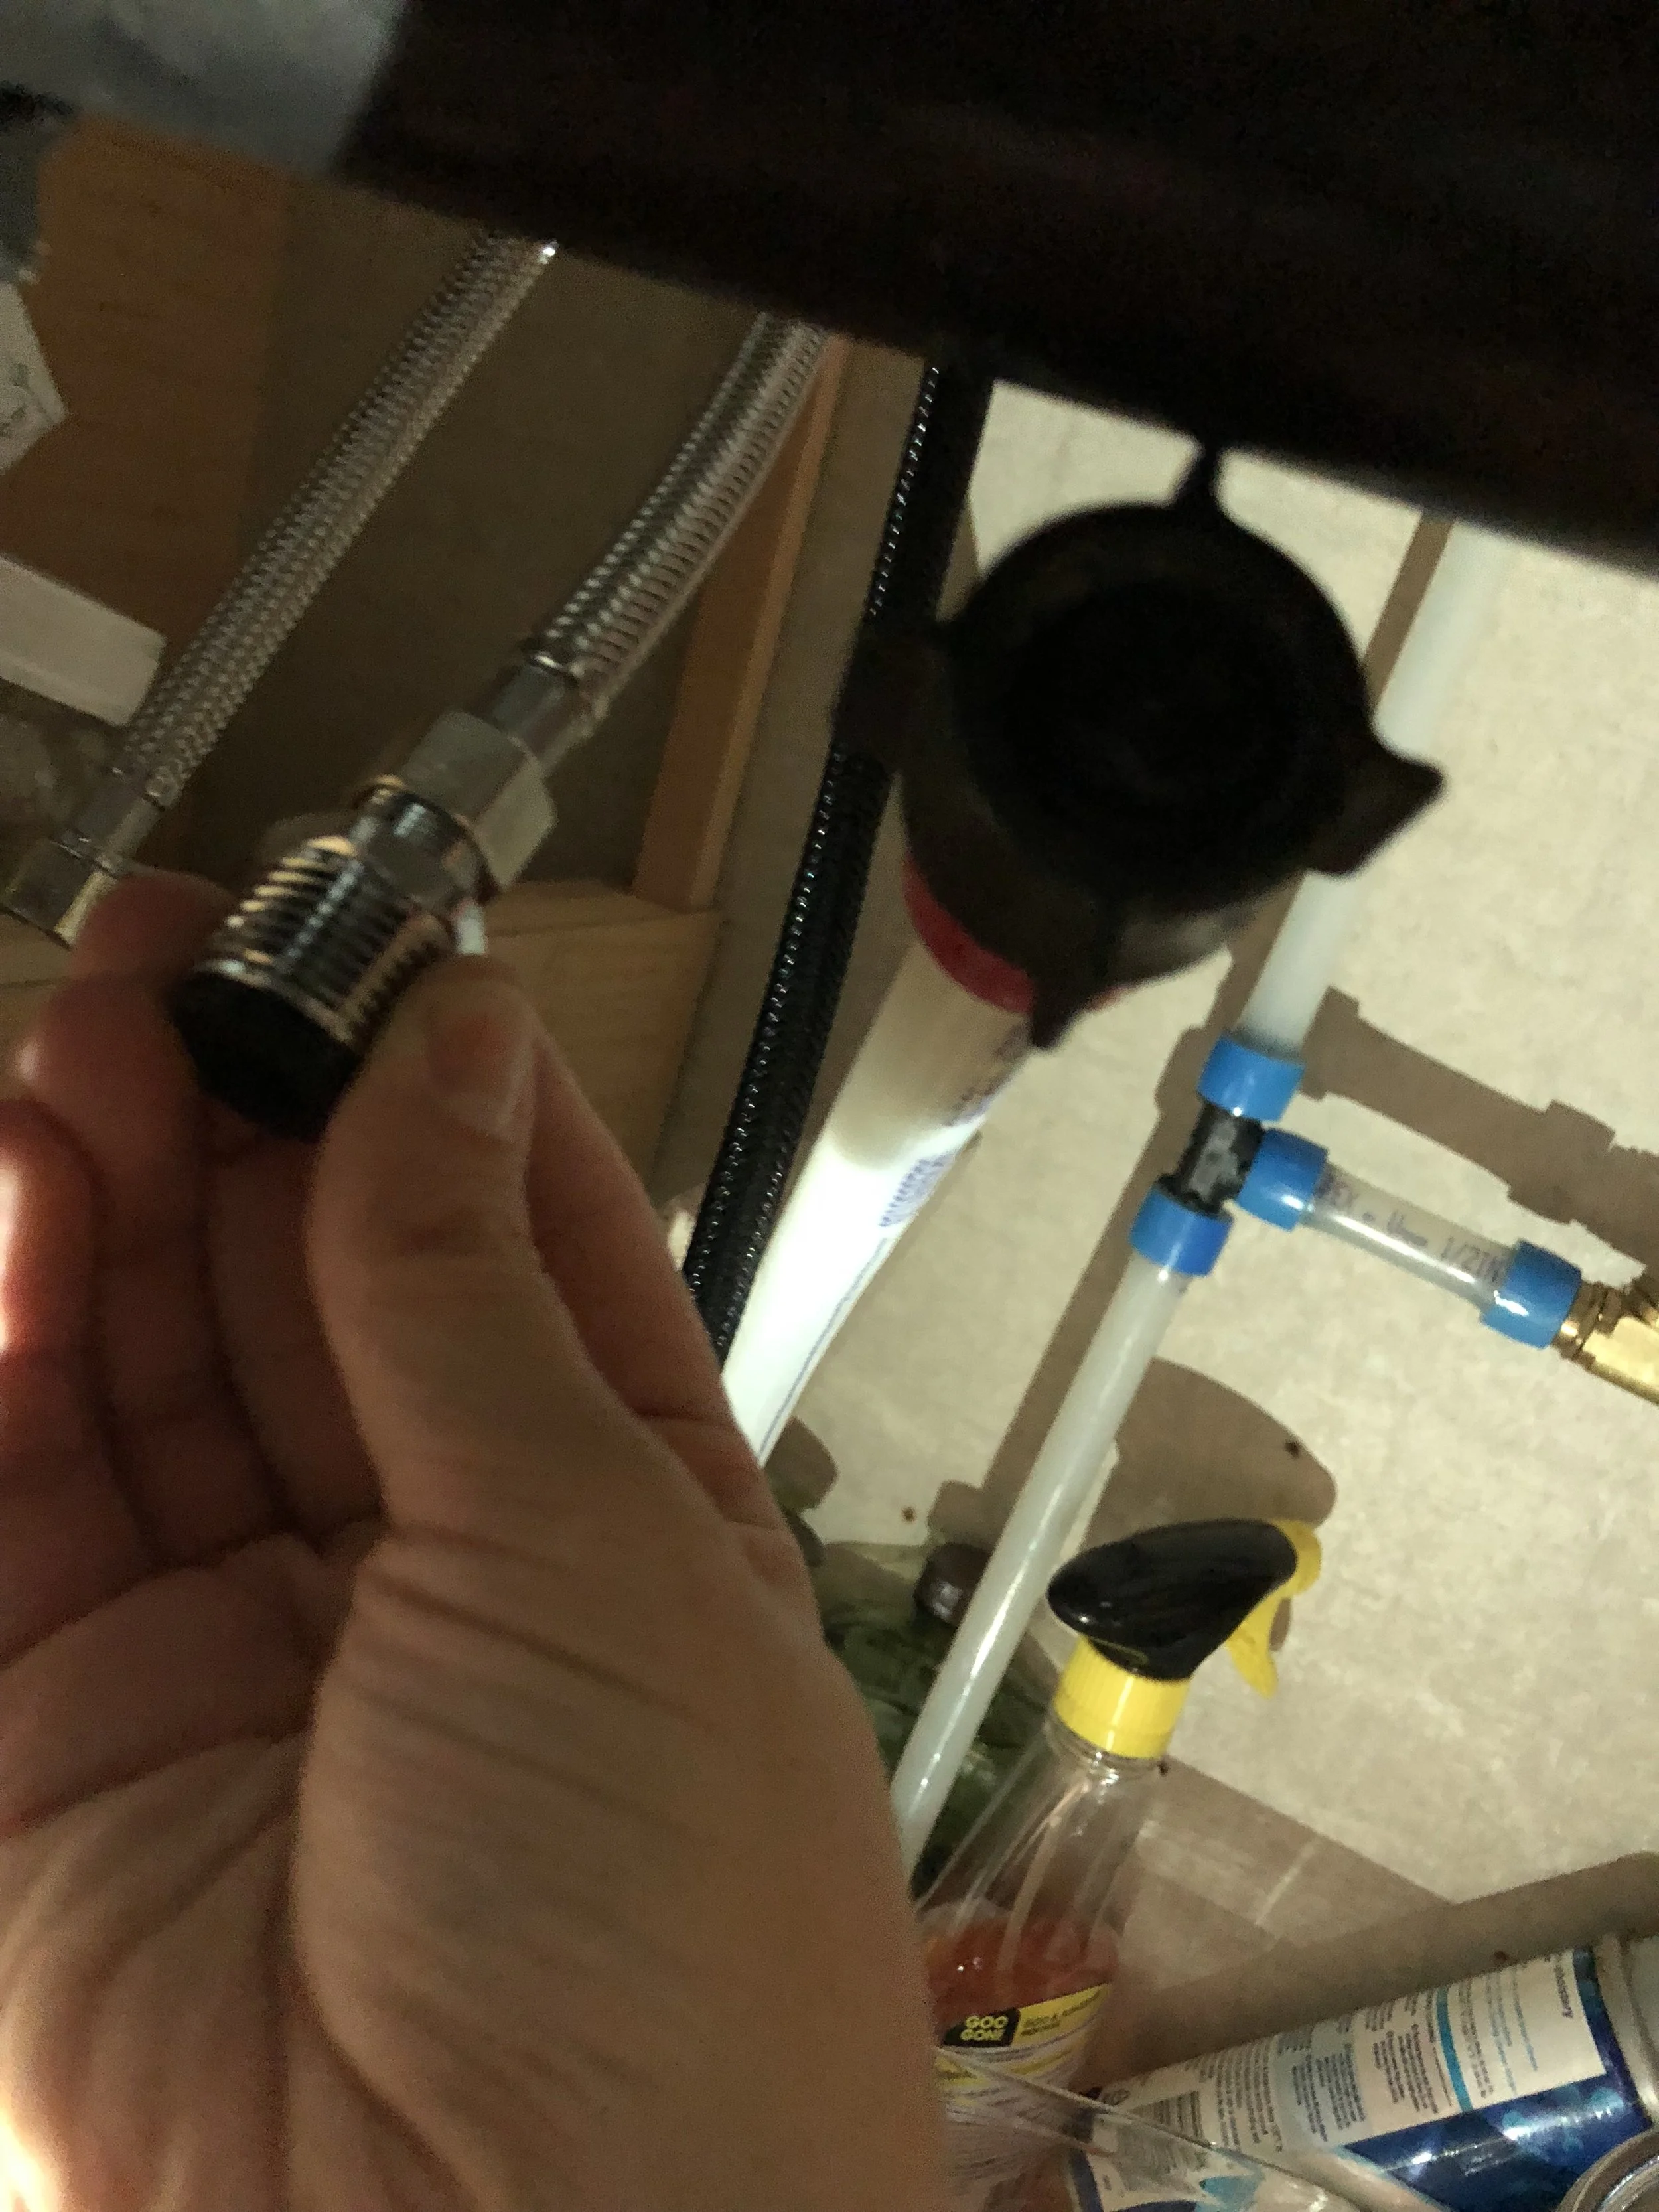
When we went to hook up the water supply lines, we realized we had made a mistake. The supply tube connection is the opposite of our previous faucet making it the same as the supply lines, and impossible to connect.
So much for an easy, fast, simple project!
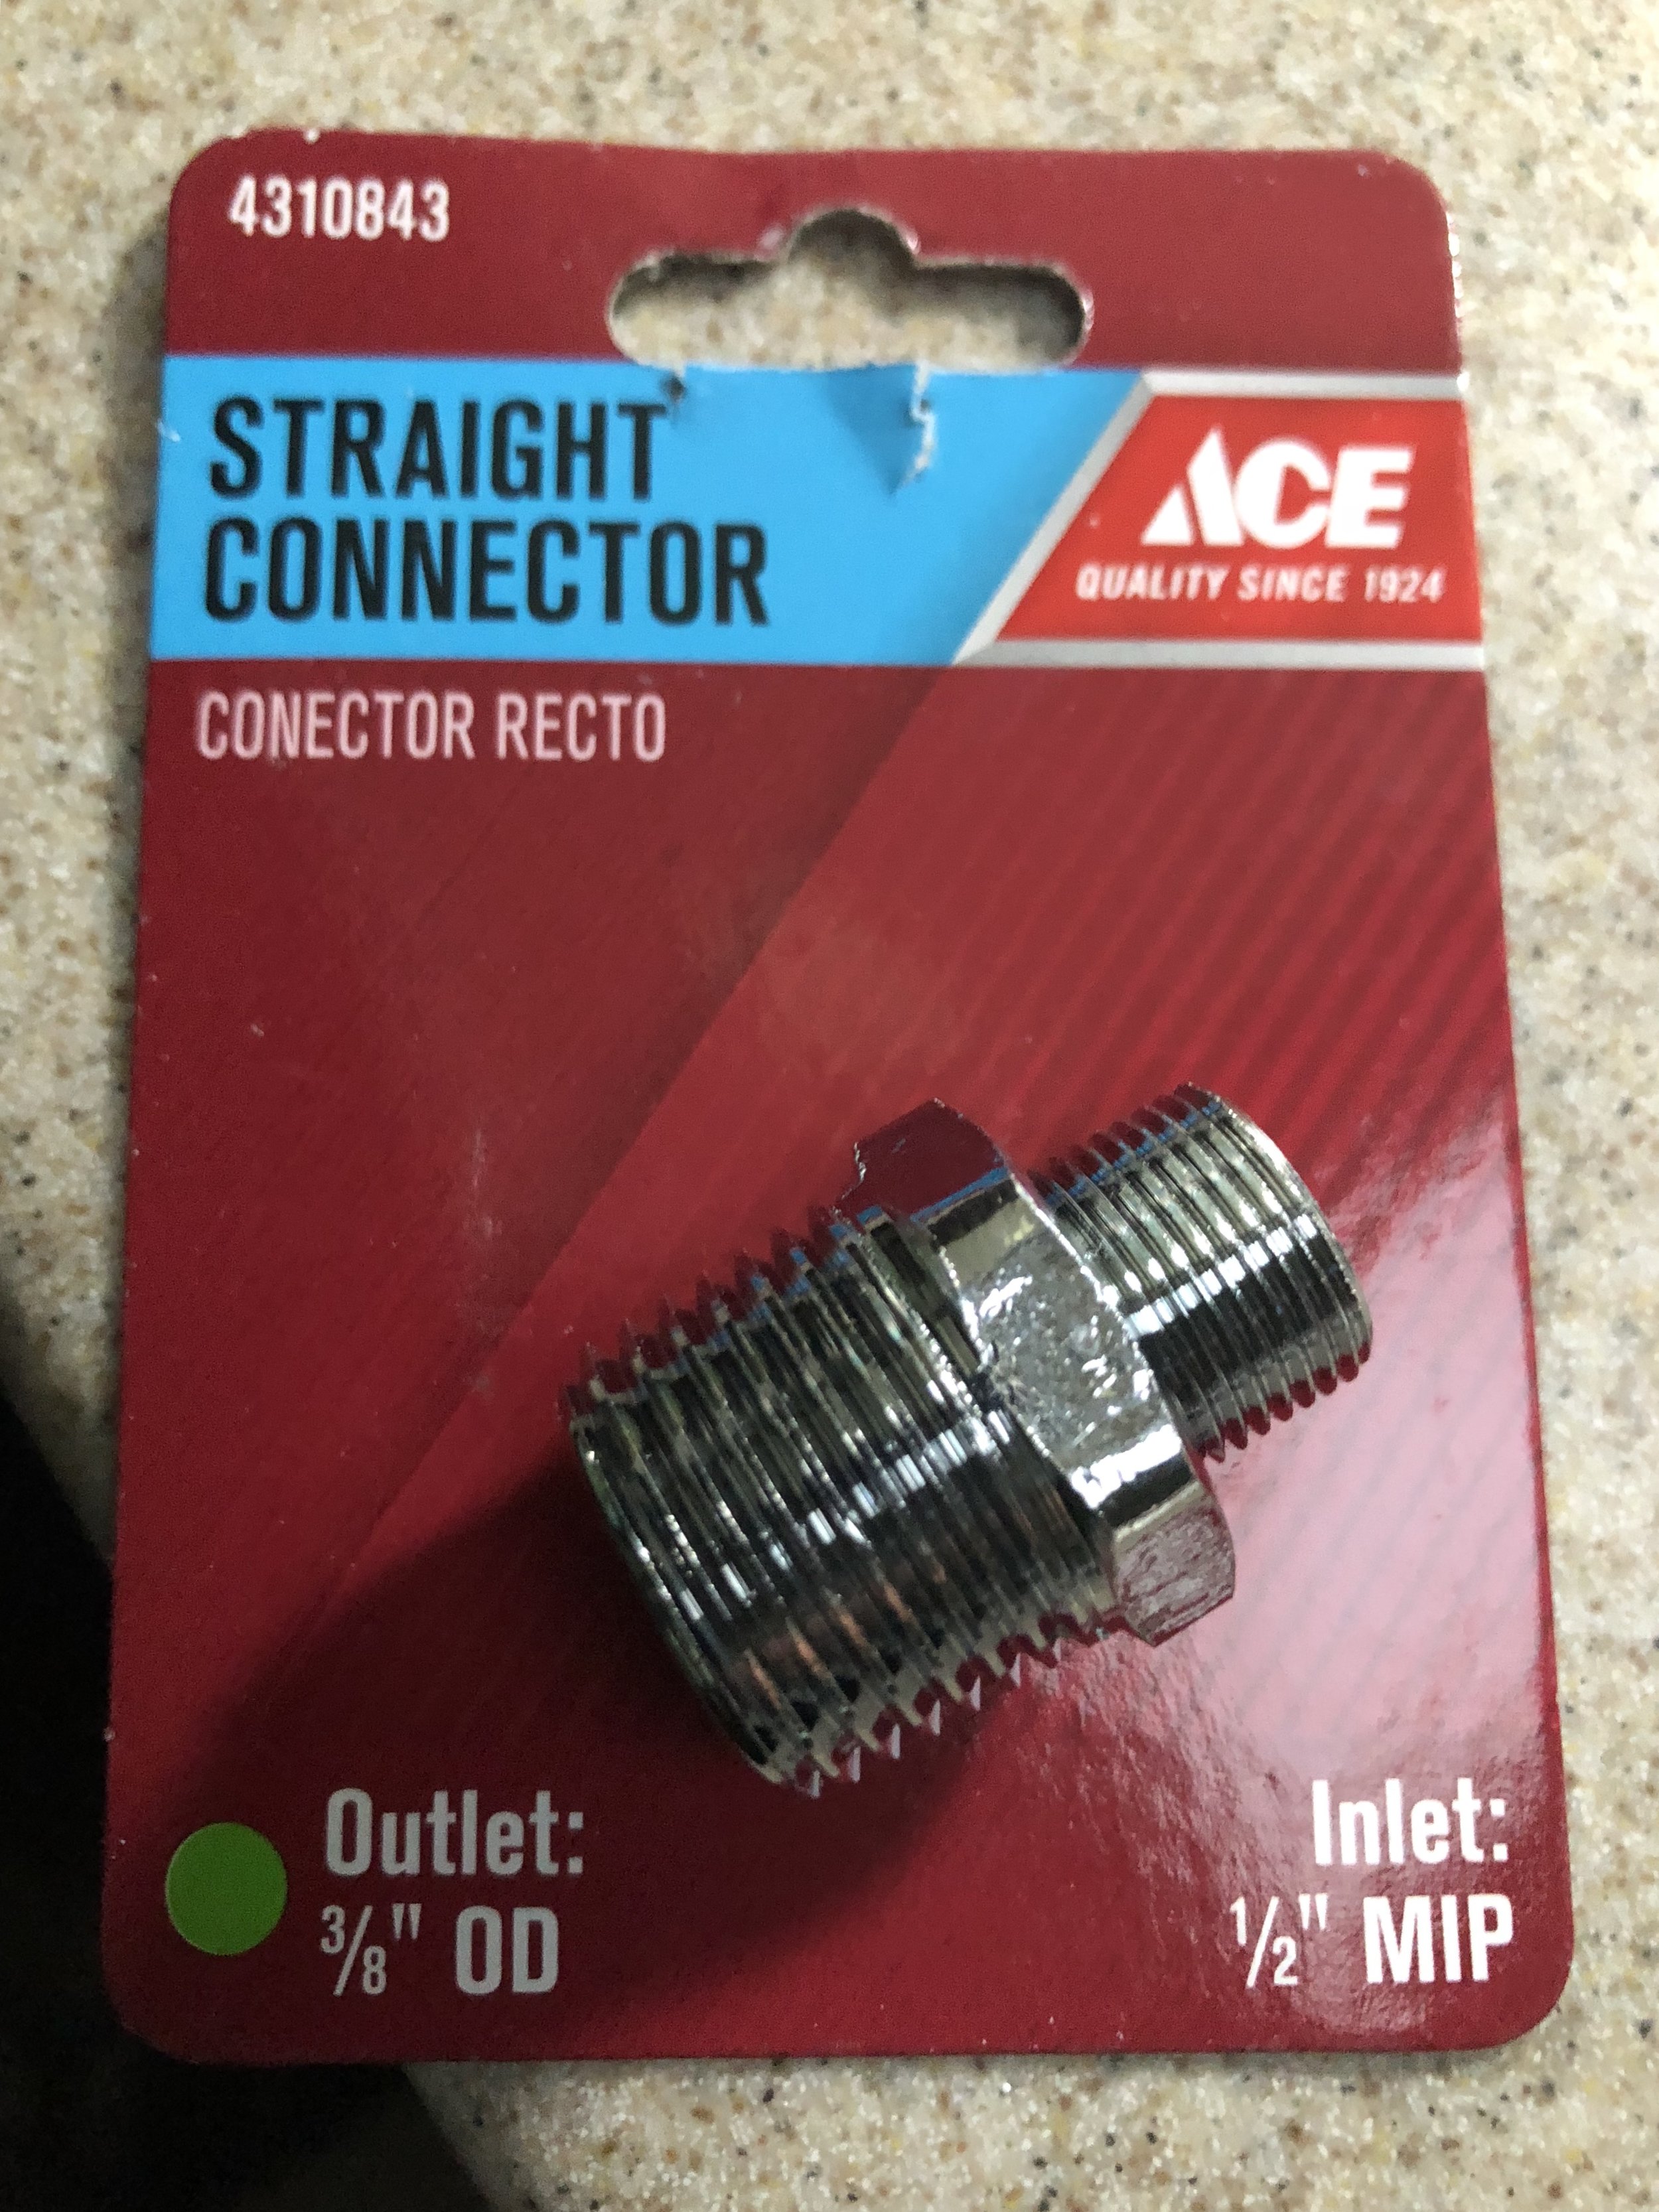

ACE Hardware to the rescue! Just to be extra thorough we took our new faucet and the old line to make sure we got the right coupling. With the help an ACE employee and several drops of her blood, we were able to get the correct gendered coupling and headed back home.
Of course the tape labeling the hot water connection came off at some point between ACE and home, so we guessed and guessed wrong. When we first turned the water one, no leaks but the hot and cold were switched. After changing them, we turned the water on and of course had leaks. It took several tries before we were leak-free and now we're realizing we should have added thread seal tape to the lines. We'll be going back to the hardware store for that too!
Once we finally had everything tight with no leaks, we realized we didn't put the mounting washer and seat nut on...Luckily, the faucet was such a tight fit it doesn't wobble too much, but we'll be unhooking everything to attach the missing parts and thread seal soon.
The only other issue is that the connectors are quite a bit longer than the others, so we're left with a lot of extra pipe. We may trim this down later, but for now we have a working sink!
Have you replaced any faucets in your RV? Leave a comment below and don't forget to subscribe!