
RV Dinette Removal
Though we've replaced a few things here and there inside the RV, it feels like we're really starting our renovation now that we've begun to paint!
Before we started painting though, we had to remove the dinette...Easy, right? WRONG!
Okay, so it's not the most difficult project, but was much more of a headache than we anticipated. We initially thought we'd be removing some screws, a few bolts, and we're home free. Some dinettes may be this way, but ours needed a bit more time and a lot more effort.
How We Did It
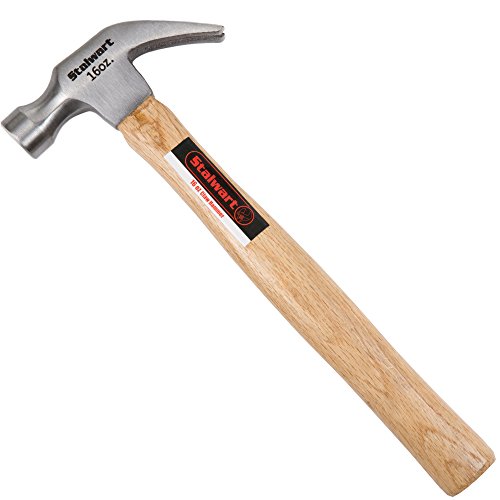
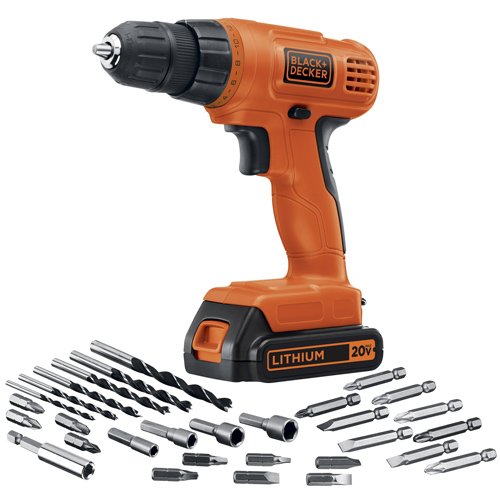
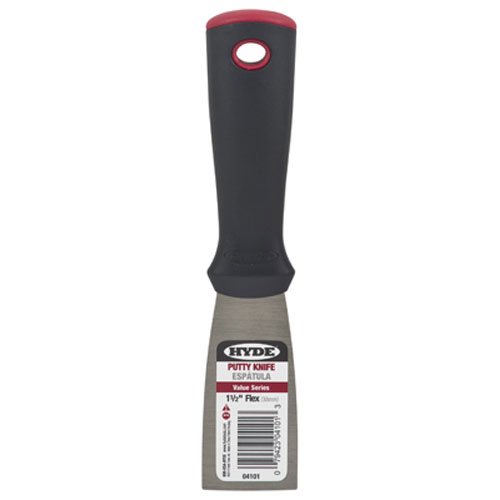
Nothing too special here. Just the basics - hammer, drill (with Phillips head and bolt grips), vice, plastic wood, putty knife, beer, and a reliable support system.


The Booth
Our intention was to keep one booth and the table. Since we didn't care to keep the booth next to the couch, we thought it was a good place to start the extraction process.
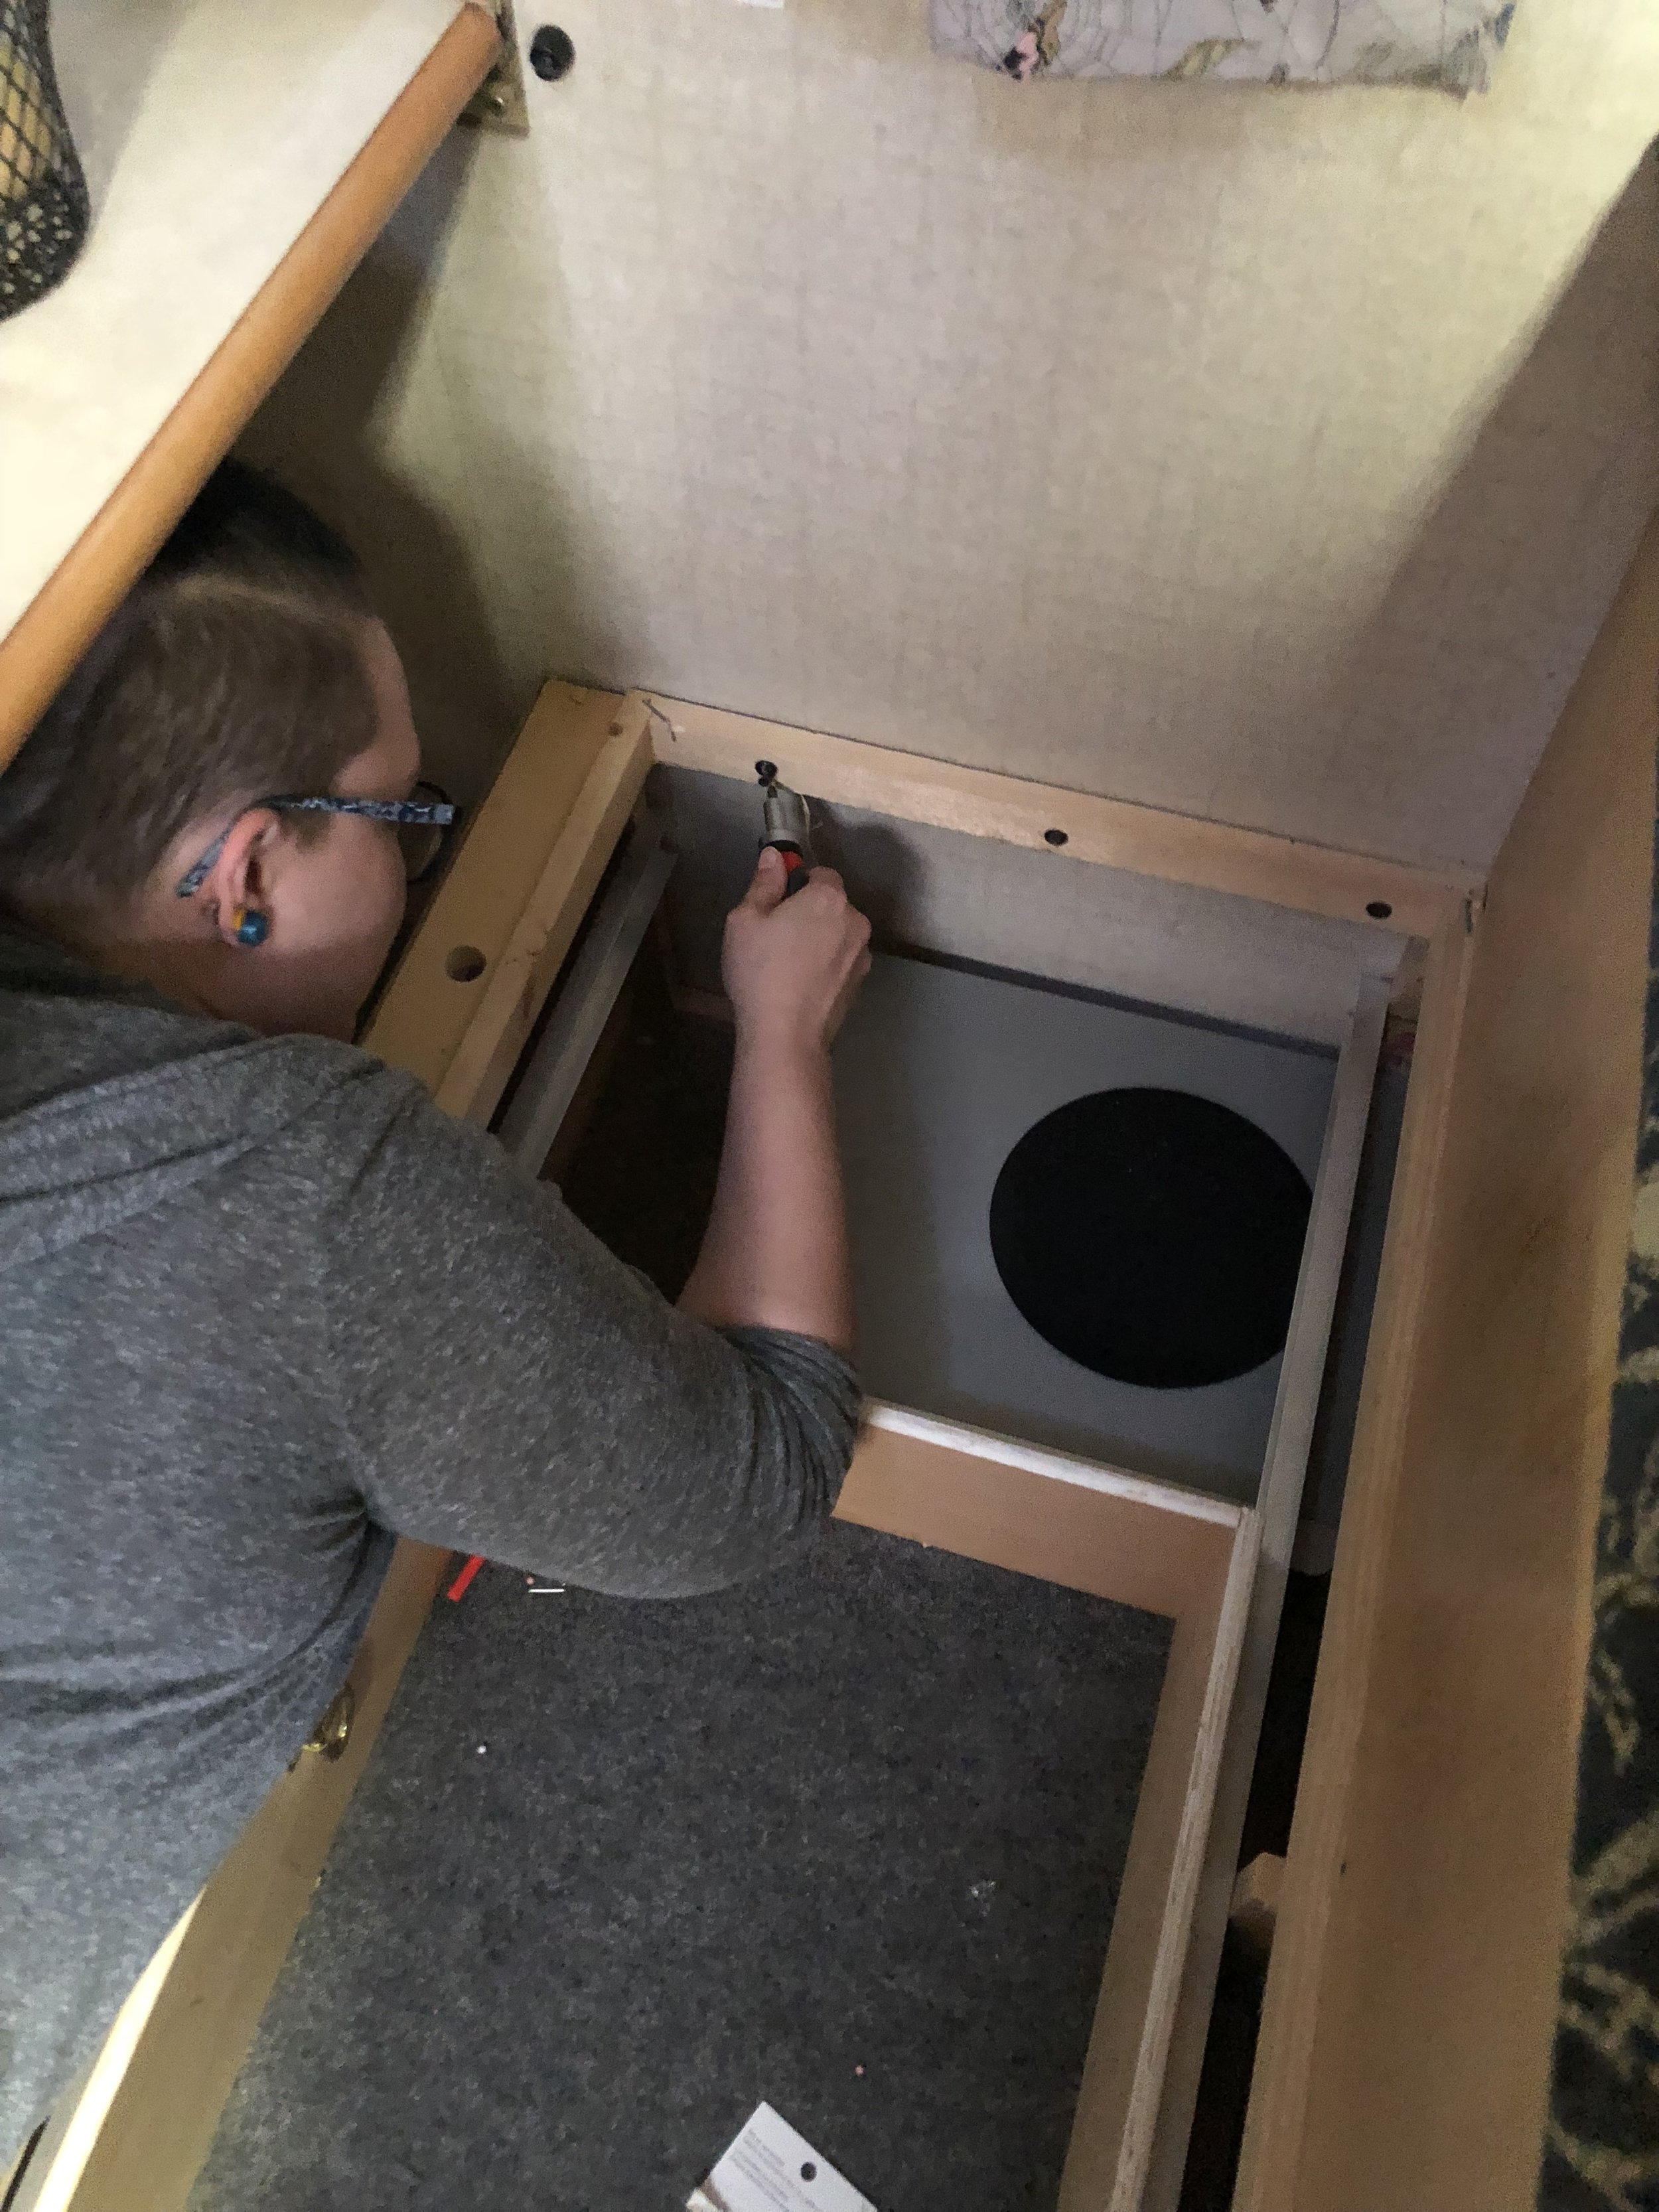
We tossed the cushions aside to reveal a bracket attaching it to the wall and screws holding the base board (where you sit) in place. These were pretty easy to remove.
Once all of the screws and brackets are removed, the base board lifted up to reveal the storage underneath, including a speaker we weren't aware of...great, now we have to find a place for that.
This allowed us to remove the lock that kept the drawer from coming out all the way. Once the drawer and the slides it rests on were both out of the way, we could remove the rest of the rusty screws attaching the booth to the floor and wall. I also cut through the fabric to see if the wood underneath was paintable...it wasn't. Guess I'll be re-upholstering the other booth.


The Table
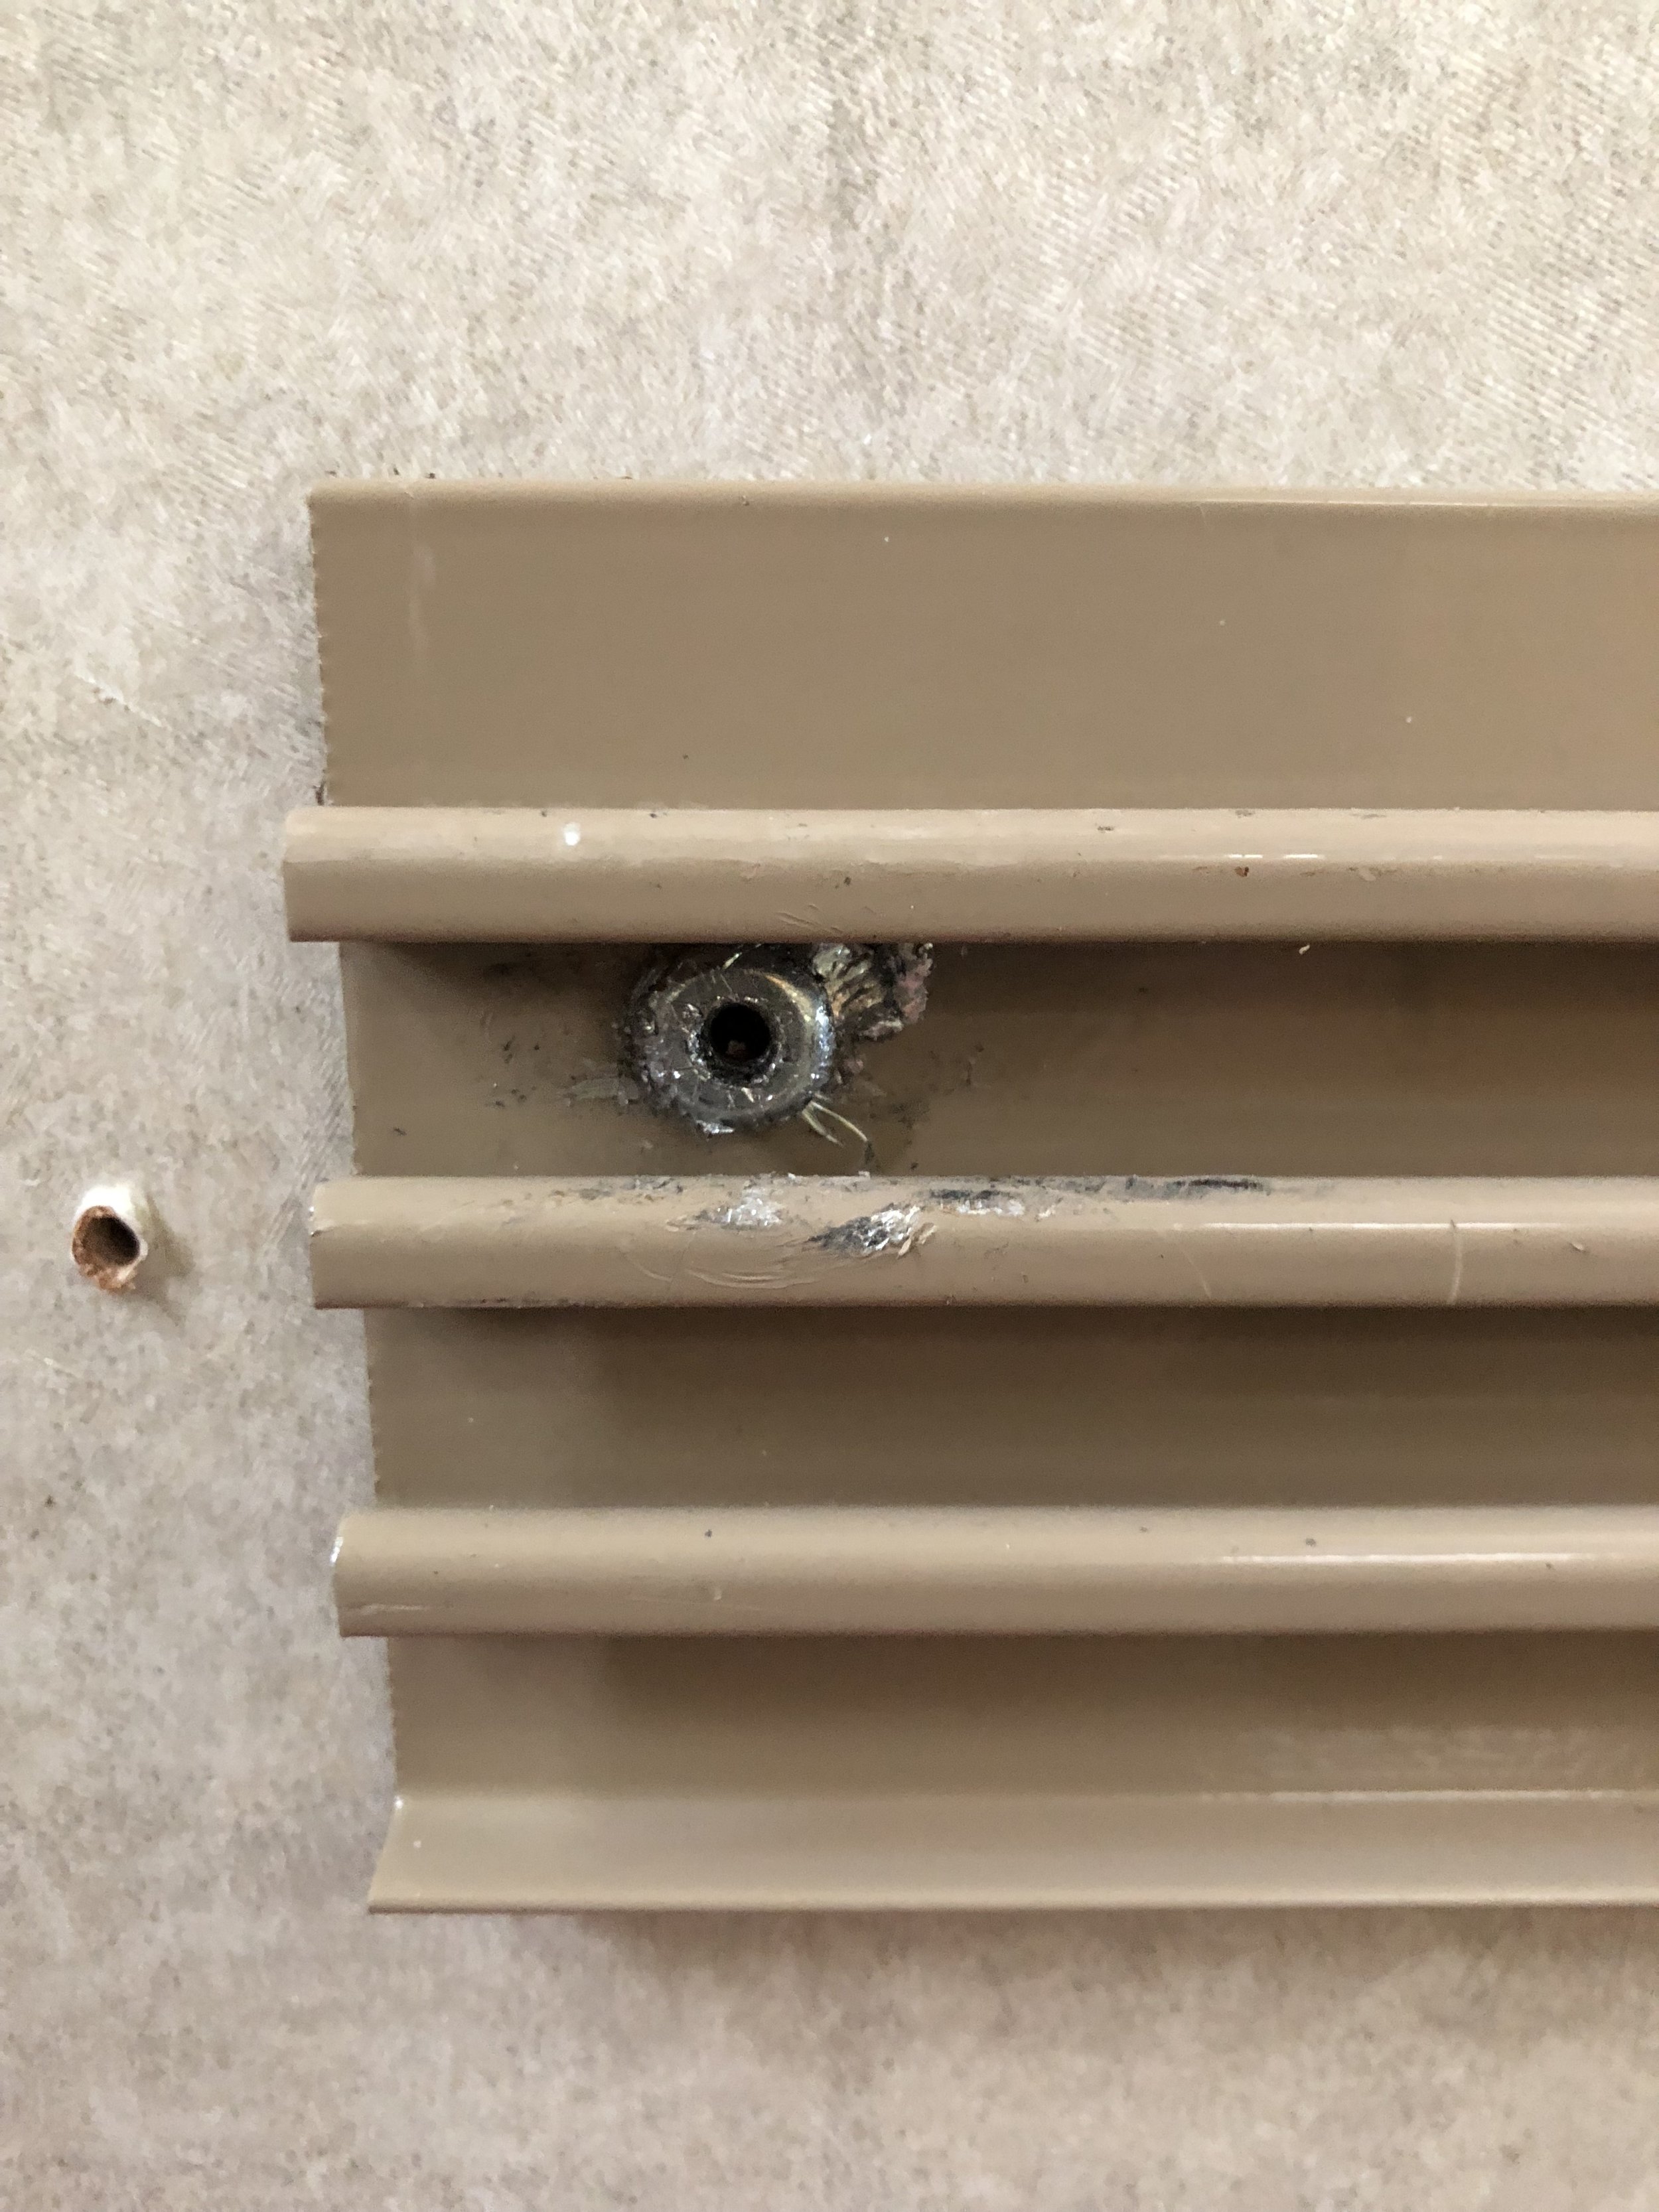
As I mentioned, our plan was to keep the dining table, at least for a while. Though as we continued disassembling... this plan was foiled. We tried to remove the "screws" that hold the wall side of the table. The screws ended up being impenetrable anchors that were never meant to be removed. We don't even know how the manufacturers got them in there!
After turning, hammering, screaming, and crying at the dang things we got one out revealing the anchor back. And so we (Loren) took the back of the hammer and pried the damn thing off. This left some pretty substantial wholes in the wall, but what choice did we have?!
We filled the wholes the best we could with Plastic Wood and sanded them down. They are still noticeable, but thankfully we plan to put a new table there.


We did it! Now it's time to paint paint paint!! Have you replaced the dinette in your RV? Leave us a comment below and don't forget to subscribe!