Damage Free RV Curtains
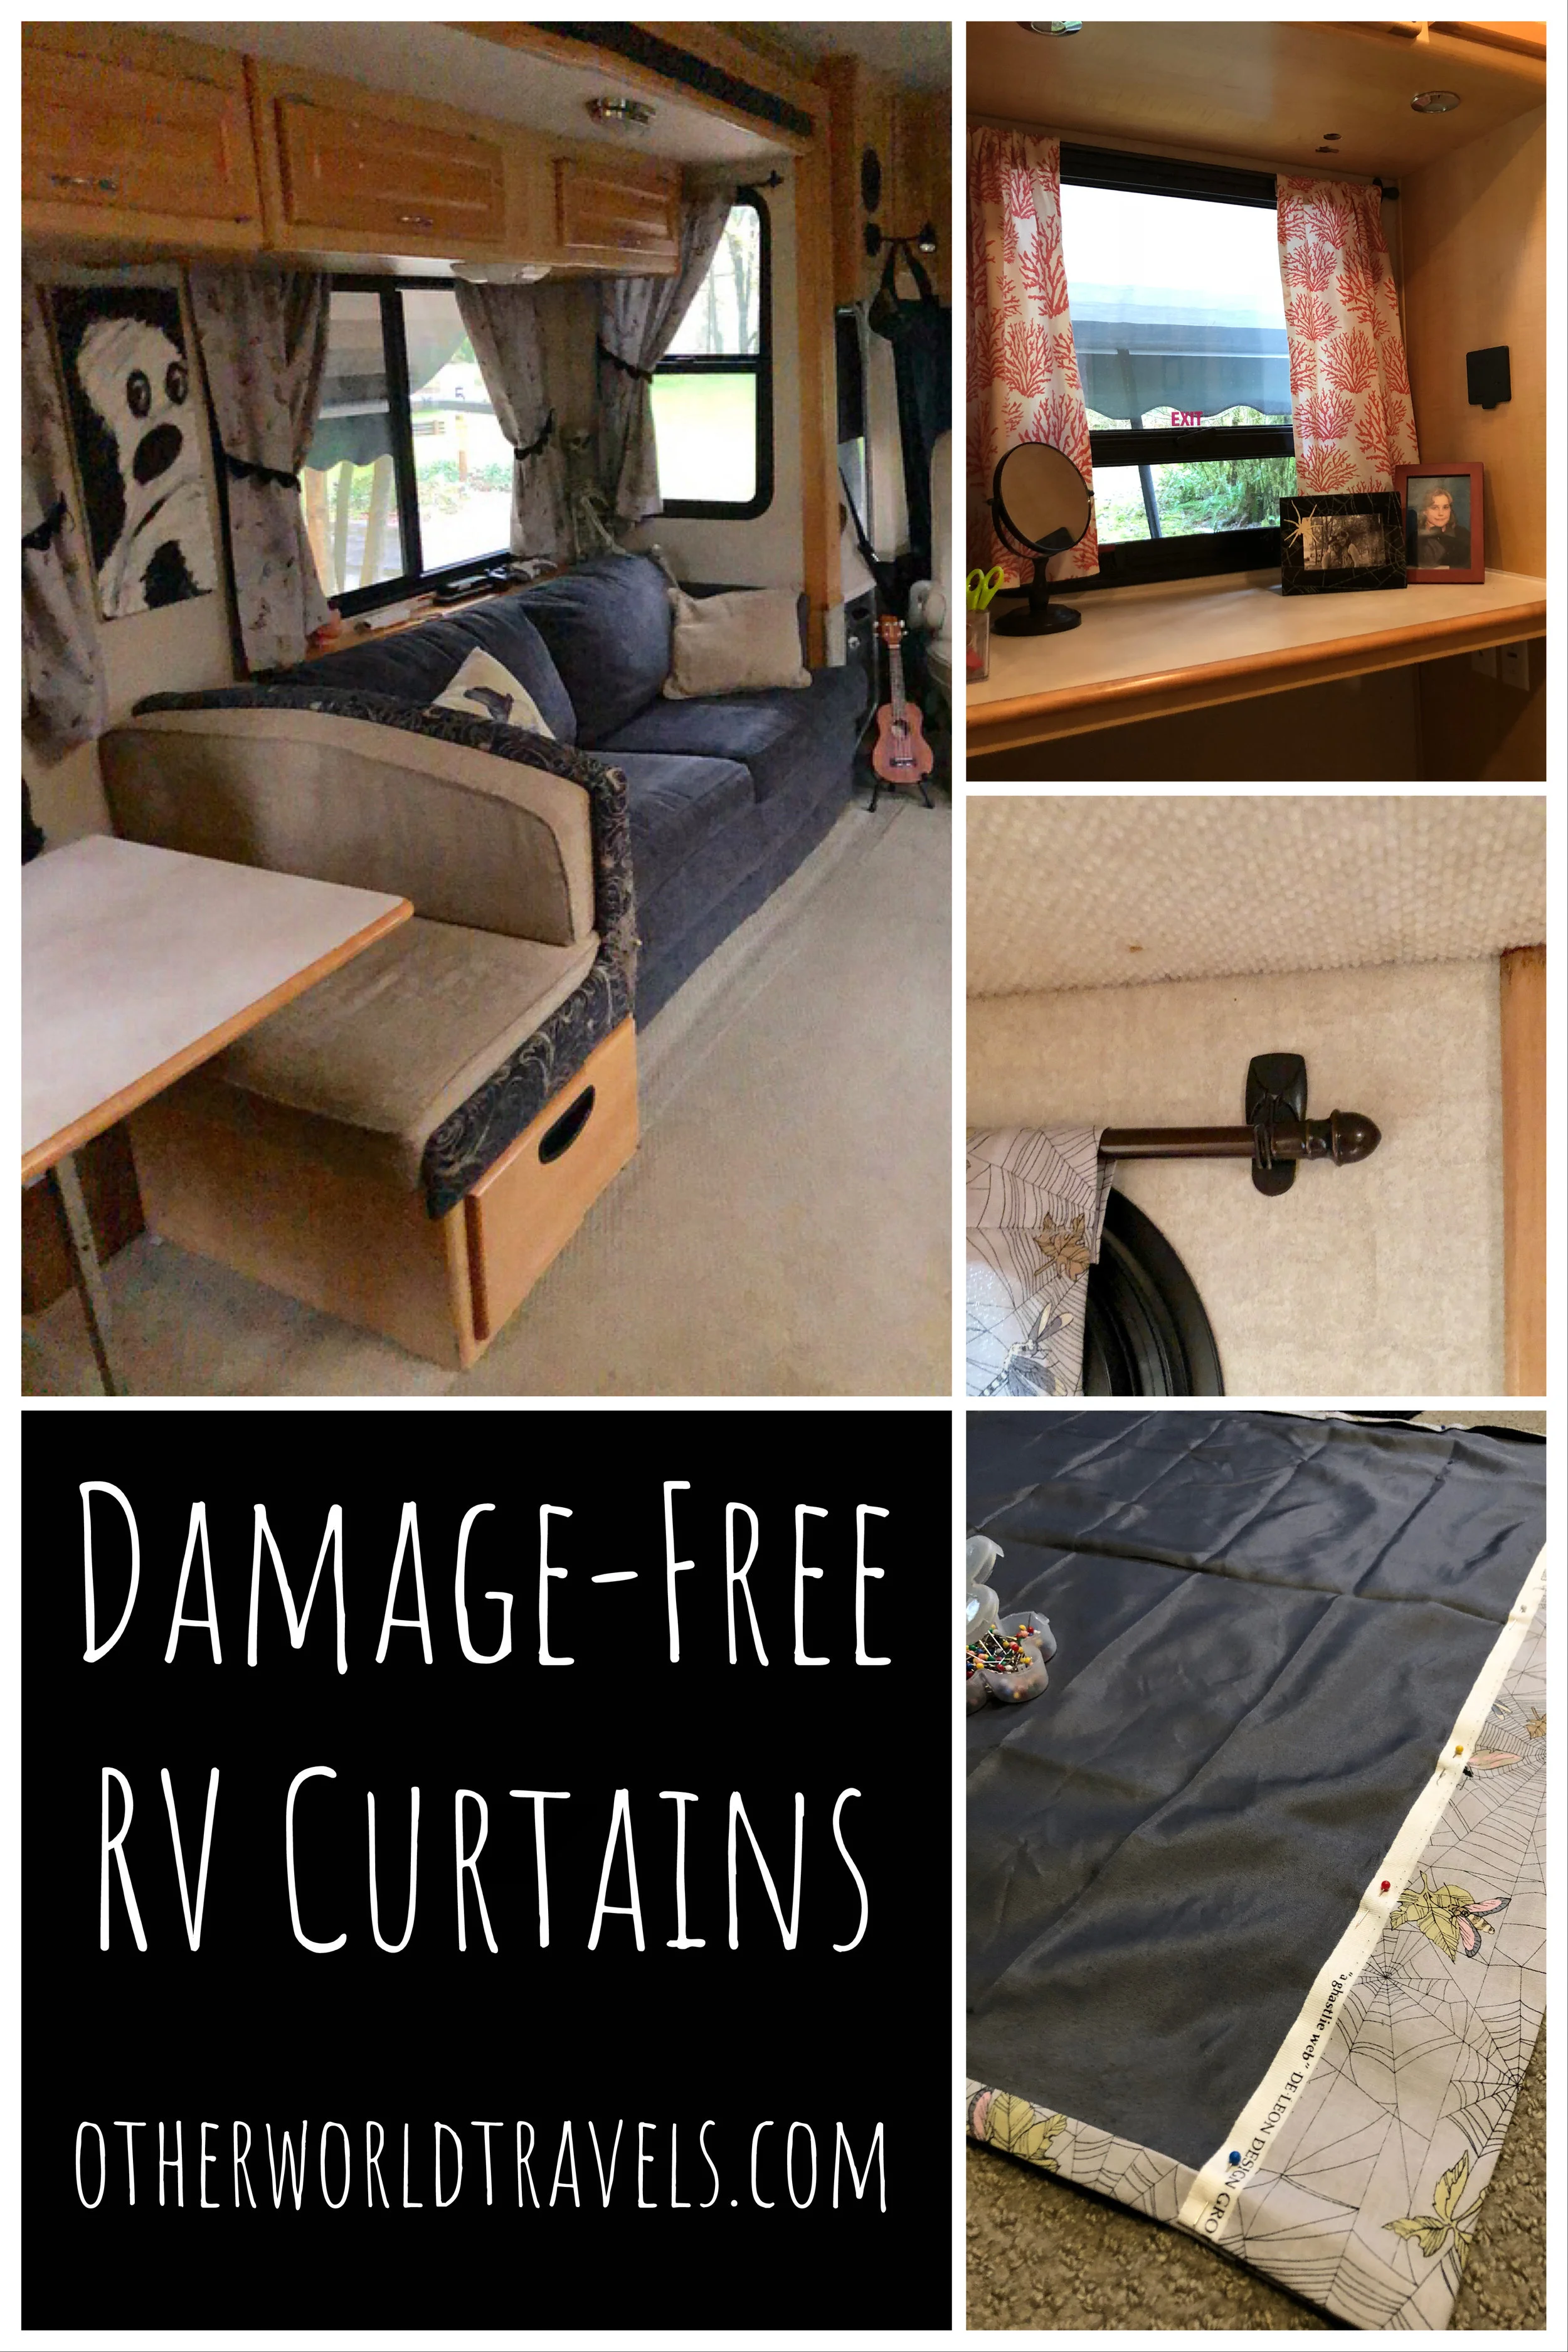
Last week, we tackled our valence situation and this week we're replacing them with curtains! This is a cheap (depending on your fabric choices) and easy way to dramatically change the look of your home on wheels. The purpose of this post is to walk through how we made our rod-pocket curtains. There are two options when making this type of curtain: sewn and not sewn. The sewn-type of curtain is the easy choice for those... able to sew or have a sewing machine.
If you don't have a sewing machine, no worries! You can use iron on fusible webbing. Don't have an iron? You can use a hair straightener, that's what I did! I've done both the sew and no-sew methods with great results. If you already have your curtains and just want to see how we hang ours, feel free to skip down to the hanging curtains section. There's also a bonus how to make a bewitched flying broomstick curtain rod at the bottom of this article.
If you haven't joined the Command Hook craze, you'll want to after reading this. These things are AMAZING! We use them for everything - pictures, curtains, organization, etc. Since RV walls have non-removable wallpaper, the less holes the better.
Making Your Curtains
Step 1: Choose Your Fabric
Start with the fun part - picking out your fabric! If you're like me, you don't mind wondering the aisles of your local craft store for hours - planning all upcoming projects. For this reason, I spent a long time finding the perfect fabrics for our curtains. A couple of things to keep in mind:
How much light do you want coming in, if any?
We wanted a little light to come in most of our windows, but some of the fabric I chose ended up being too shear, so I used some Dollar Store pillowcases as liner.
What patterns and colors will go with your decor and personality?
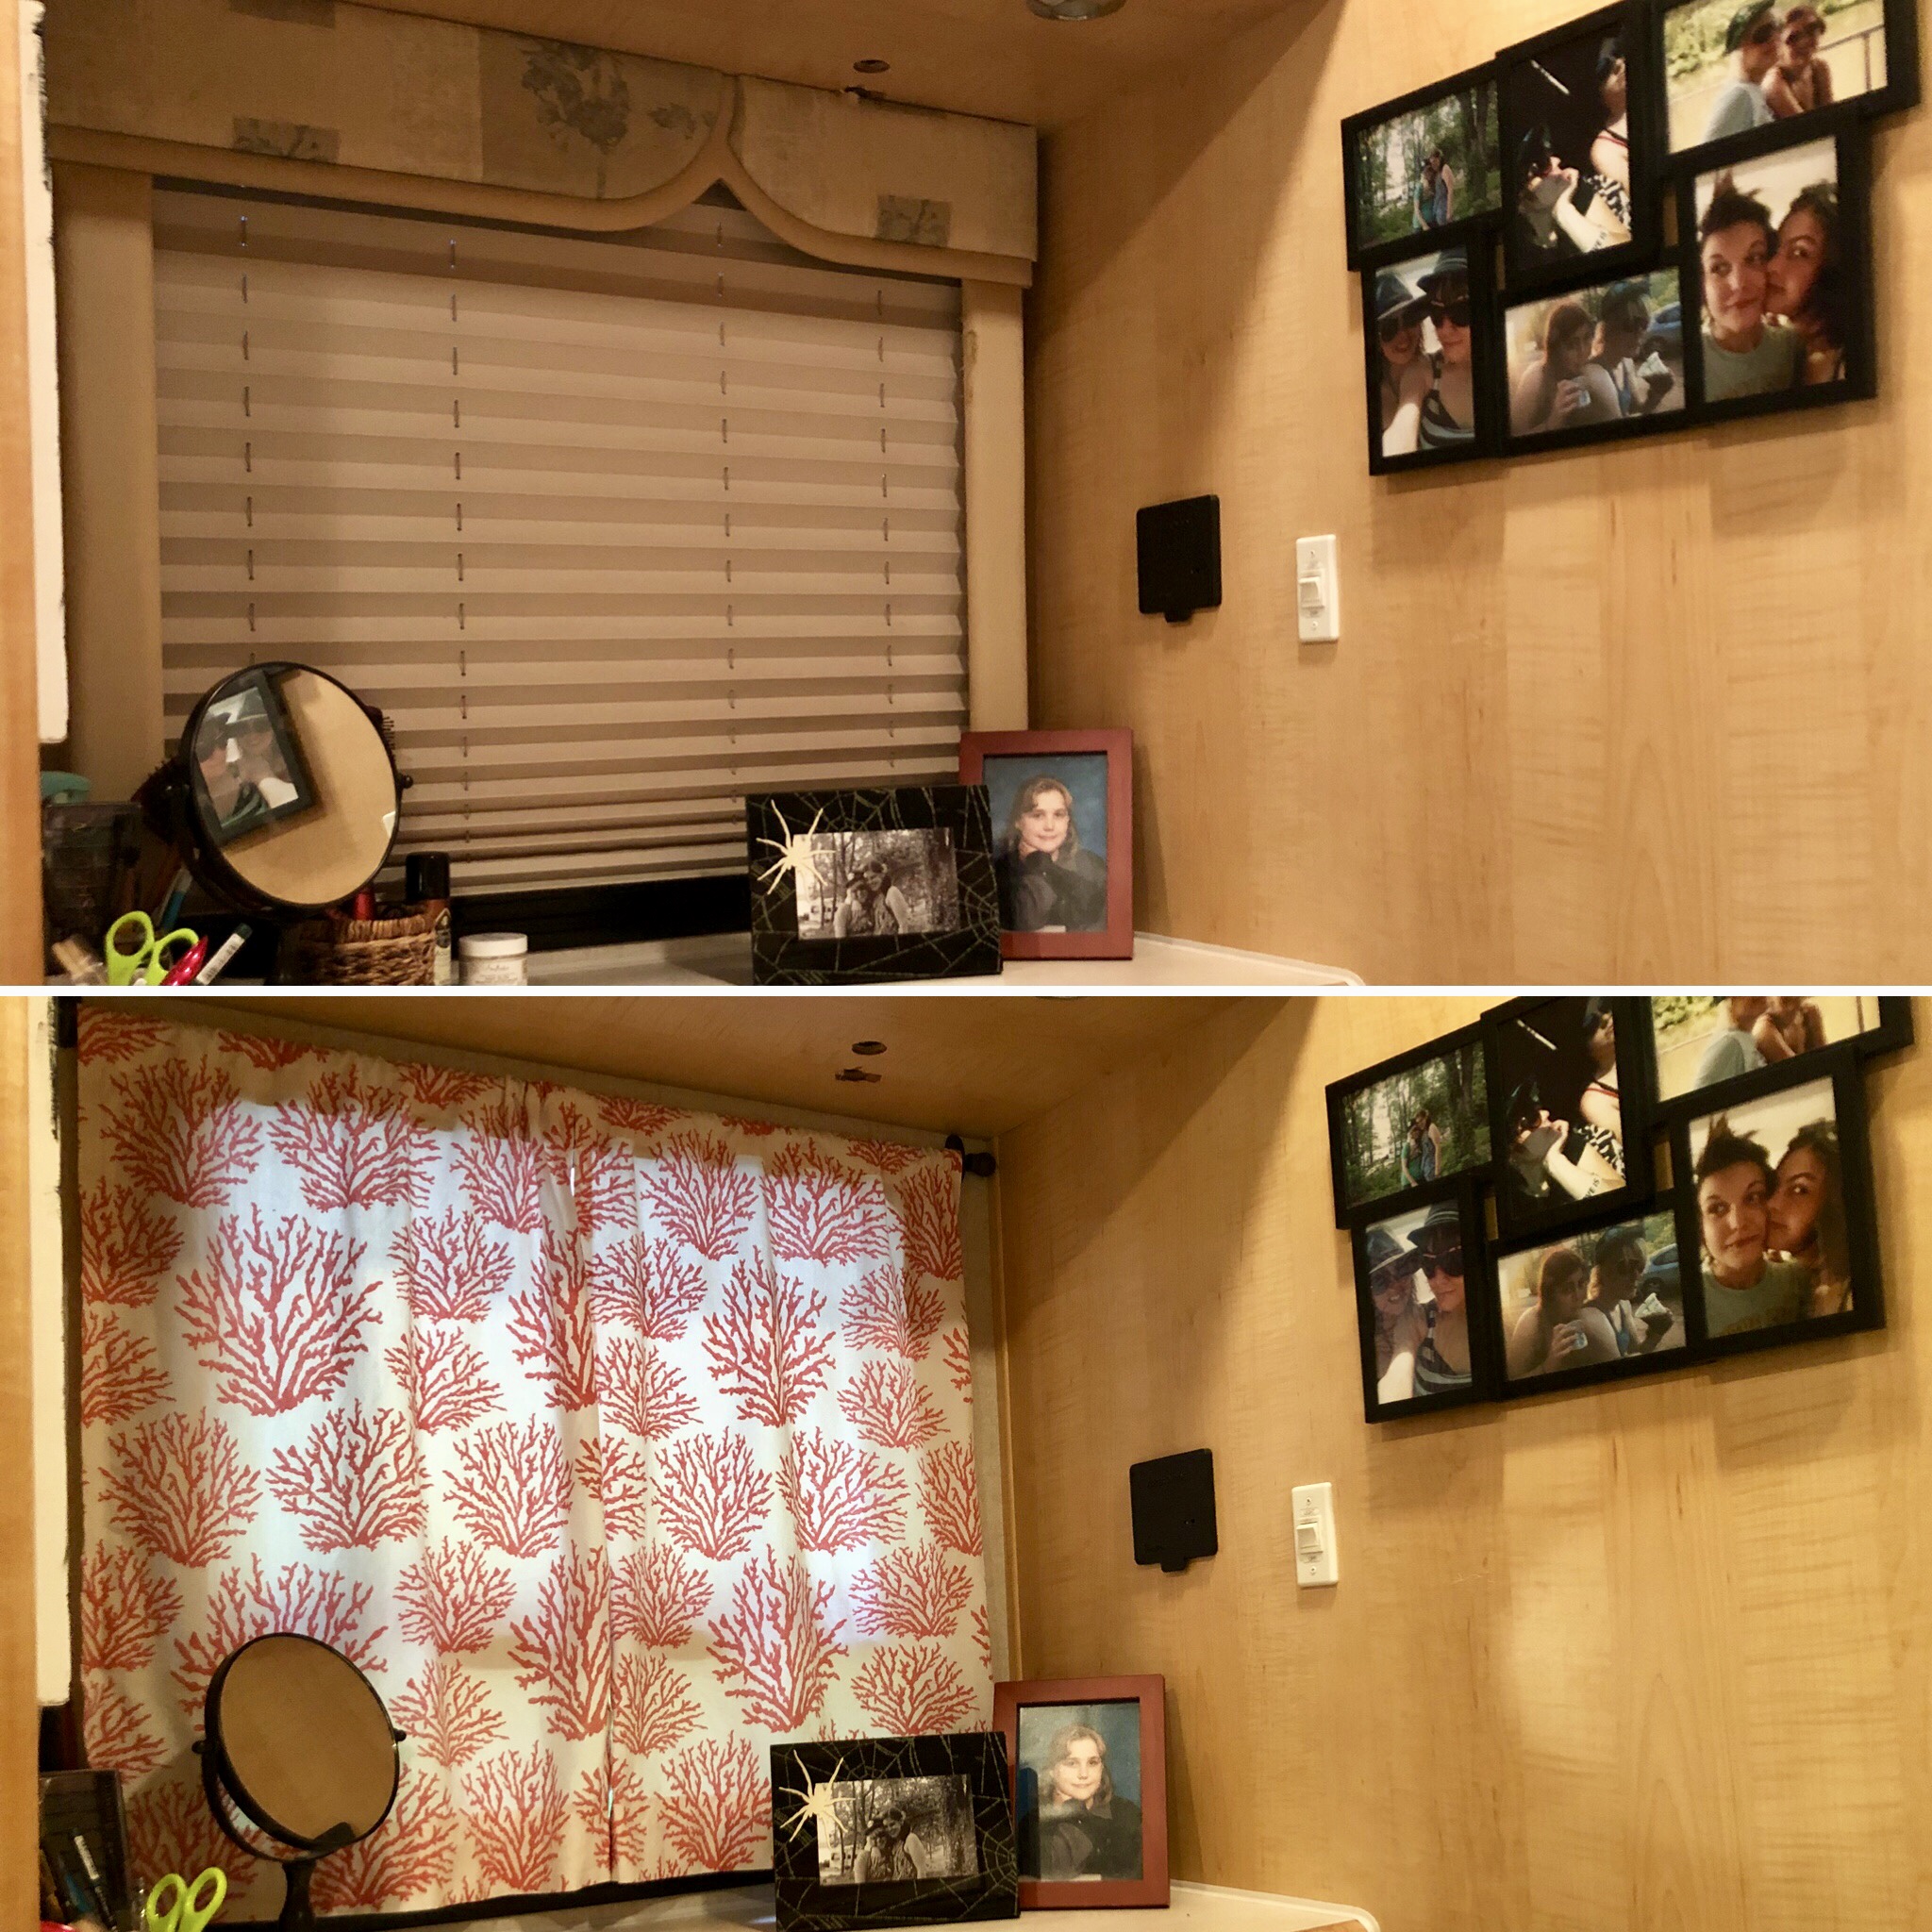
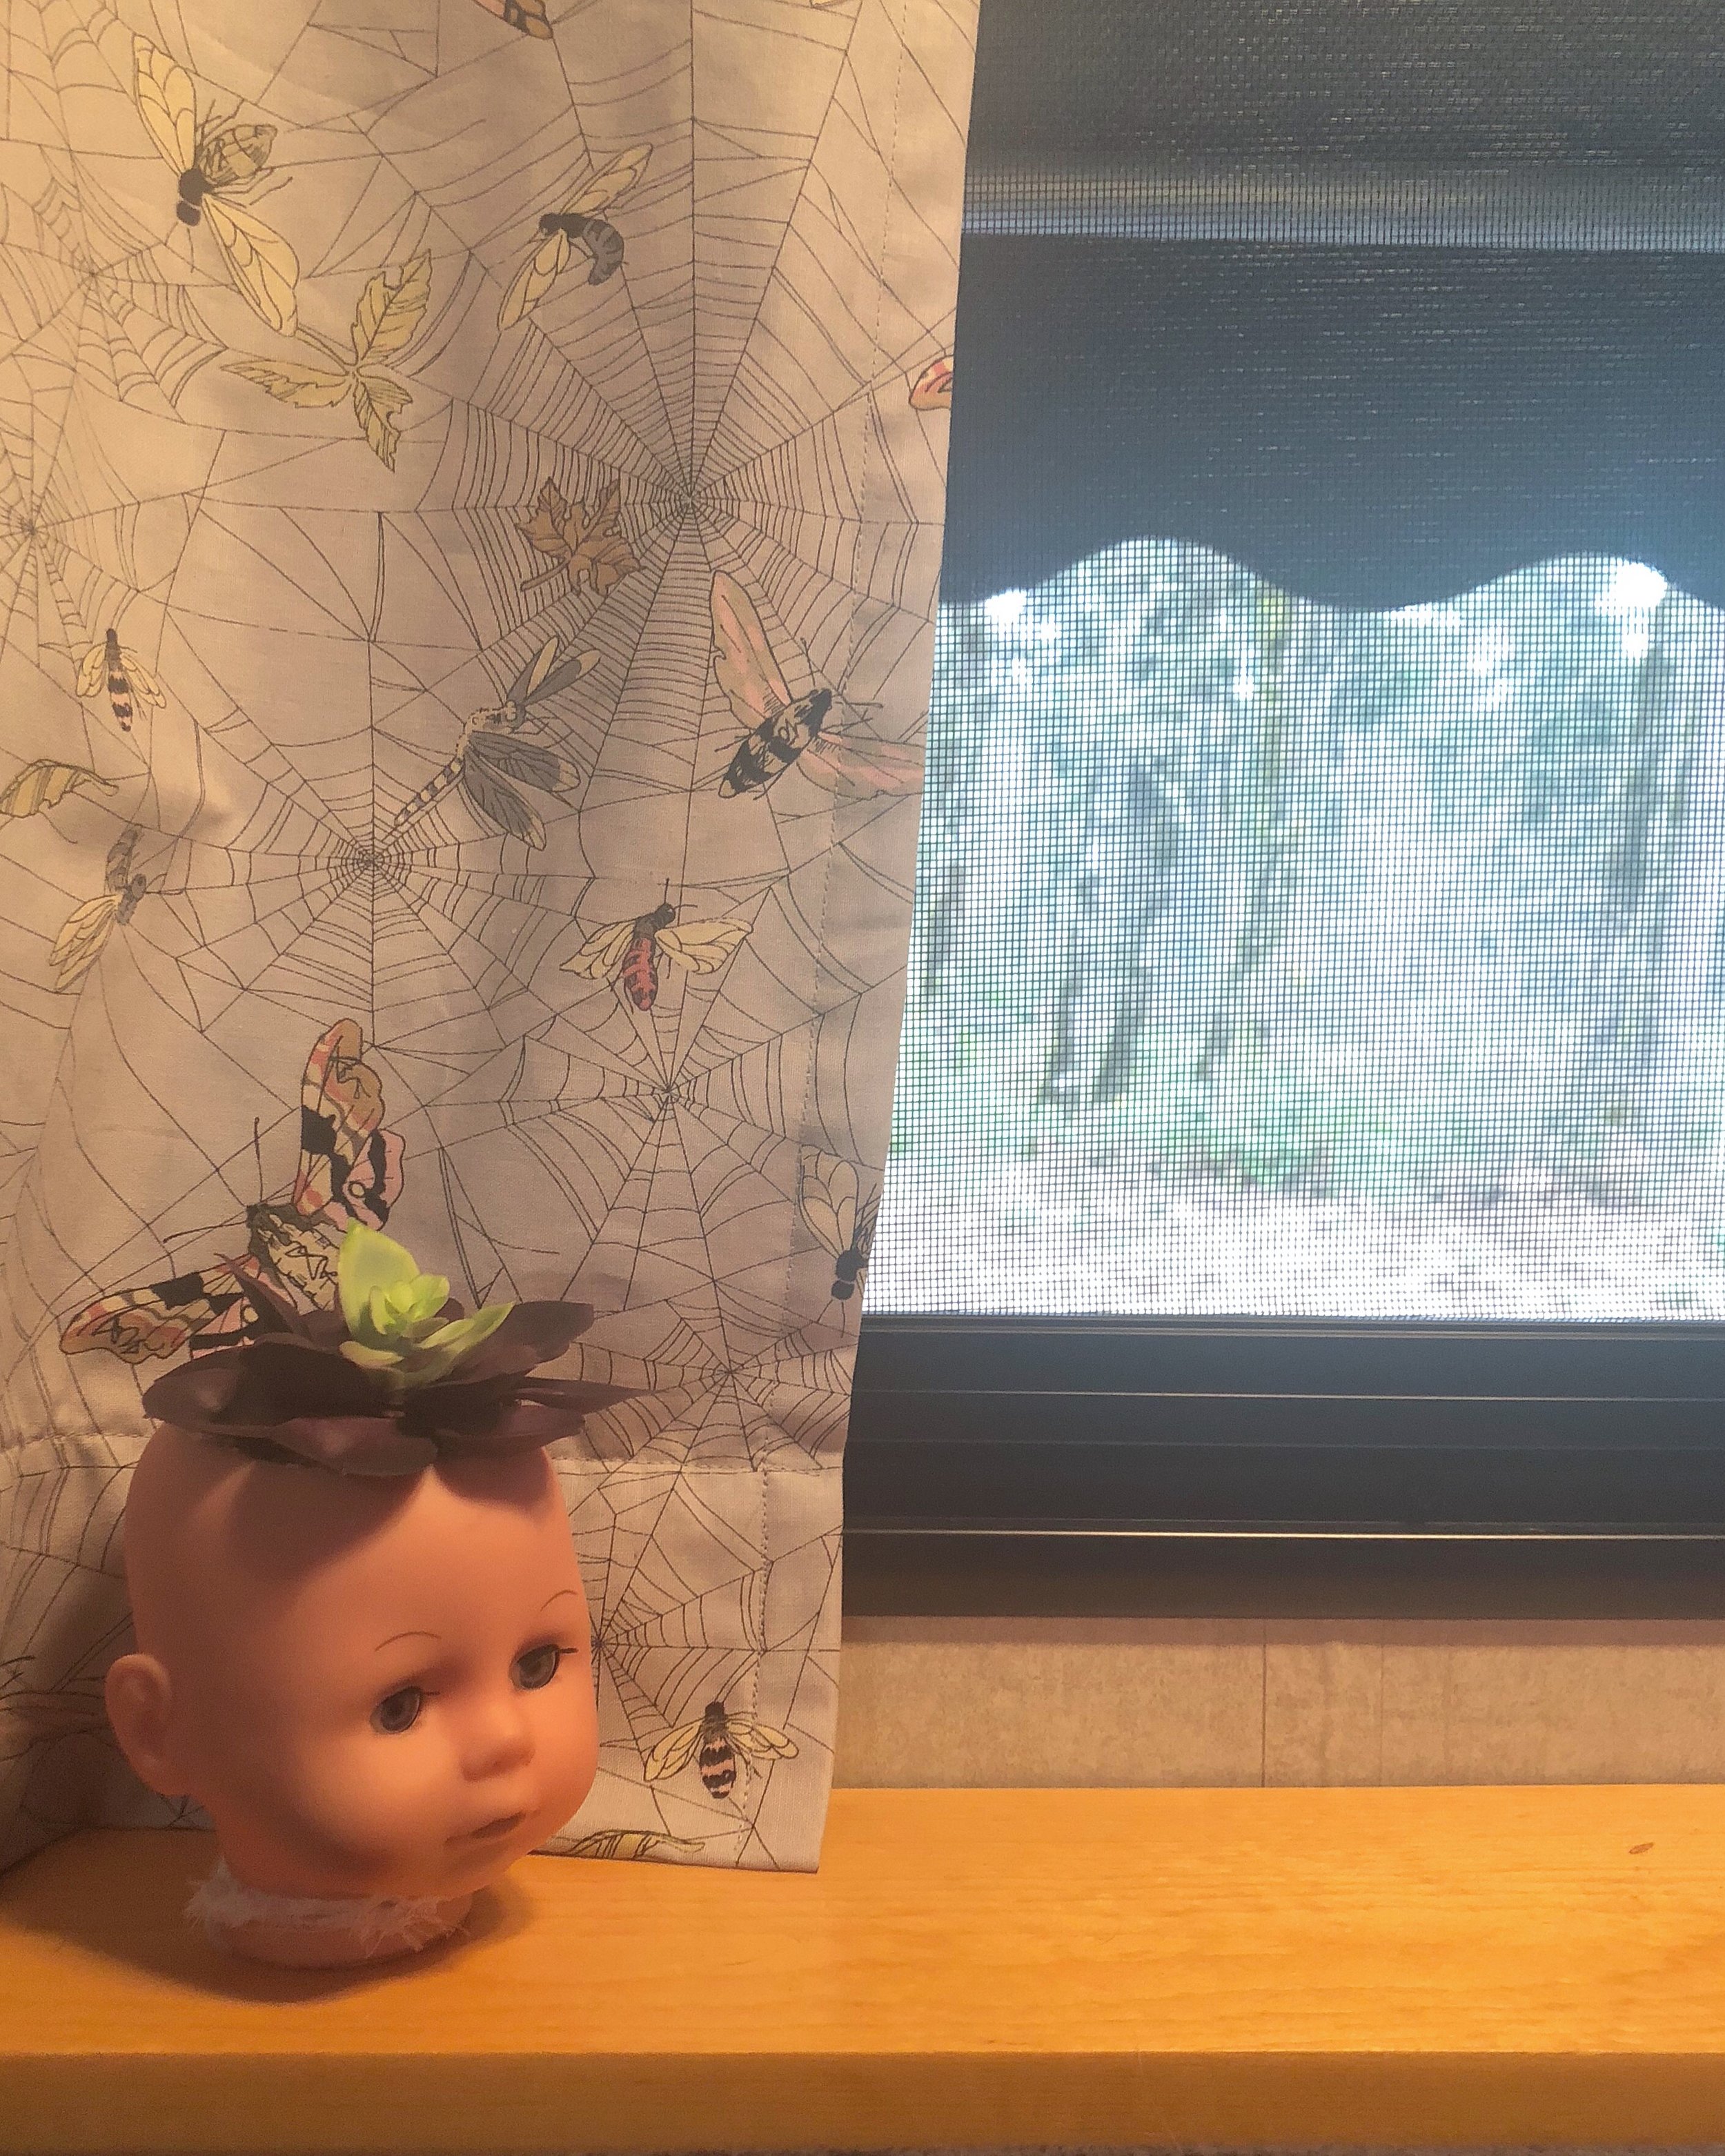
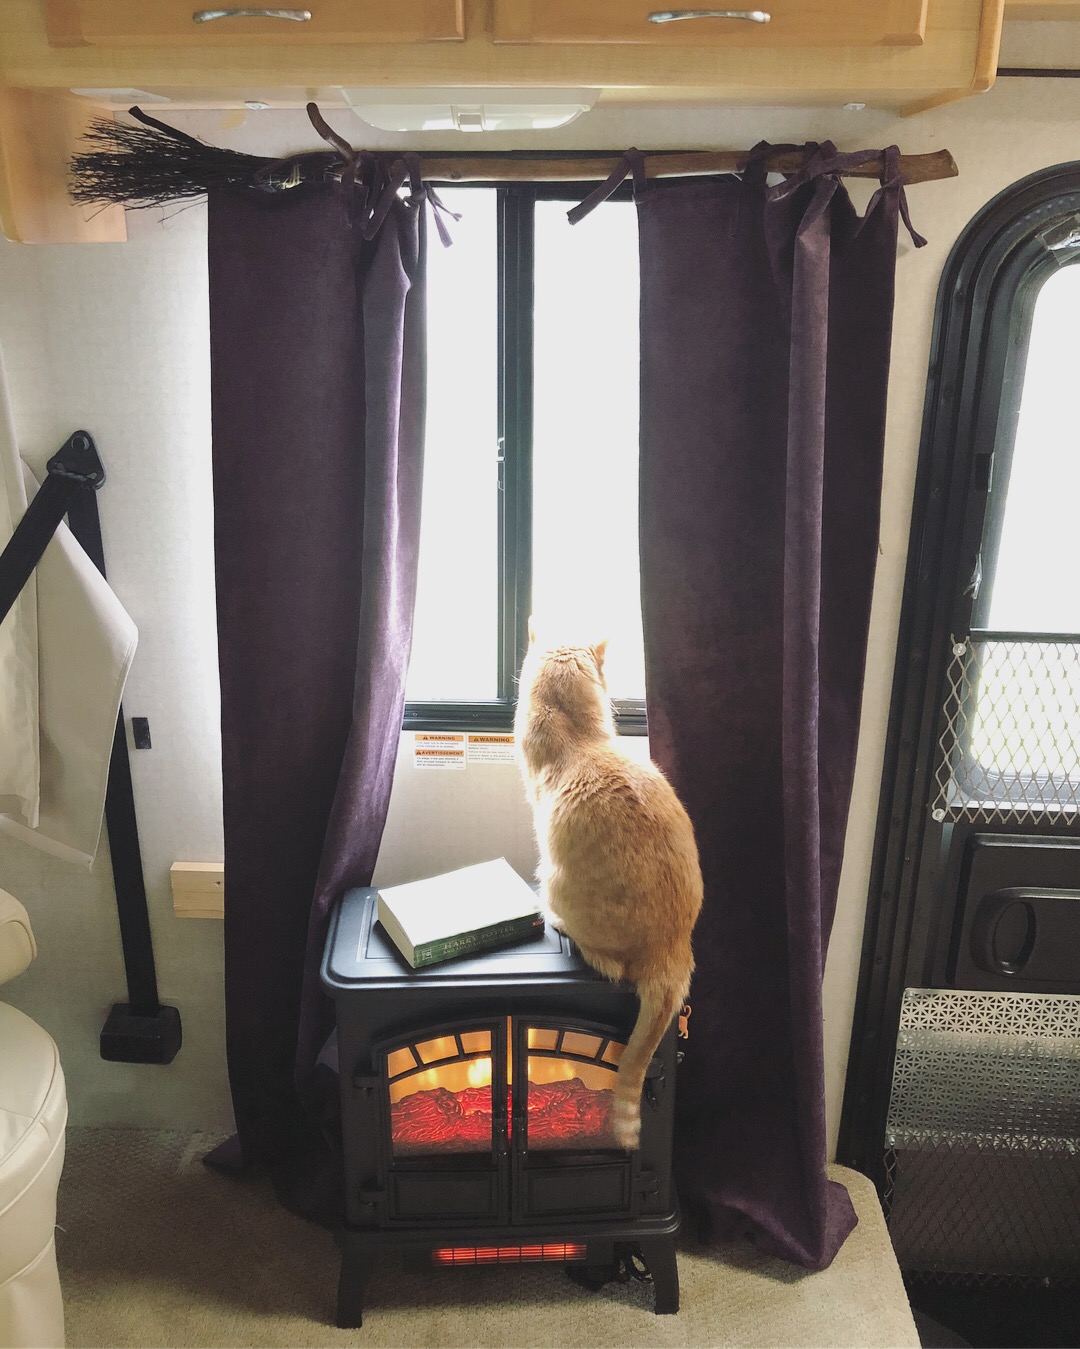
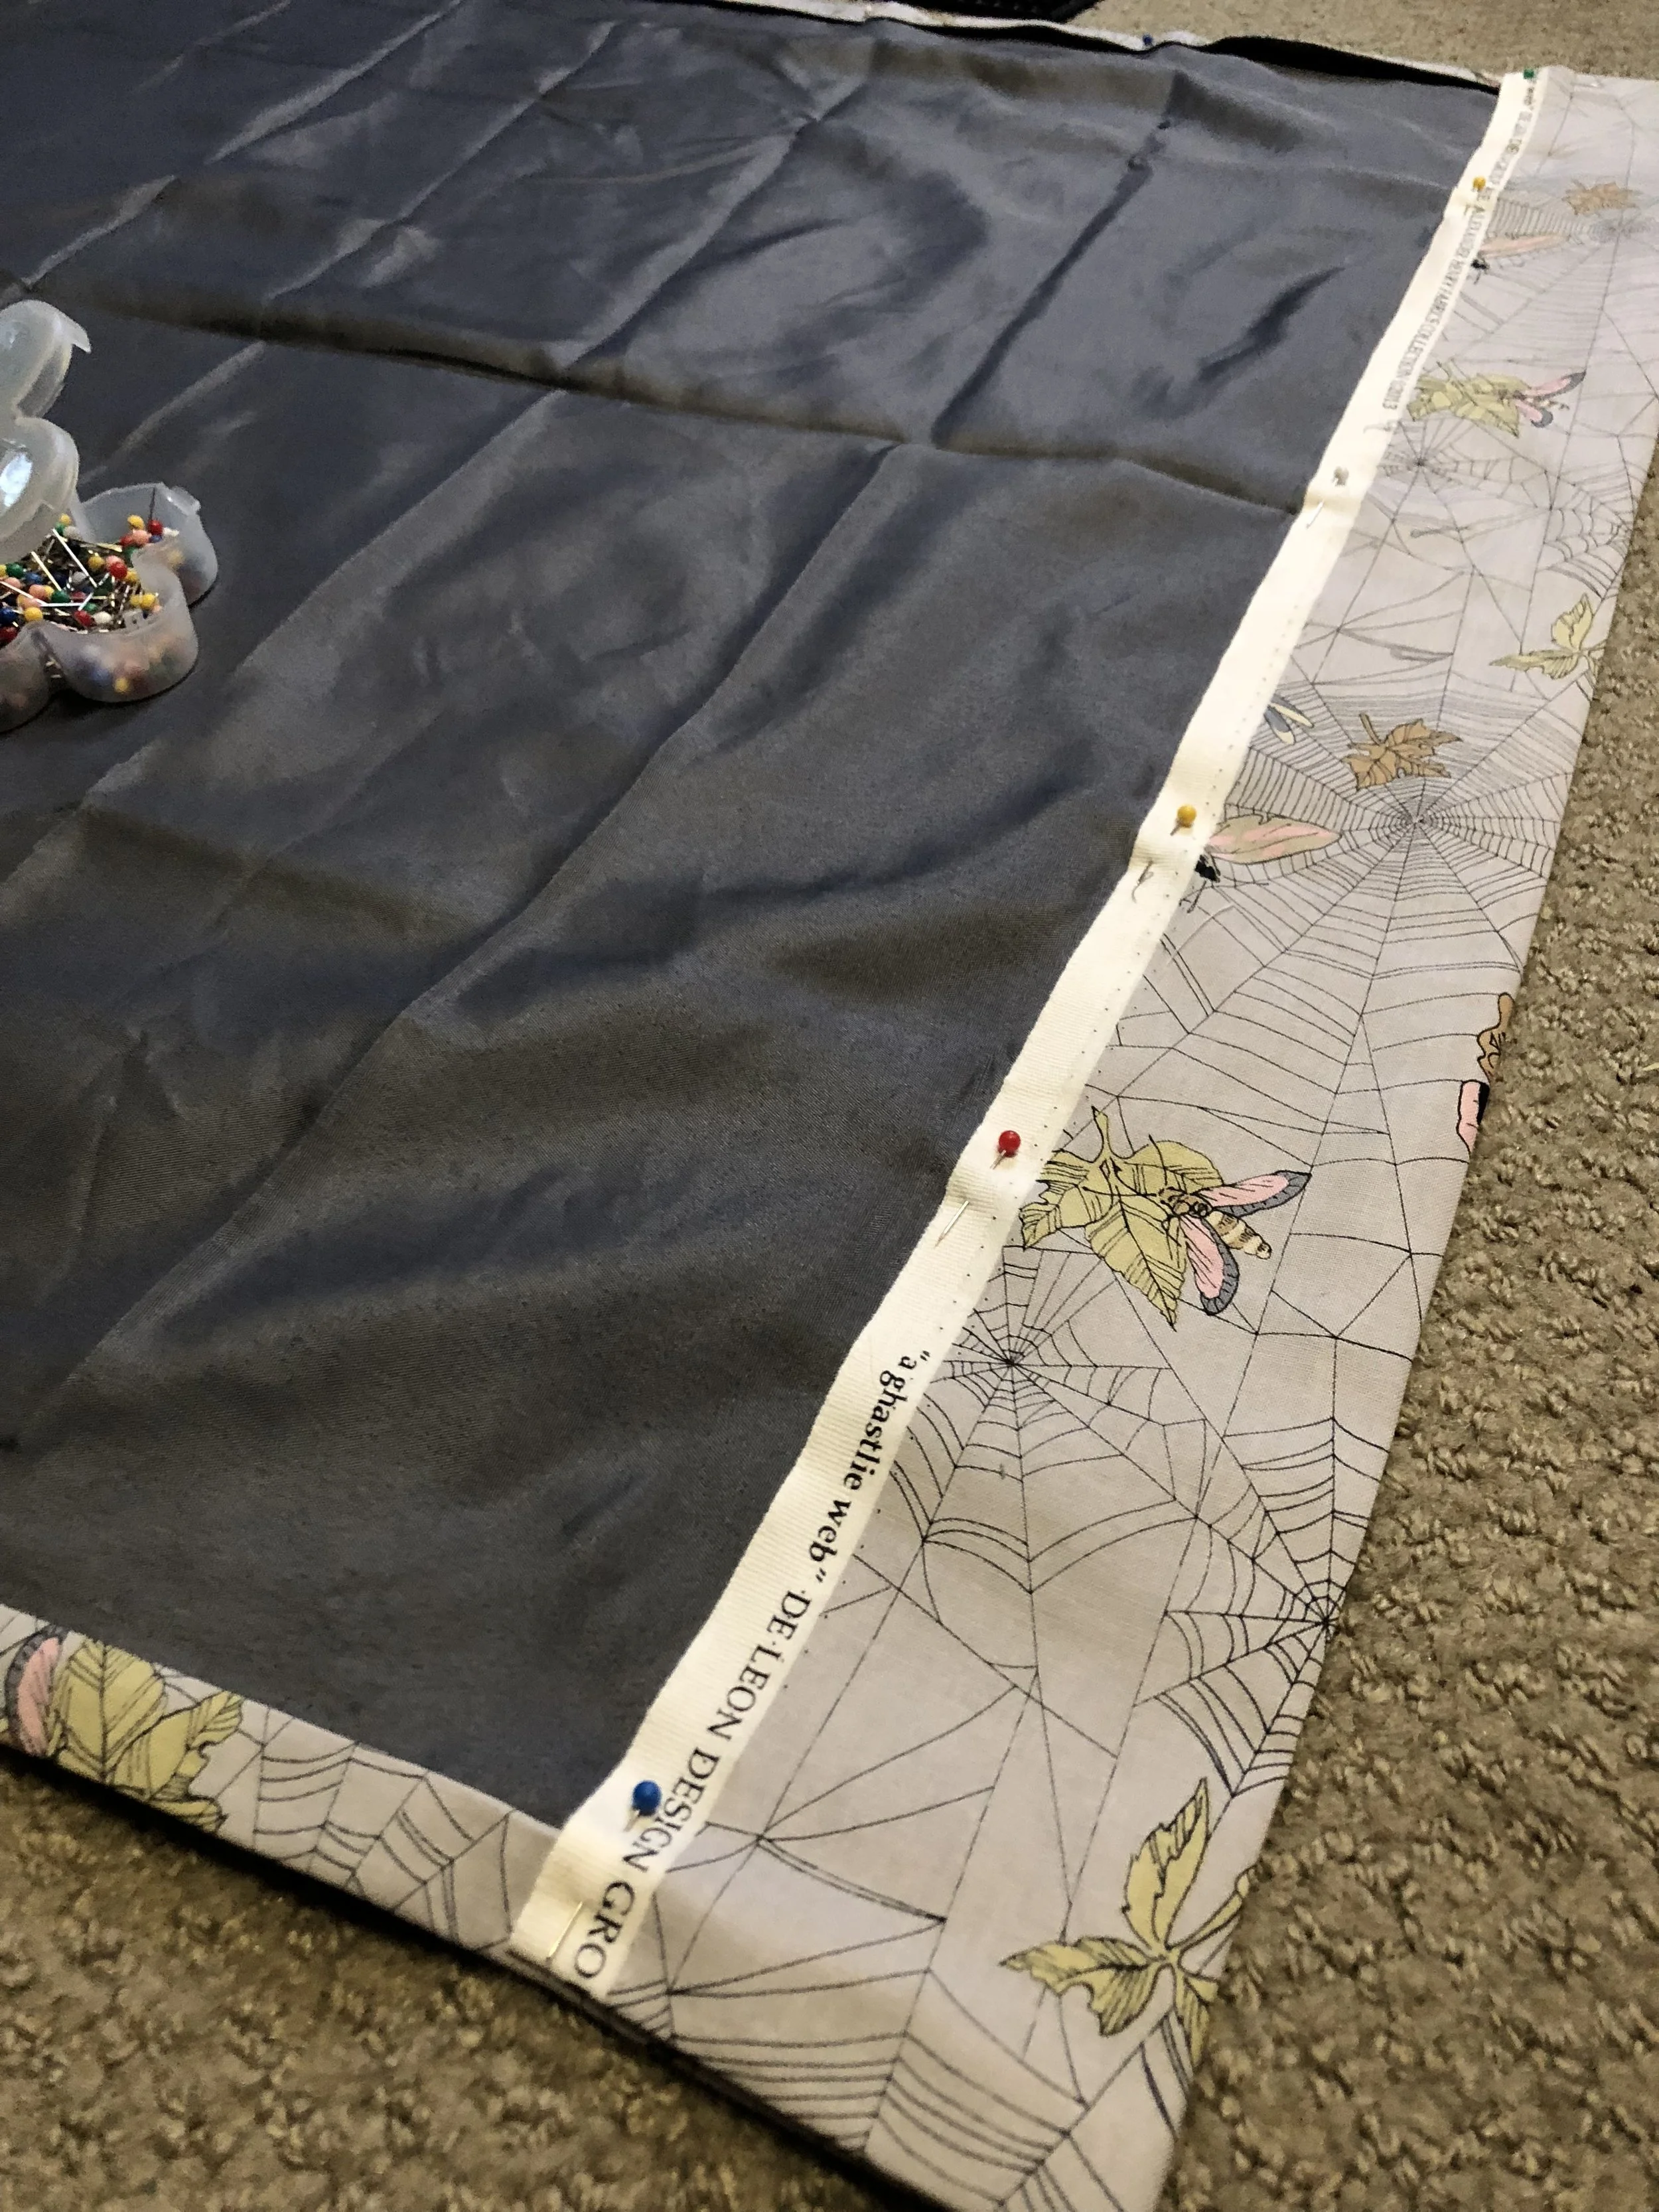
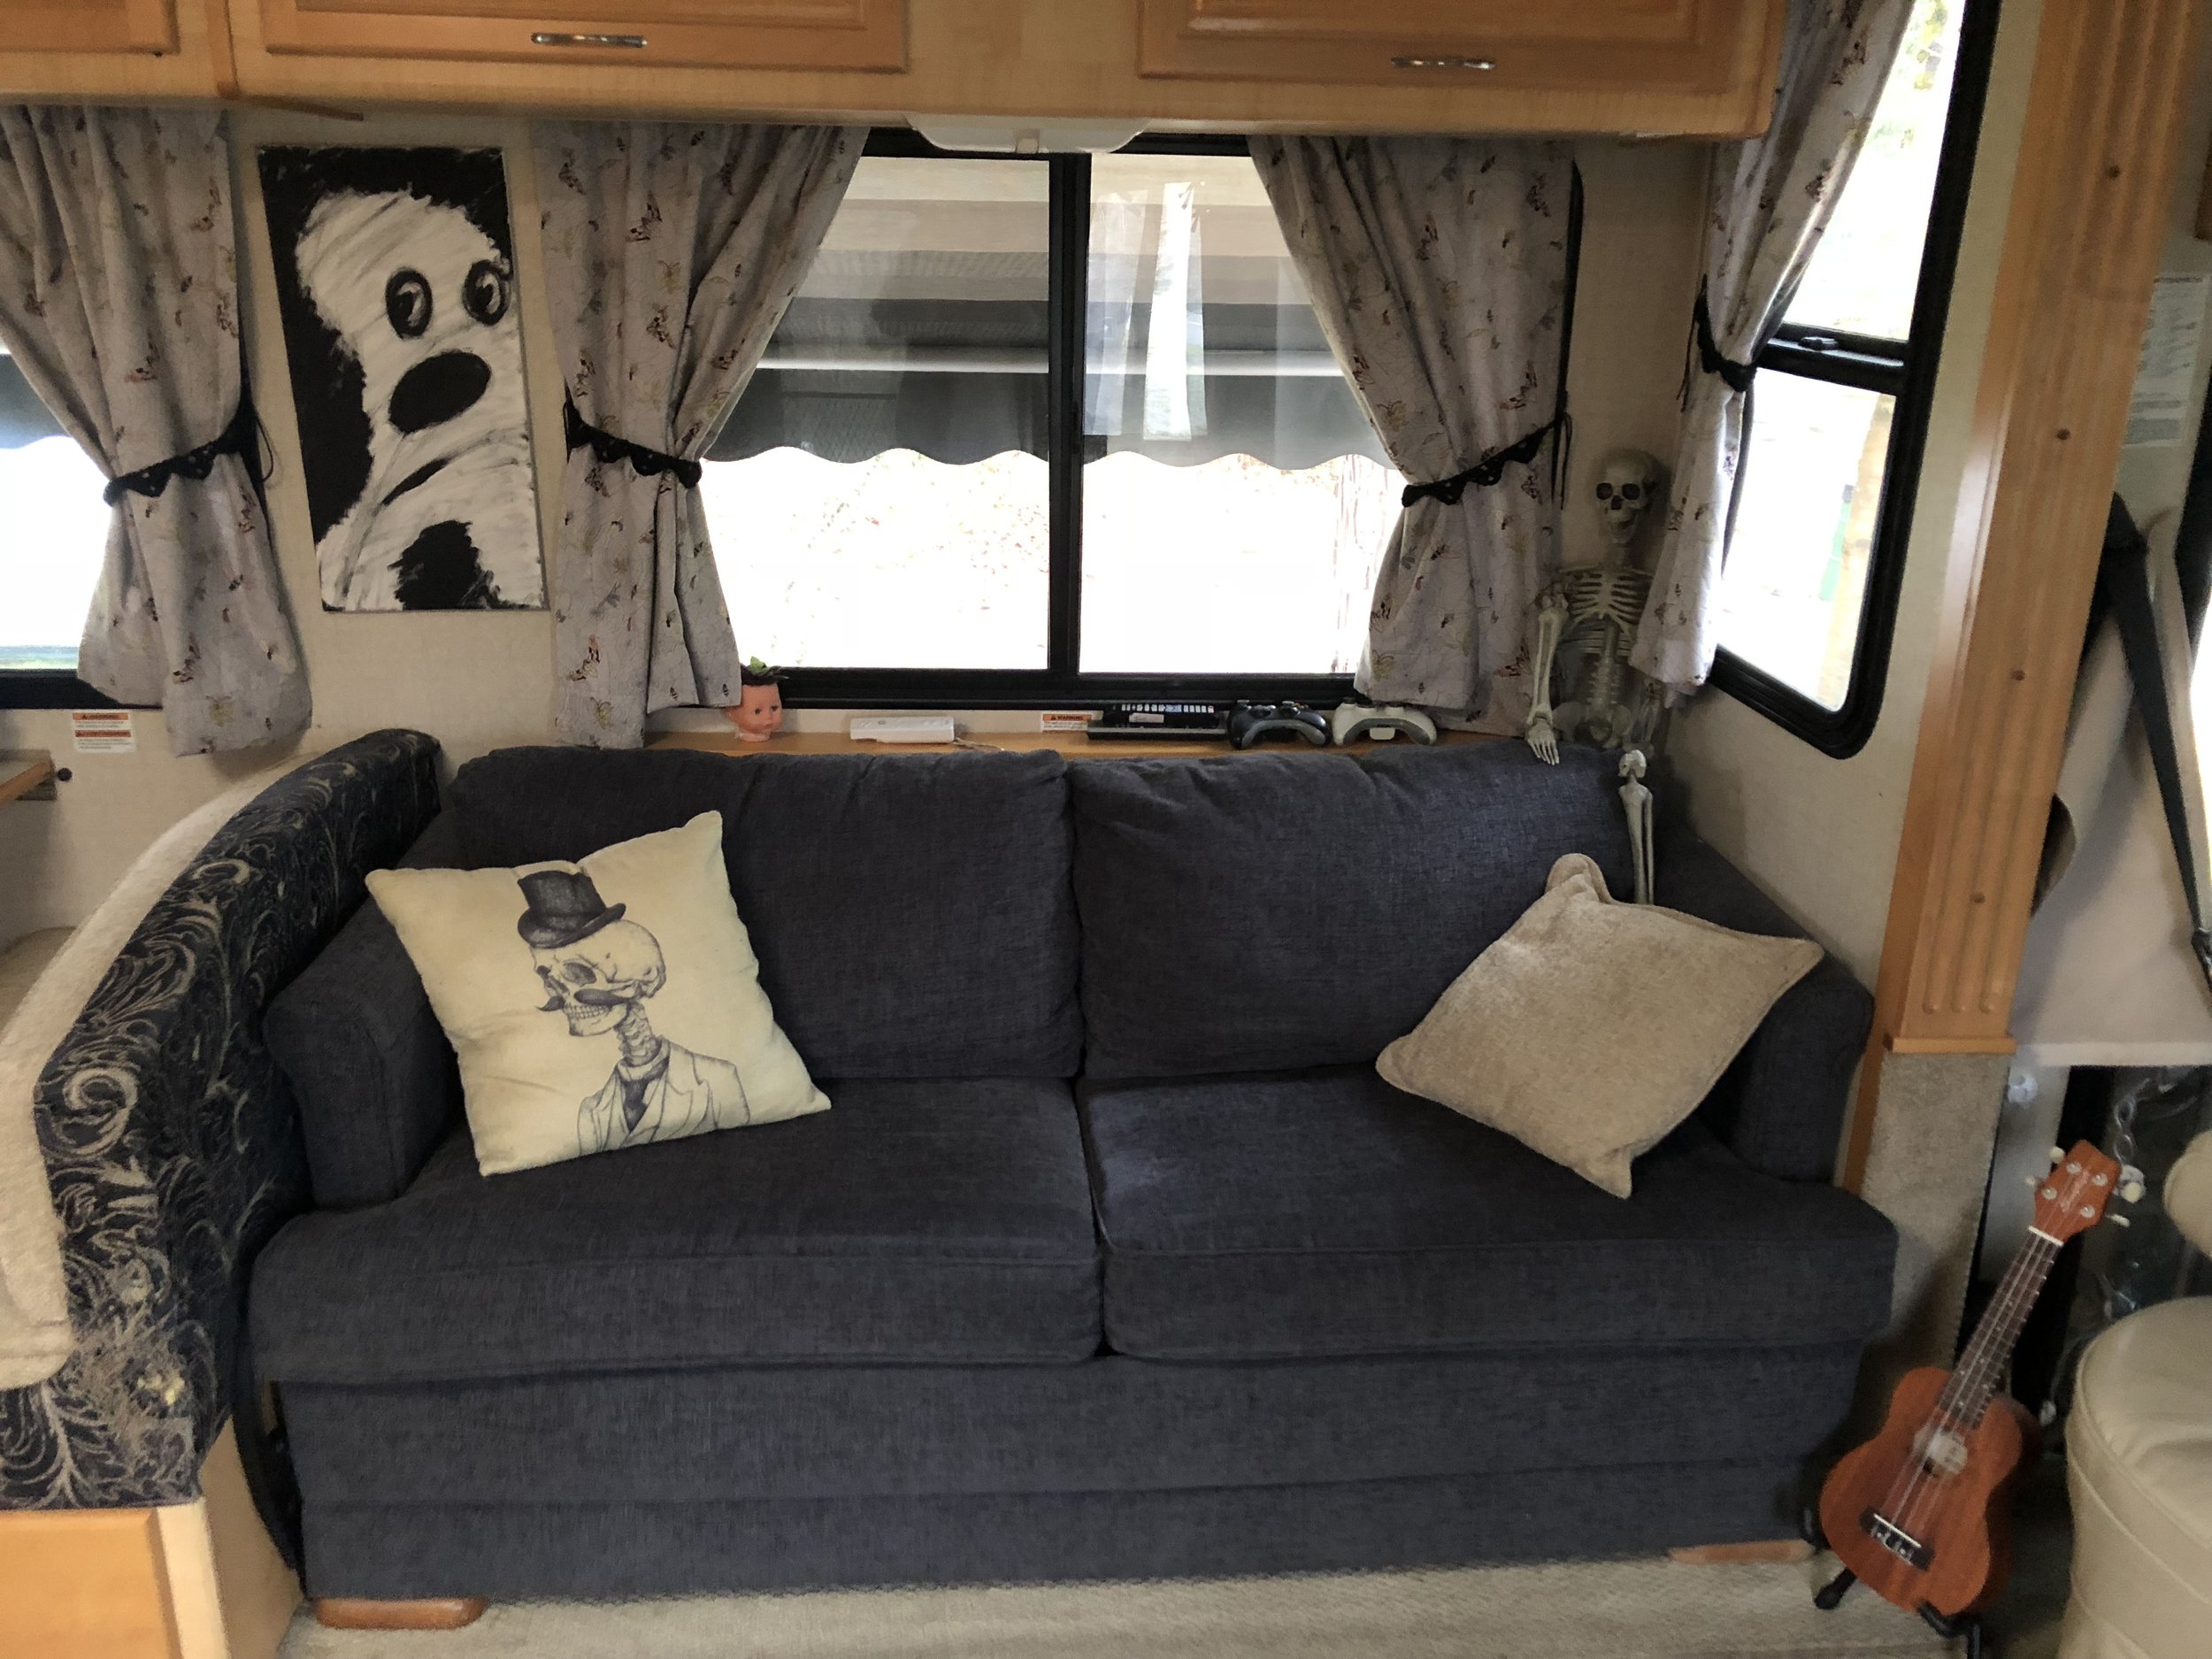
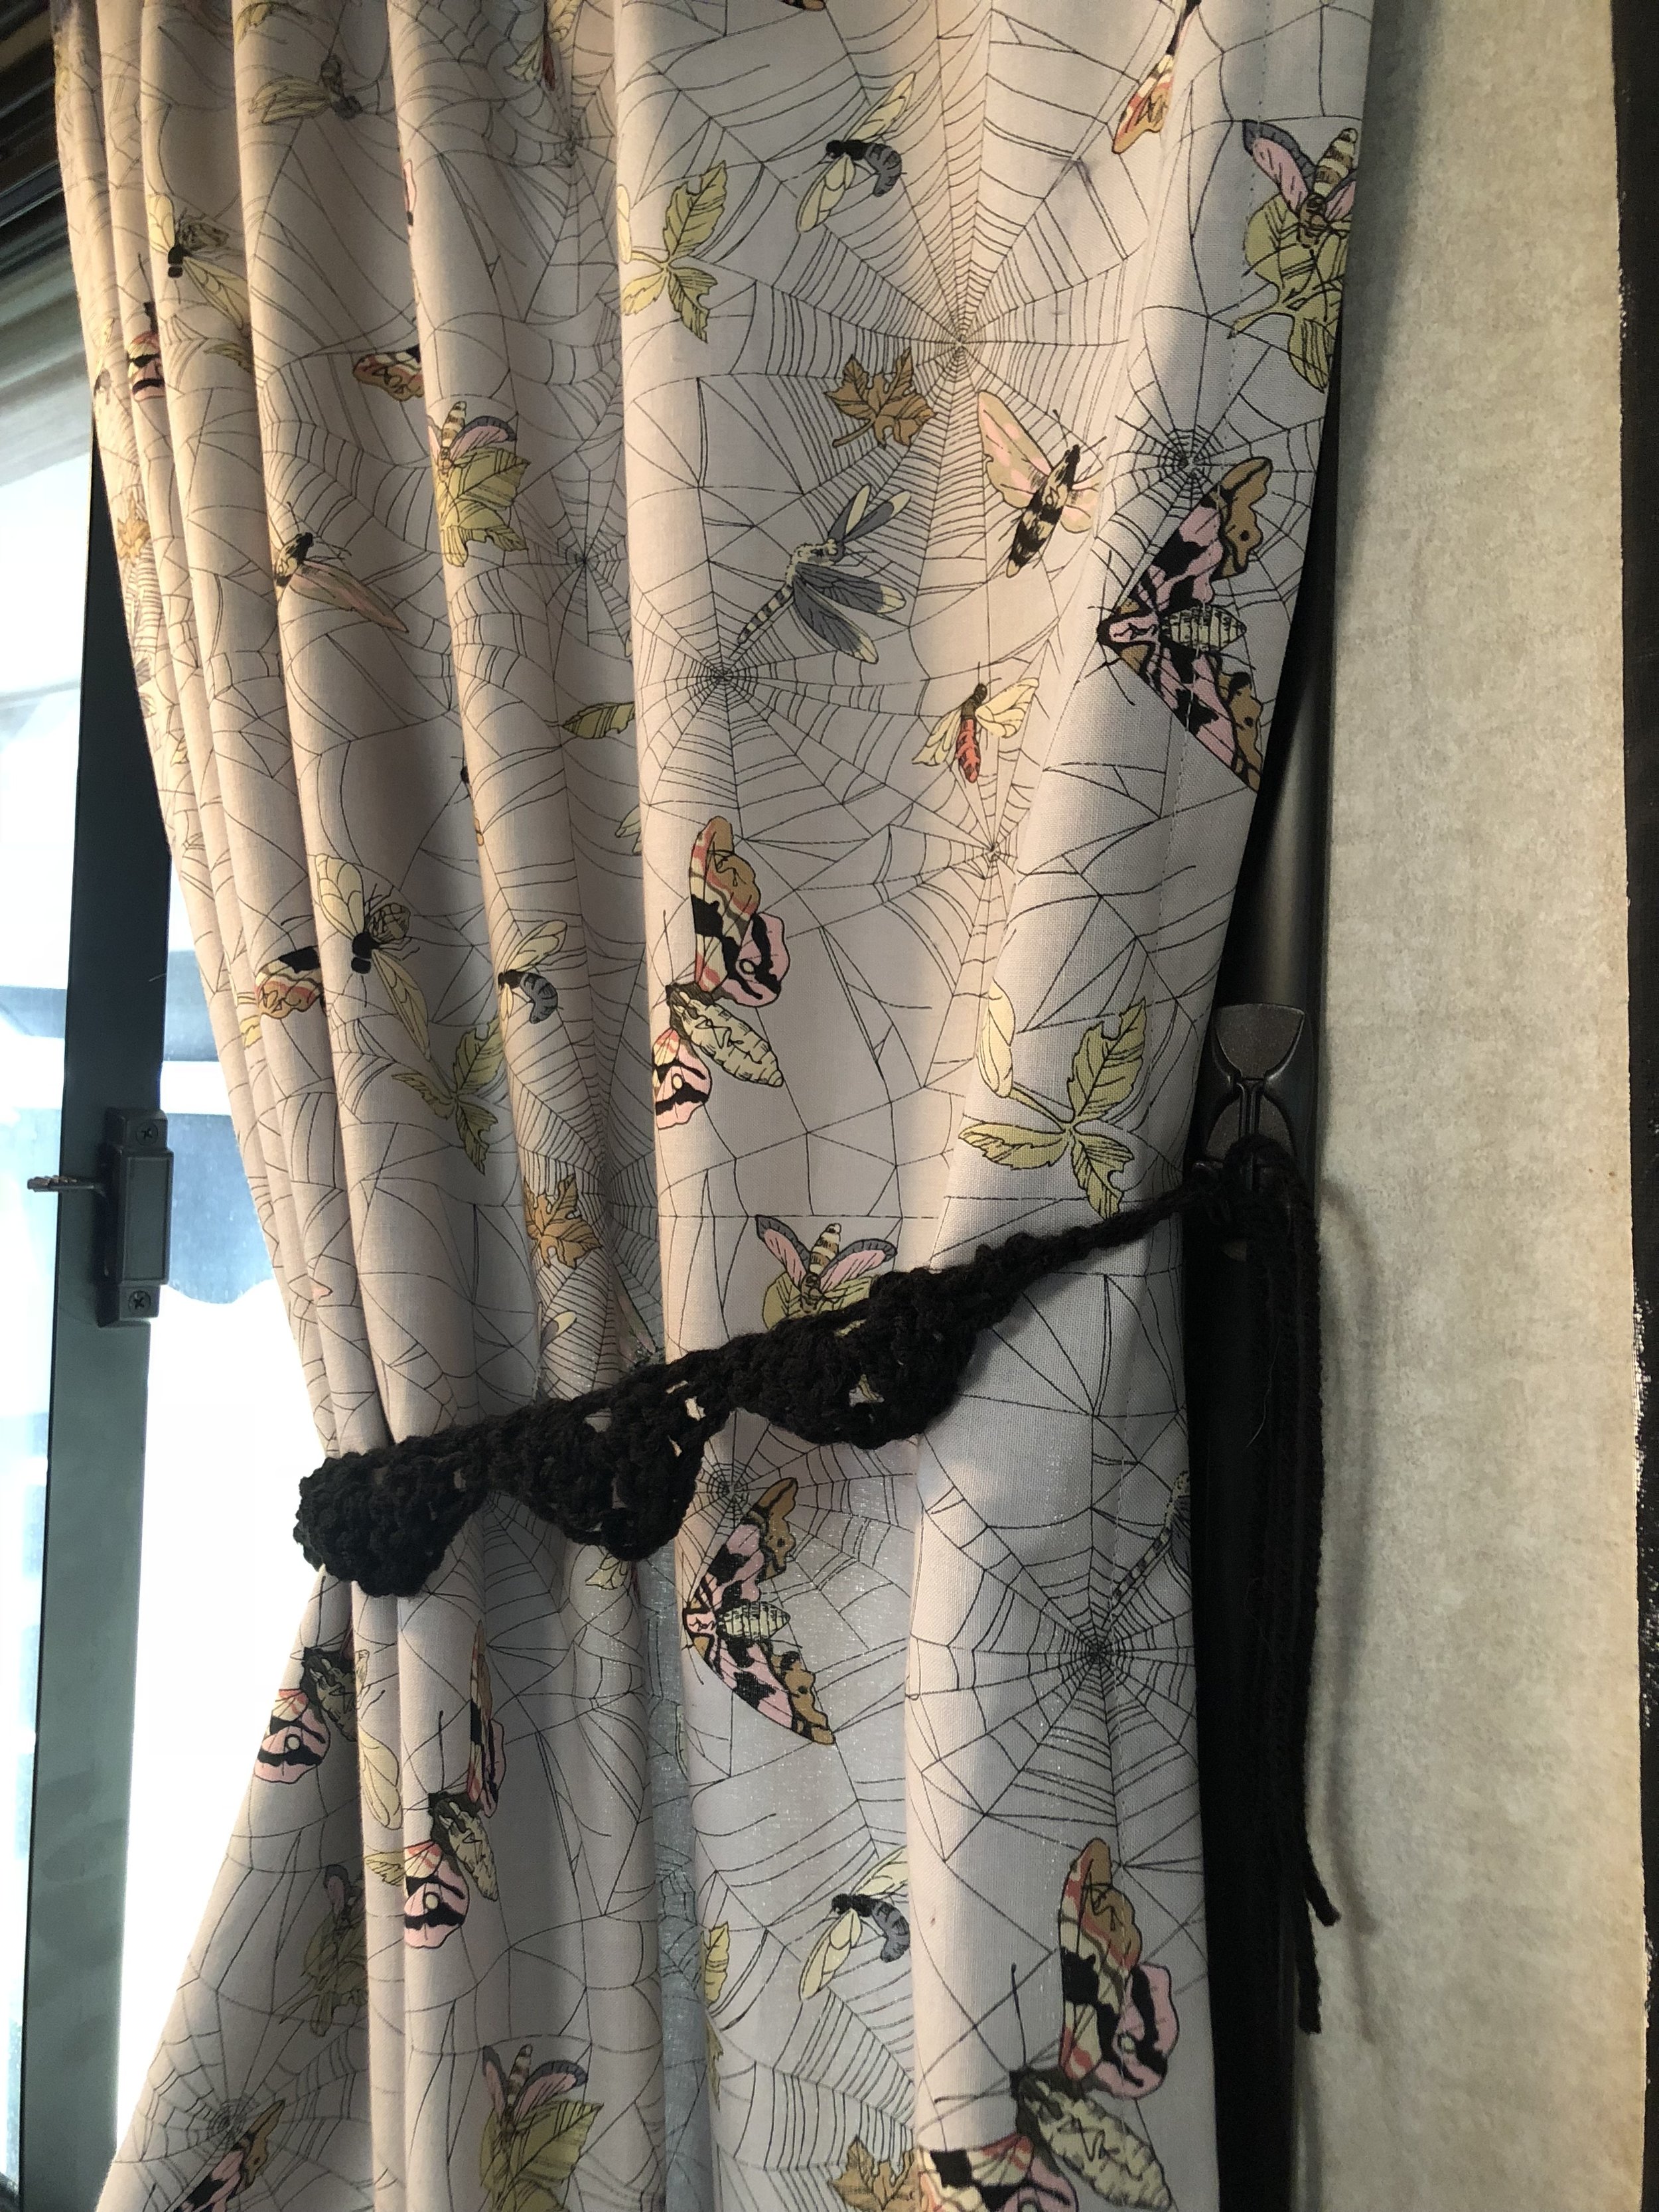
We got some super cool Halloween fabric from Fabric.com for the living room, because it's Halloween all year round for us. We chose coral fabric for our bedroom, to make our bed feel like a shipwreck. For our "reading nook" behind our 'fireplace' we went with a beautiful floor-length vintage velvet.
What is your price range?
This is the tough part. It takes quite a bit of fabric, we used 7 1/2 yards for the living room and 2 1/2 for the bedroom. It all depends on how many windows you have and how long you want your curtains. We spent more than initially planned. Total, the fabric alone cost about $25 for the bedroom (Joanne's) and $85 for the living room (Fabric.com). Don't forget to use coupons!
Step 2: Measure, Buy, Cut

Cats really come in handy at this point...
One of the reasons for choosing fabric first is to know the width it will come in.
For figuring out how to measure the fabric to fit your window:
Add 2 inches to the top - for the top pocket where the curtain rod will go
Add 3-4 inches to the bottom - for the bottom hem
Add 1 inch to each side - for each side hem
Note: that's each panel, some windows are wide enough for 2 panels and some just have 1.
2 Panel Example: if your window is 35" Long and 58" Wide - Each panel would need to be cut to 40" Long X 31" Wide at minimum
1 Panel Example: if your window is 39" Long and 22" Wide - The panel would need to be cut to 44" Long X 24" Wide at minimum
With that information + what the width of the fabric is, you can add up how many yards you'll need. Now the pressure is on: cutting your fabric. This is my least favorite part. My only advice is to measure at least twice and go slow.
You can see the end of the fabric is not hemmed here, it will not fray so I left it exposed. You can also see the pillow case material is pinned inside. This was very difficult silky fabric that I would not recomend, although it did the job.
Step 3: Pinning
When I made the bedroom curtains, I didn't make a hem. Big mistake! Now will fray when washed. To make a hem, fold the fabric edge and then fold again. You'll want to do this on all the edges, except on the manufacture edge. I left that un-hemmed, because it won't fray and I needed the extra inch.
Fold the right and left sides of each panel in .5" and again .5" to make a hem. Pin and iron these down. *If using no-sew method, you'll need to pin some iron-on webbing into that hem.
To make the rod-pocket, fold the top of the panel two inches down (again, I didn't hem this because is the edge of the fabric and won't fray), pin and iron. If you want to hem, you can fold .5" twice at the edge. *If using no-sew, you'll need to pin some iron-on webbing into the hem.
For the bottom, I like a good size hem of 3-4". Fold the base of the fabric about .5" and iron, then fold 3-4" up and pin. I sew right down to the edge, so no need to fold that .5" hem part twice (if that makes sense). *If using no-sew method, you'll need to pin some iron-on webbing to the hem.

Step 4: Sewing or Ironing
I am very much a beginner at this part, so read/follow with caution. If you have a seamstress friend elicit their advice too.
Sewing Method: After you've pinned and ironed the hems, you can sew! I played around with this a little, but ultimately just did a basic stitch all the way around, leaving the top pocket side open of course. Just don't forget to remove the pins as you go and reverse stitch at the beginning and end to secure it.

The thinner fabric went through the machine with ease, however the velvet was another story. Thank goodness I have a heavy duty machine. This velvet was super thick and you can't iron it because it will crush the pile and ruin your fabric.
Ironing Method: The instruction on stitch witch said to steam, but since I was using my hair straightener I just set it to about 400 degrees and flat ironed away. It worked great! I think heating it from both sides actually yielded sturdier results than an iron would.
Hanging Your Curtains

Woo! You've got curtains! That means the most difficult part is over. If you haven't already, remove the valences. We have a step-by-step how-to here.
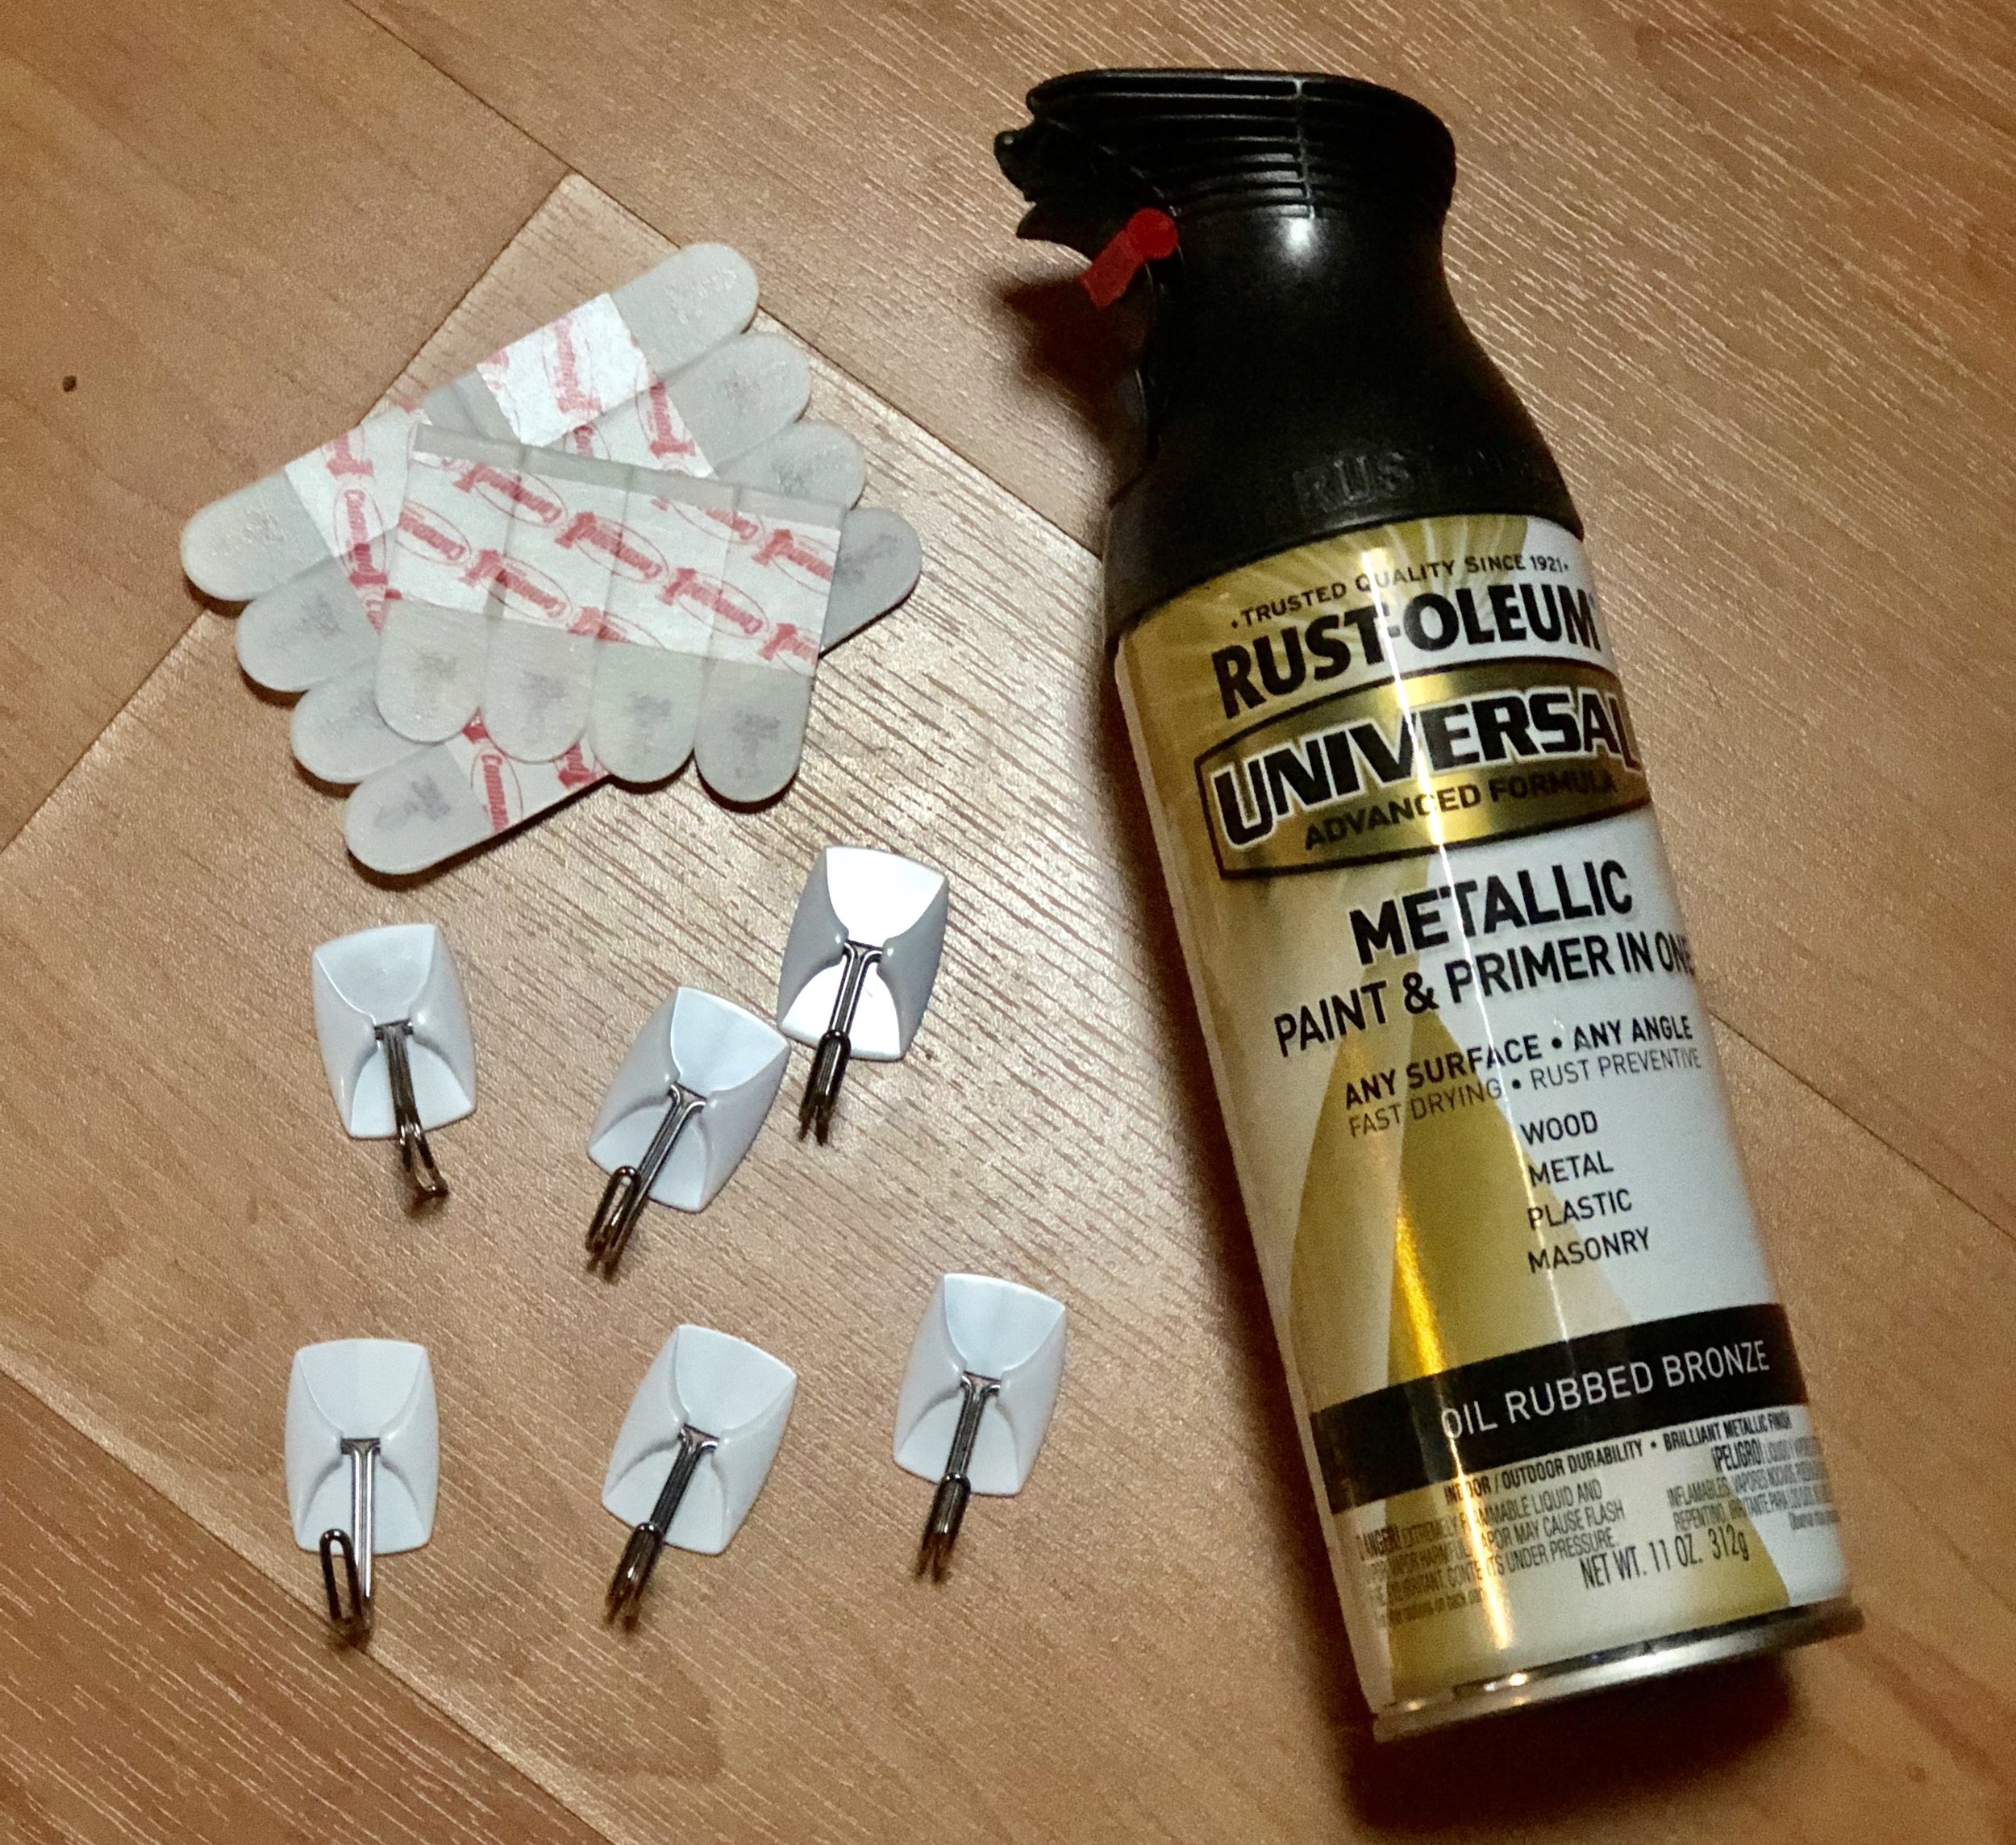
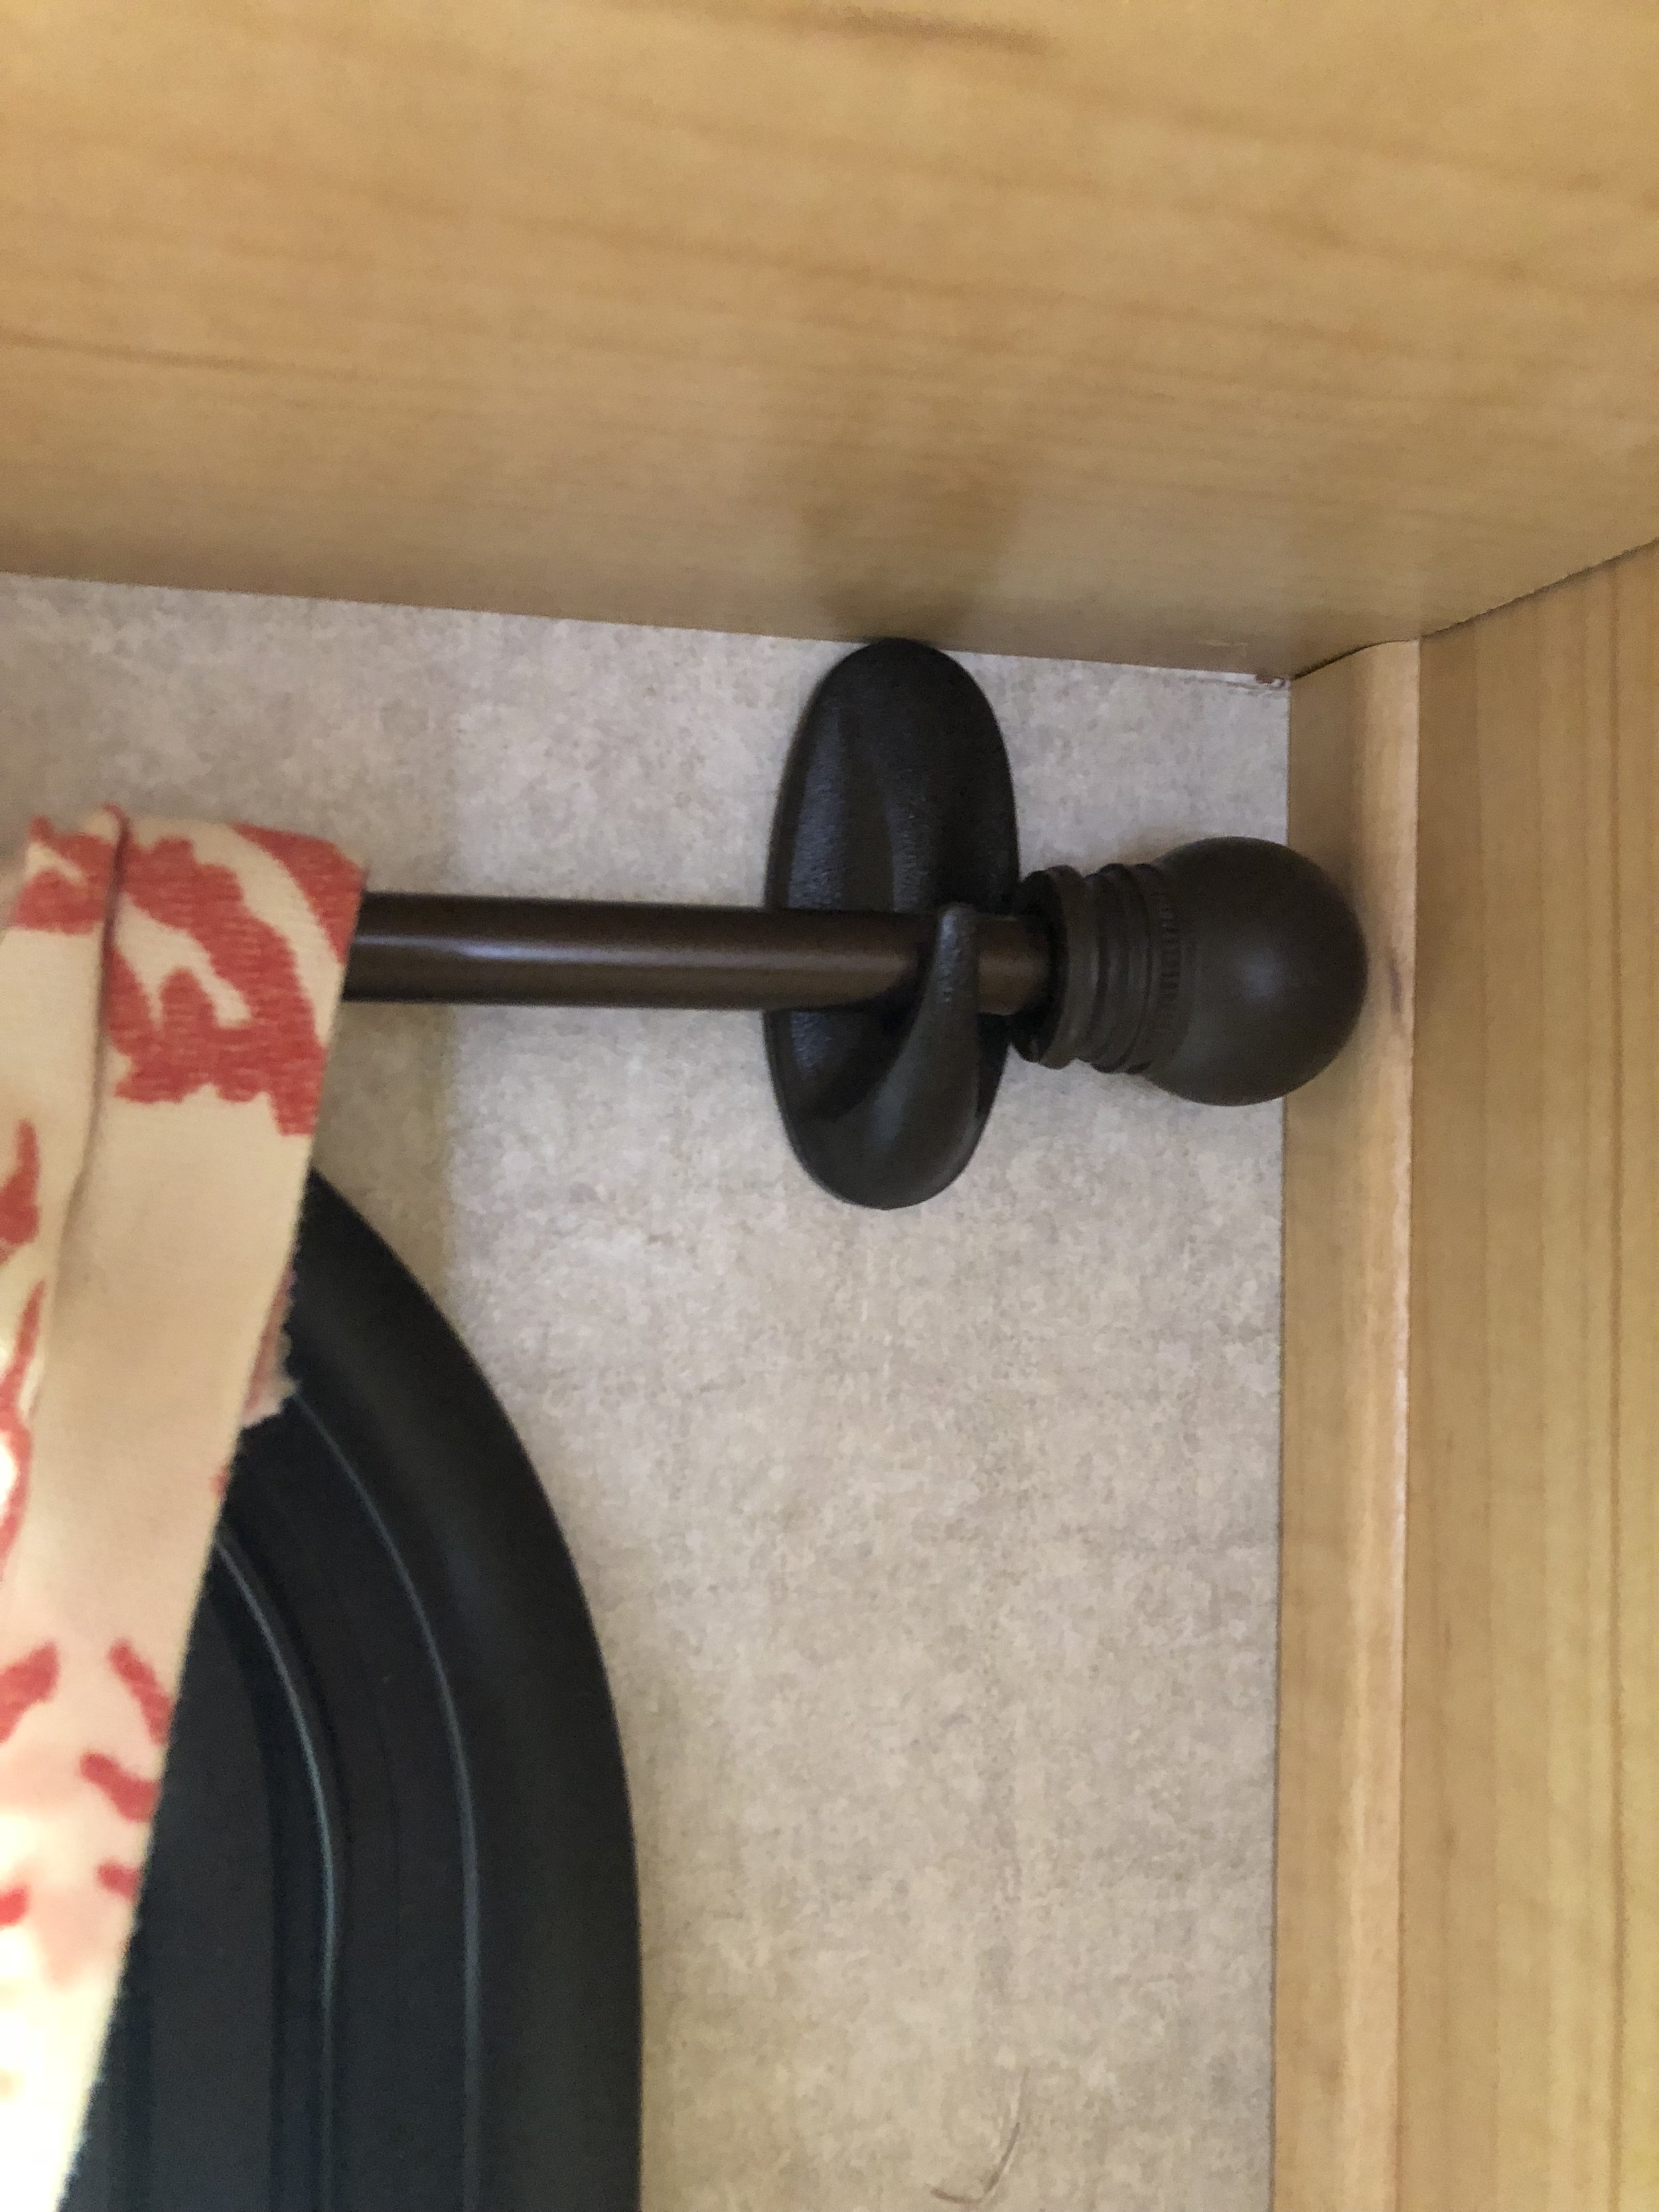
I purchased these curtains rods from Wal-Mart. One of the many great things about Command Hooks is that they come in many different sizes, so you'll be able to experiment with different rod sizes and hooks.
For the bedroom windows I used these regular plastic Command Hooks, which work pretty well. I had a couple issues though. They are too tall and the smallest curtains rods just kind of sit on top of them and slide around. So, the next time I tried Command Wire Hooks. They work much better! The curtain rod sits inside and doesn't slide as much. They were also cheaper and still look great.
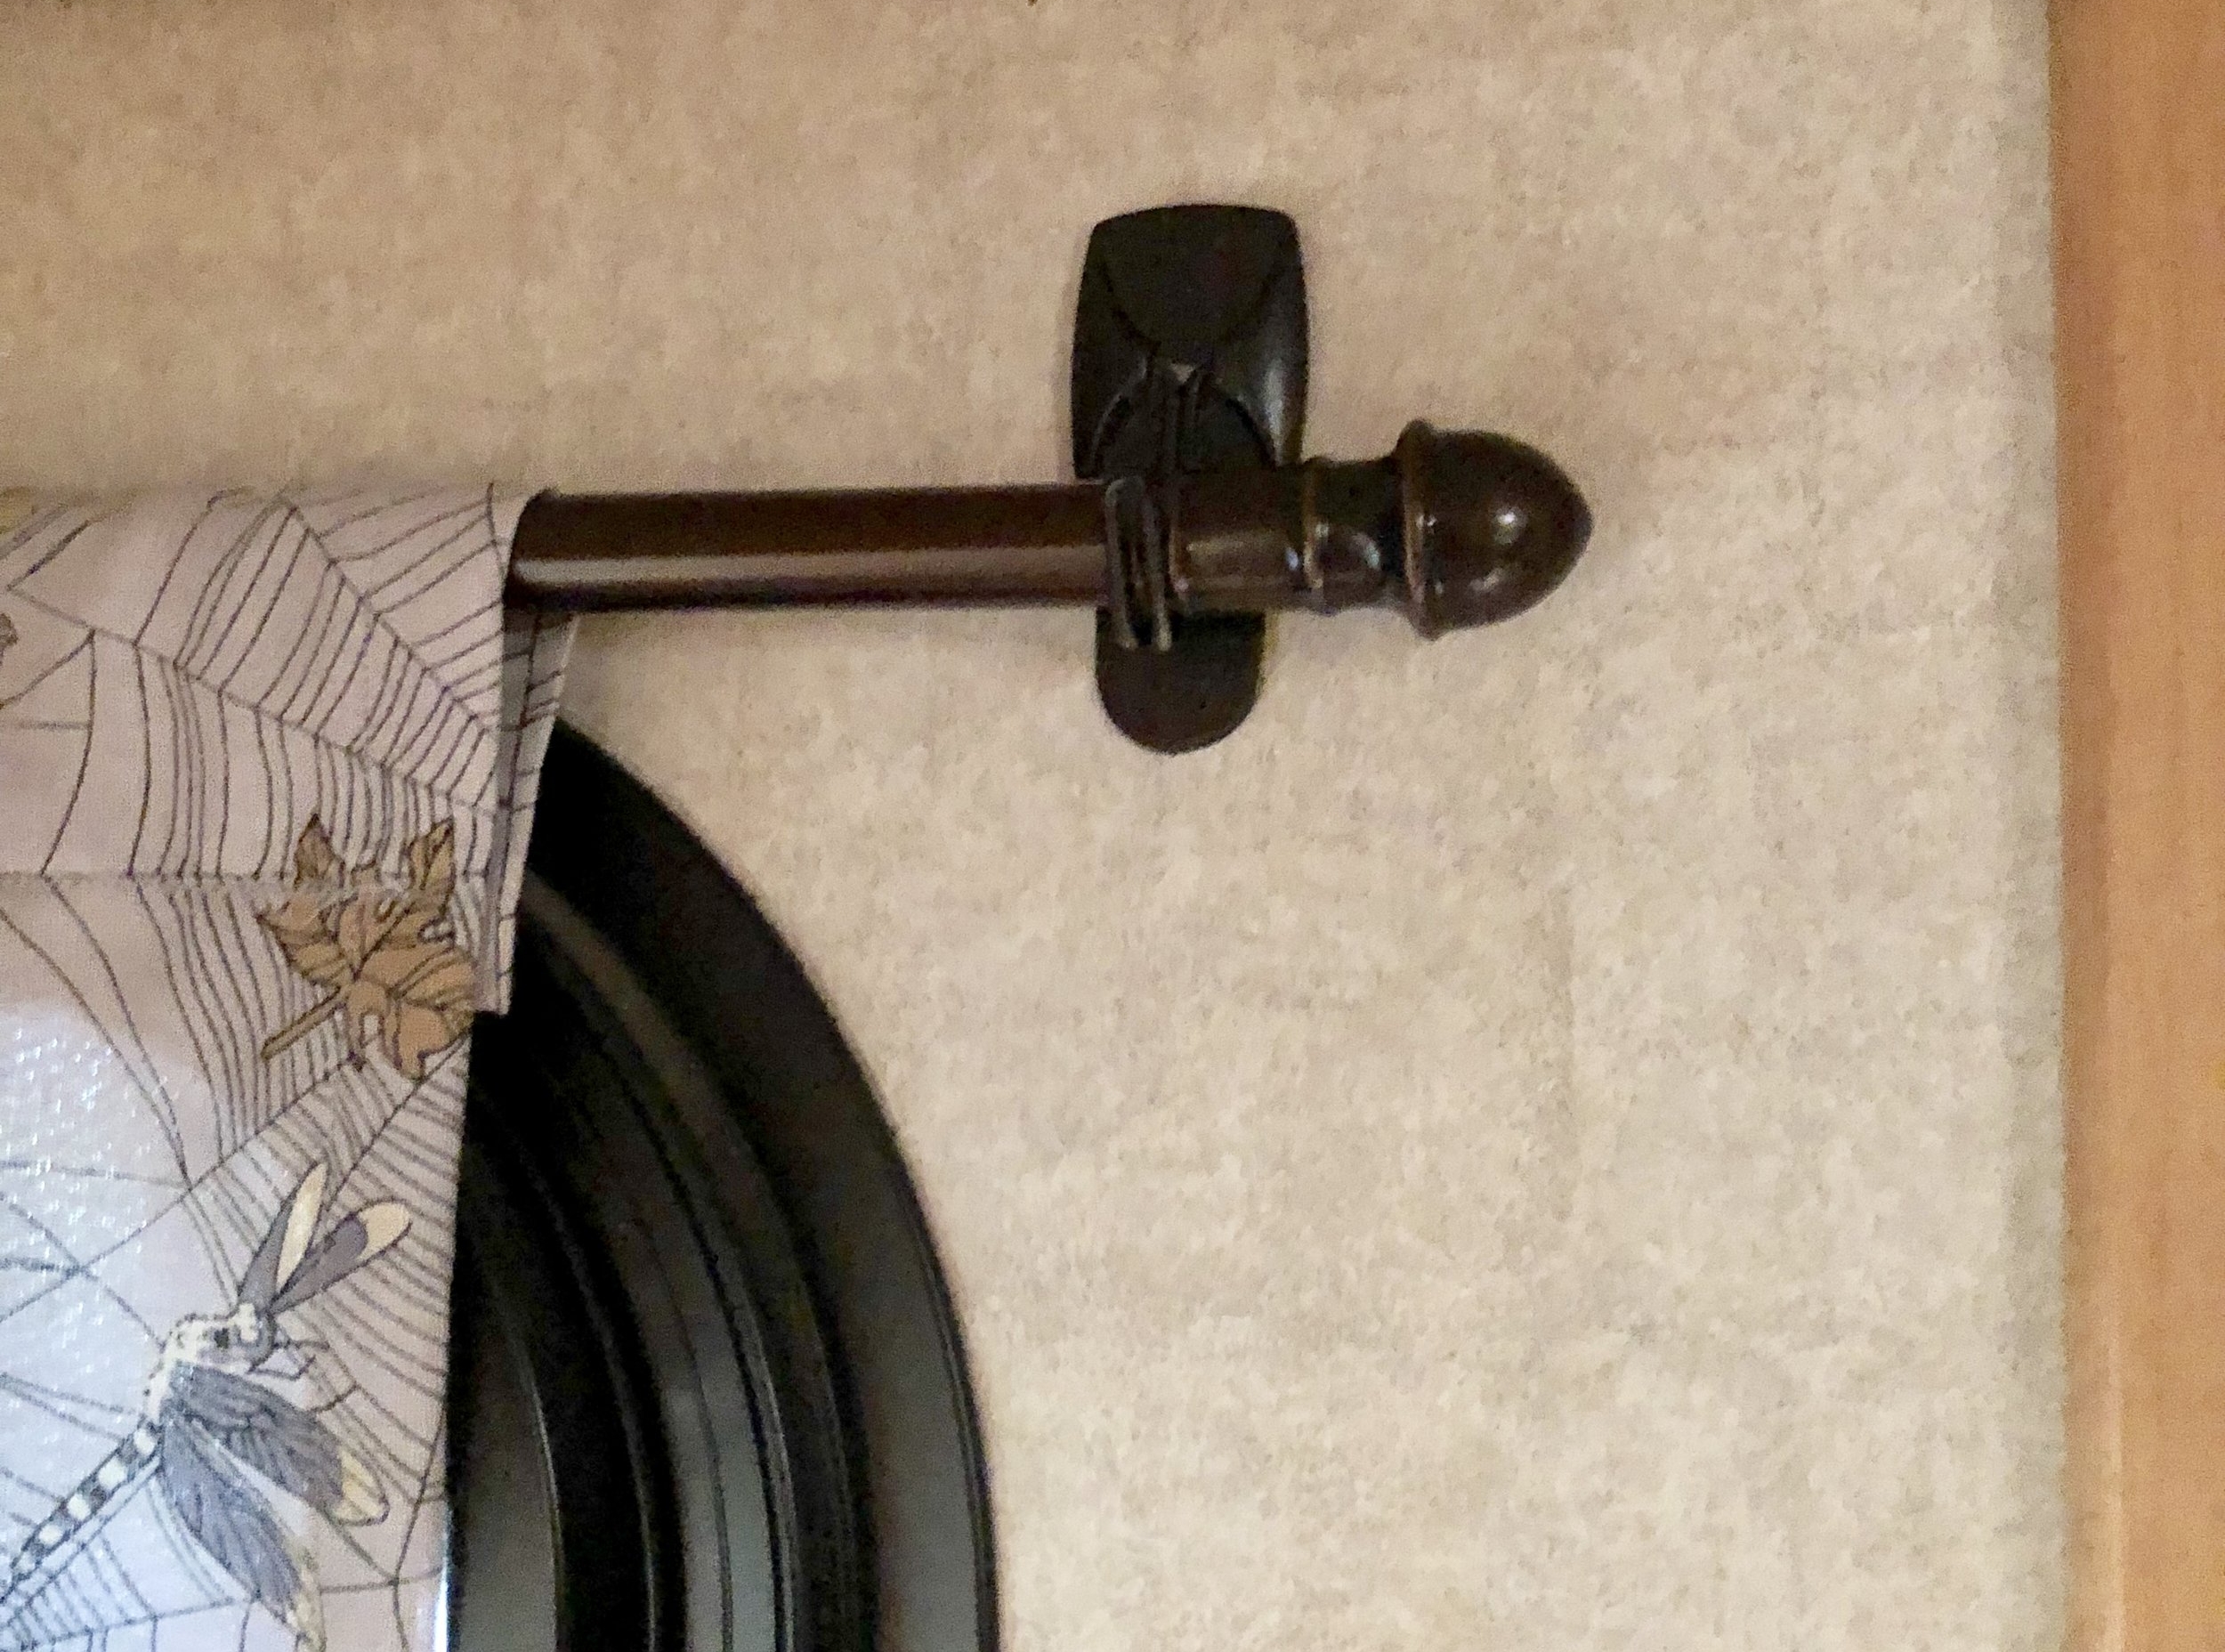
We spray painted our hooks with Rust-Oleum Oil Rubbed Bronze to match the bronze curtain rods. I even painted the little tab that sticks out, so we can pull them off easily. After painting and drying, you can hang the hooks according to the package instructions. Then just place the curtain rod on the hook. It's that easy!
*For the tie backs, I crocheted a shell stitch and tied a loop to each end. They are held back by, you guessed it, Command Hooks! If you don't crochet, a bit of ribbon would do just fine.
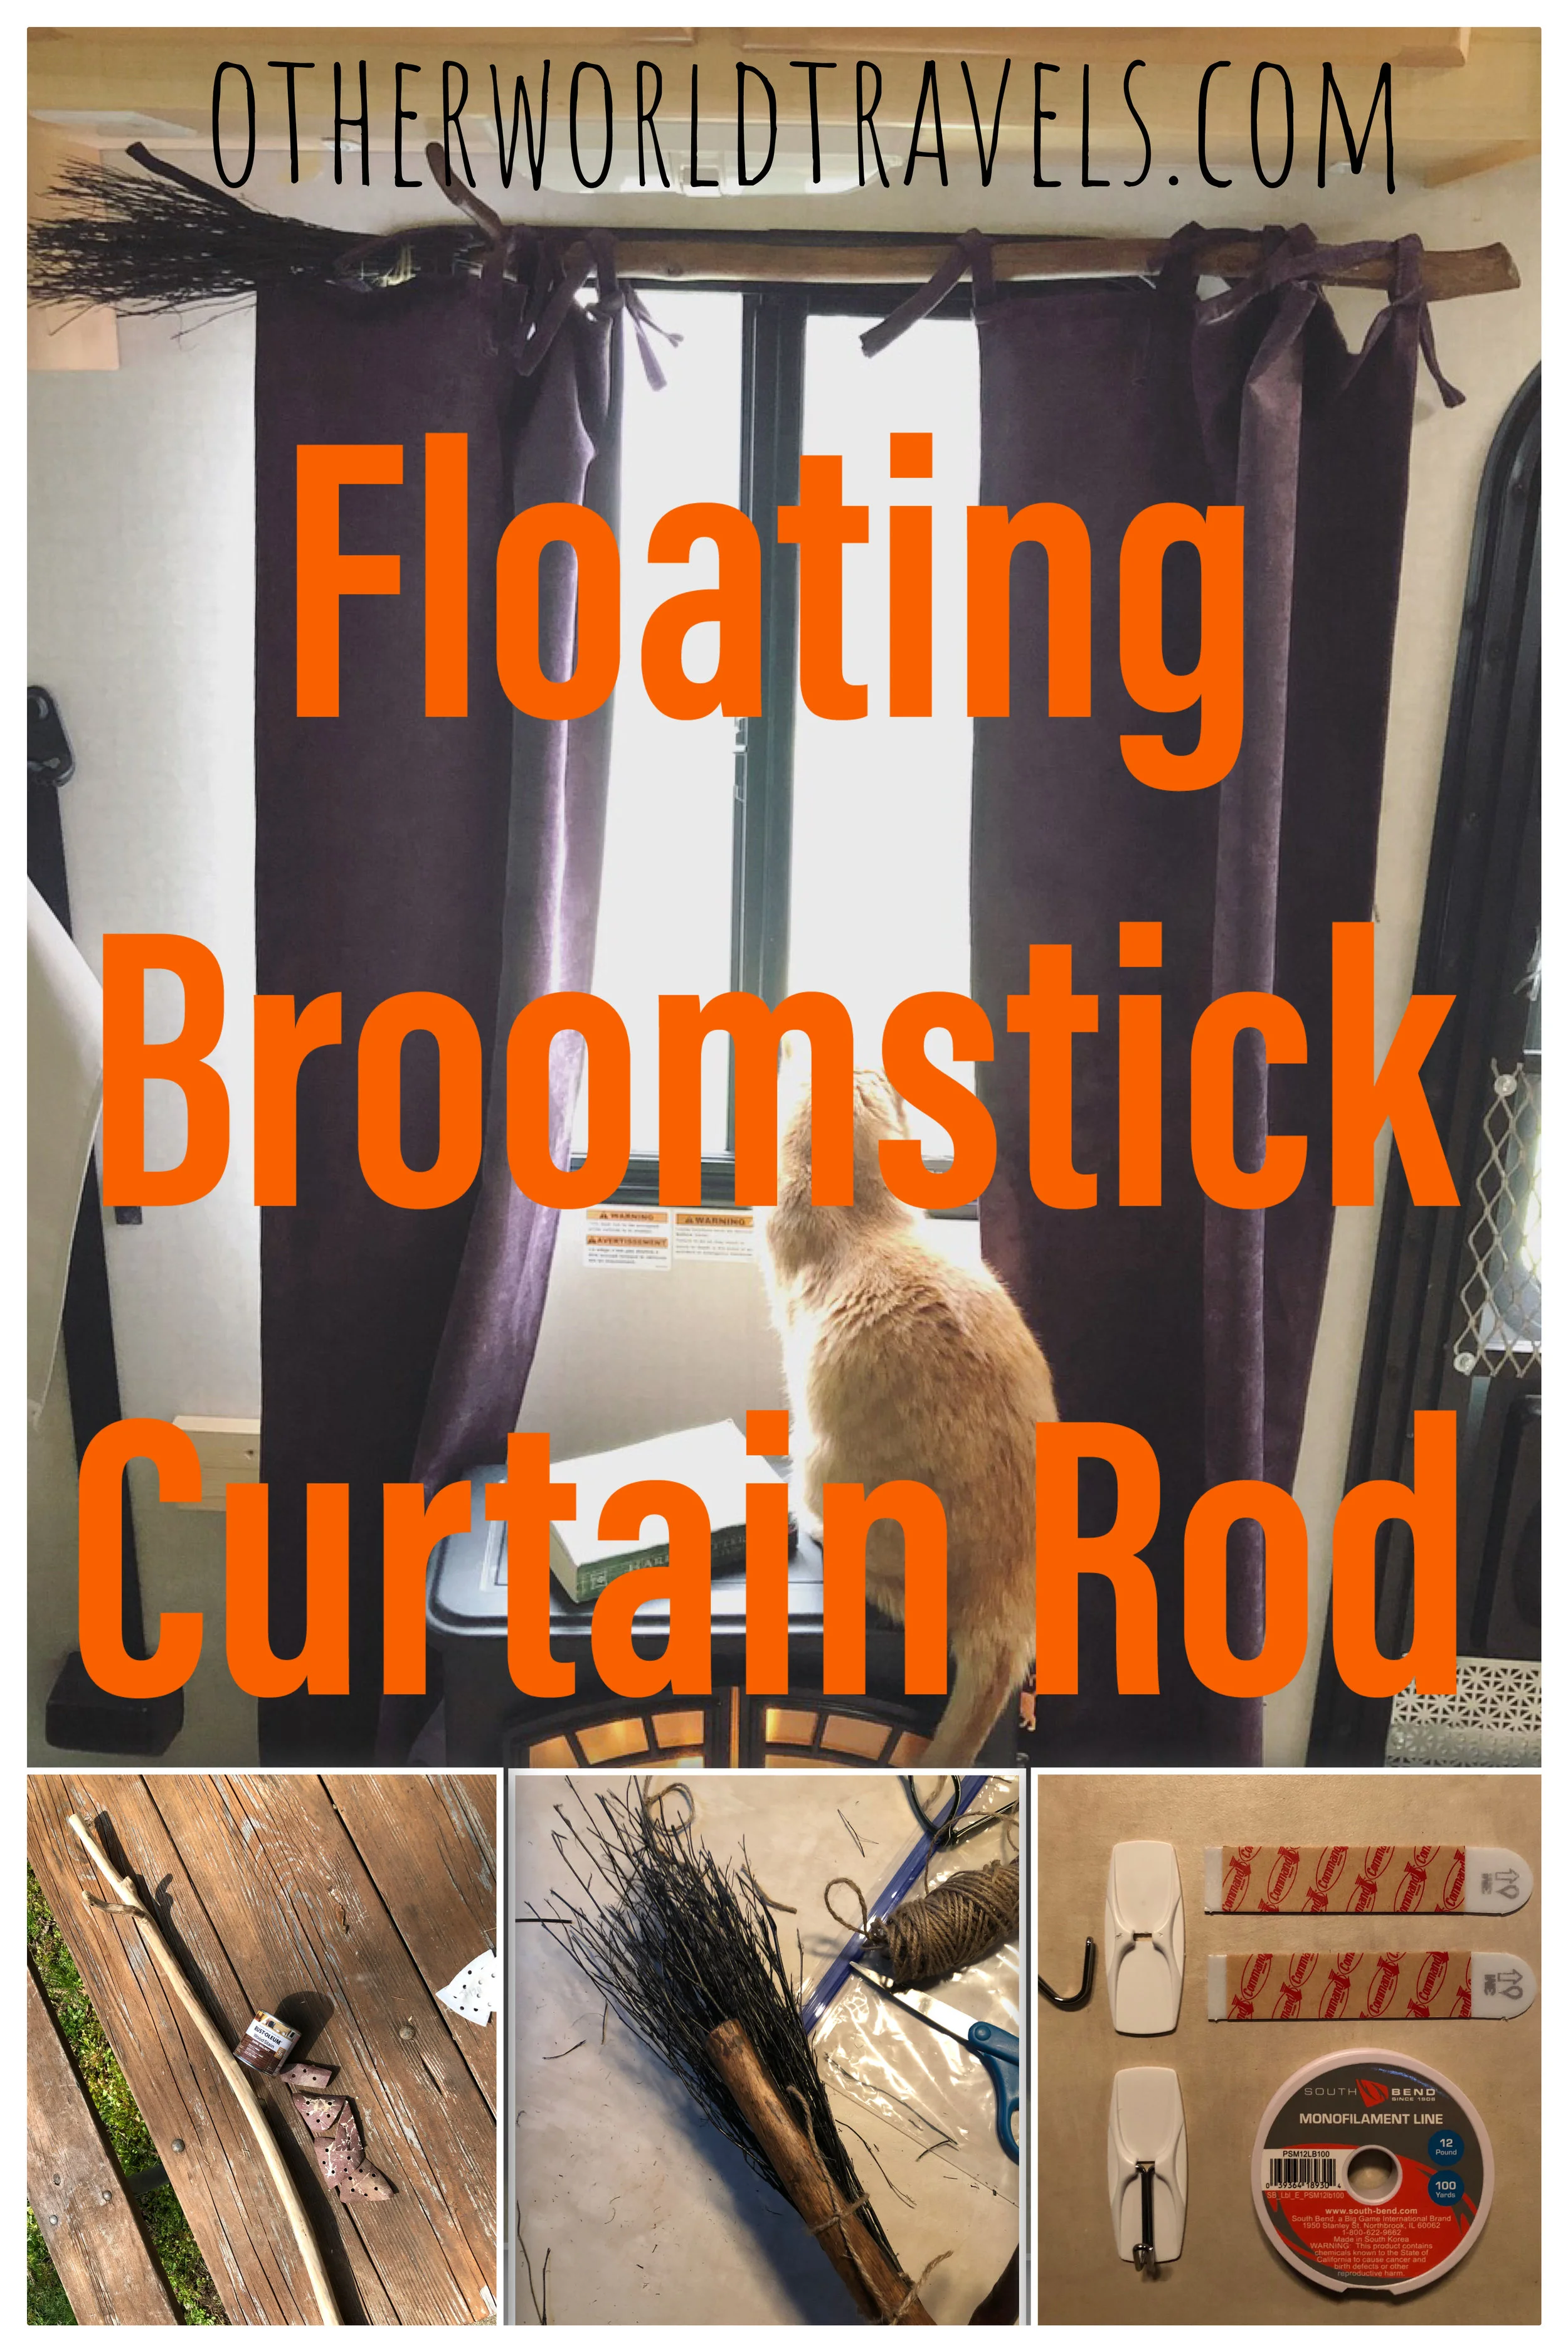
Flying Broomstick Curtain Rod
Now it's time to get really creative with your curtains!
Below is how I made this broomstick and hung it as a curtain rod with some fishing line and 2lb Command Hooks with the hook part removed. This will surely impress any witch, wizard, or muggle that enters your home. Blessed be :)
Don't forget to leave us a comment and subscribe below!